
adipandas/multi-object-tracker
adipandas/multi-object-tracker has 698 GitHub stars and 101 forks. GitHot measured 0 stars in 24 hours. Last checked 2026-11-14 03:14 UTC. Last push 2026-07-17.
측정된 스타 증가
- in 24h
- 0
- in 7 days
- 기록 수집 중
- in 15 days
- 기록 수집 중
- in 1 month
- 기록 수집 중
서로 겹치는 기간의 순증가량이며 일별 합계가 아닙니다. 측정값이 없으면 비워 둡니다. 스타는 관심도를 나타내며 품질을 보장하지 않습니다.
소개
Multi-object trackers in Python
머신러닝README.md
OriginalMulti-object trackers in Python
Easy to use implementation of various multi-object tracking algorithms.

YOLOv3 + CentroidTracker |
TF-MobileNetSSD + CentroidTracker |
|---|---|
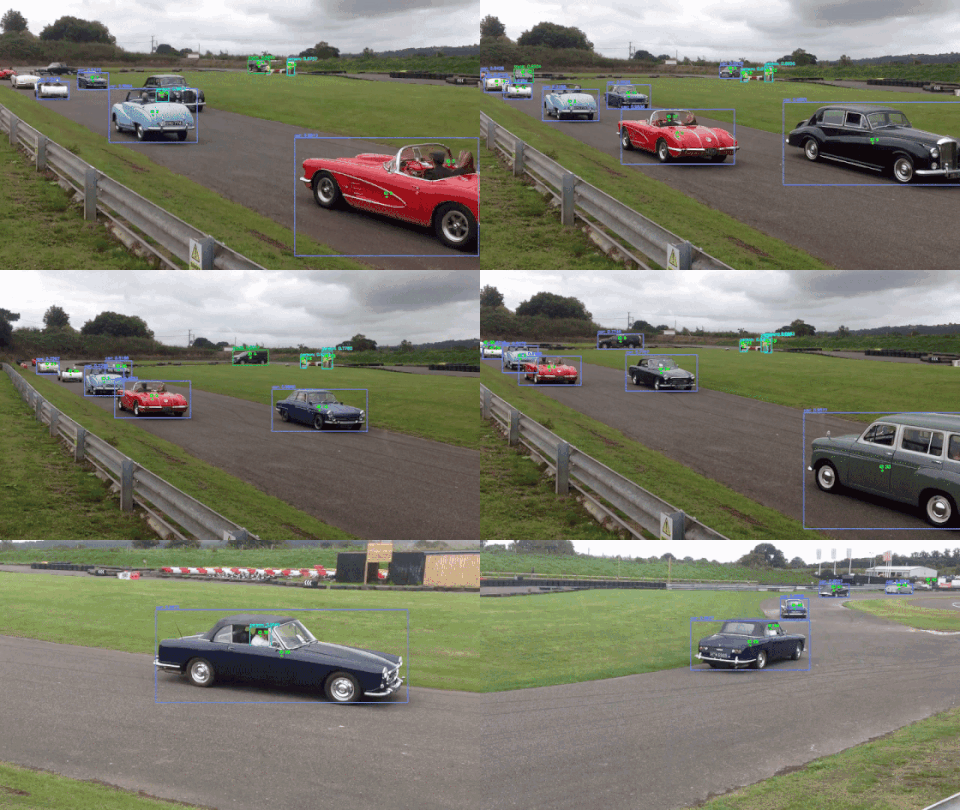 |
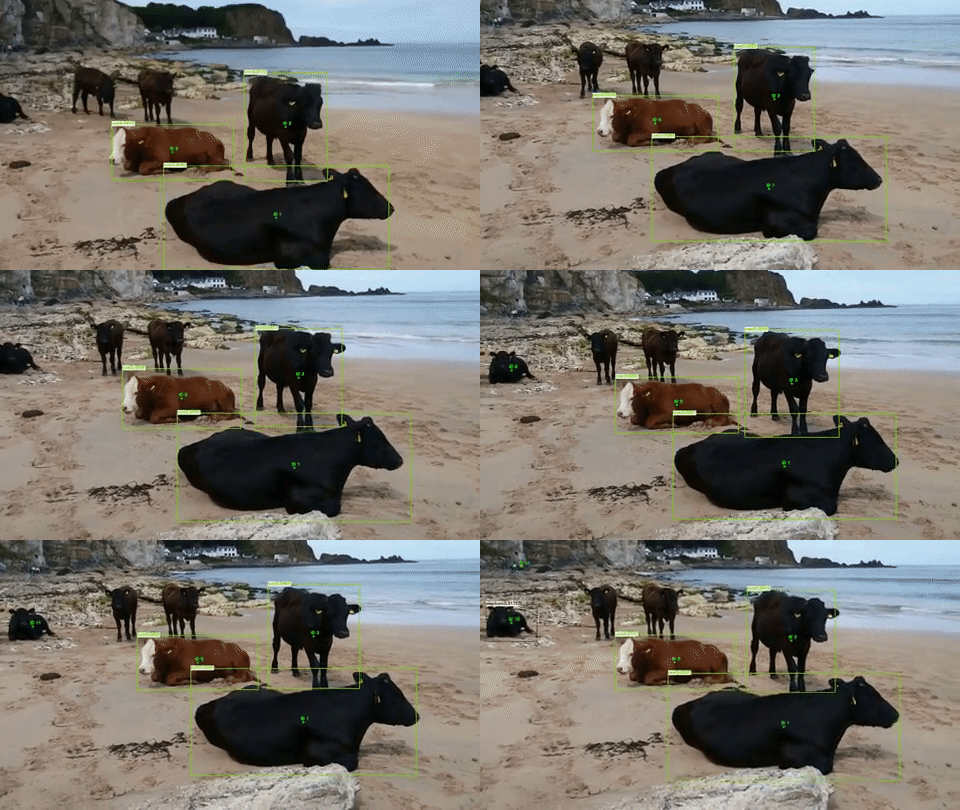 |
| Video source: link | Video source: link |
Available Multi Object Trackers
- CentroidTracker
- IOUTracker
- CentroidKF_Tracker
- SORT
Available OpenCV-based object detectors:
- detector.TF_SSDMobileNetV2
- detector.Caffe_SSDMobileNet
- detector.YOLOv3
Installation
This package requires Python 3.10 or later.
Pip install for OpenCV (version 3.4.3 or later) is available here and can be done with the following command:
pip install motrackers
Additionally, you can install the package through GitHub instead:
git clone https://github.com/adipandas/multi-object-tracker
cd multi-object-tracker
pip install [-e] .
Note - for using neural network models with GPU
For using the opencv dnn-based object detection modules provided in this repository with GPU, you may have to compile a CUDA enabled version of OpenCV from source.
How to use?: Examples
The interface for each tracker is simple and similar. Please refer the example template below.
from motrackers import CentroidTracker # or IOUTracker, CentroidKF_Tracker, SORT
input_data = ...
detector = ...
tracker = CentroidTracker(...) # or IOUTracker(...), CentroidKF_Tracker(...), SORT(...)
while True:
    done, image = <read(input_data)>
    if done:
        break
    detection_bboxes, detection_confidences, detection_class_ids = detector.detect(image)
    # NOTE:
    # * `detection_bboxes` are numpy.ndarray of shape (n, 4) with each row containing (bb_left, bb_top, bb_width, bb_height)
    # * `detection_confidences` are numpy.ndarray of shape (n,);
    # * `detection_class_ids` are numpy.ndarray of shape (n,).
    output_tracks = tracker.update(detection_bboxes, detection_confidences, detection_class_ids)
    # `output_tracks` is a list with each element containing tuple of
    # (<frame>, <id>, <bb_left>, <bb_top>, <bb_width>, <bb_height>, <conf>, <x>, <y>, <z>)
    for track in output_tracks:
        frame, id, bb_left, bb_top, bb_width, bb_height, confidence, x, y, z = track
        assert len(track) == 10
        print(track)
Please refer examples folder of this repository for more details. You can clone and run the examples.
Running tests
Install the test dependencies and run the test suite with:
pip install -e ".[test]"
pytest
Pretrained object detection models
You will have to download the pretrained weights for the neural-network models. The shell scripts for downloading these are provided here below respective folders. Please refer DOWNLOAD_WEIGHTS.md for more details.
Notes
- There are some variations in implementations as compared to what appeared in papers of
SORTandIoU Tracker. - In case you find any bugs in the algorithm, I will be happy to accept your pull request or you can create an issue to point it out.
References, Credits and Contributions
Please see REFERENCES.md and CONTRIBUTING.md.
Citation
If you use this repository in your work, please consider citing it with:
@misc{multiobjtracker_amd2018,
  author = {Deshpande, Aditya M.},
  title = {Multi-object trackers in Python},
  year = {2020},
  publisher = {GitHub},
  journal = {GitHub repository},
  howpublished = {\url{https://github.com/adipandas/multi-object-tracker}},
}
관련 프로젝트 살펴보기
tensorflow/tensorflow
모두를 위한 오픈소스 머신러닝 프레임워크
201,592 스타huggingface/transformers
🤗 Transformers: 텍스트, 비전, 오디오, 멀티모달 분야의 최첨단 머신러닝 모델을 위한 모델 정의 프레임워크로, 추론과 학습을 모두 지원합니다.
168,954 스타AUTOMATIC1111/stable-diffusion-webui
Stable Diffusion 웹 UI
165,307 스타Comfy-Org/ComfyUI
그래프와 노드로 구성된 인터페이스를 갖춘, 가장 강력하고 모듈성이 뛰어난 확산 모델 GUI, API, 백엔드입니다. 세계에서 가장 빠른 로컬 추론 엔진입니다.
146,719 스타