
scottbarnesg/smart-sec-cam
scottbarnesg/smart-sec-cam has 255 GitHub stars and 26 forks. GitHot measured 0 stars in 24 hours, 0 in 7 days, and 0 in 15 days. Last checked 2026-11-16 23:33 UTC. Last push 2025-09-07.
What you can do
- Multi-camera support w/ minimal configuration. Supports USB cameras and the Raspberry Pi camera module.
- Motion detection that automatically saves videos and lets you view them in the web app.
- Encrypted in transit, both from the cameras to the server and the server to your browser.
- Integrated authentication
Measured star growth
- in 24h
- 0
- in 7 days
- 0
- in 15 days
- 0
- in 1 month
- Update delayed
Net star changes over overlapping periods, not daily totals. Missing measurements are left blank. Stars measure attention, not software quality.
About
A privacy-focused, intelligent security camera system.
Self-hostedREADME.md
OriginalSelf-Hosted Home Security Camera System
A privacy-focused, intelligent security camera system.
Features:
- Multi-camera support w/ minimal configuration. Supports USB cameras and the Raspberry Pi camera module.
- Motion detection that automatically saves videos and lets you view them in the web app.
- Encrypted in transit, both from the cameras to the server and the server to your browser.
- Integrated authentication
- Self-Hosted
- Free and Open Source (GPLv3)
Example screenshots
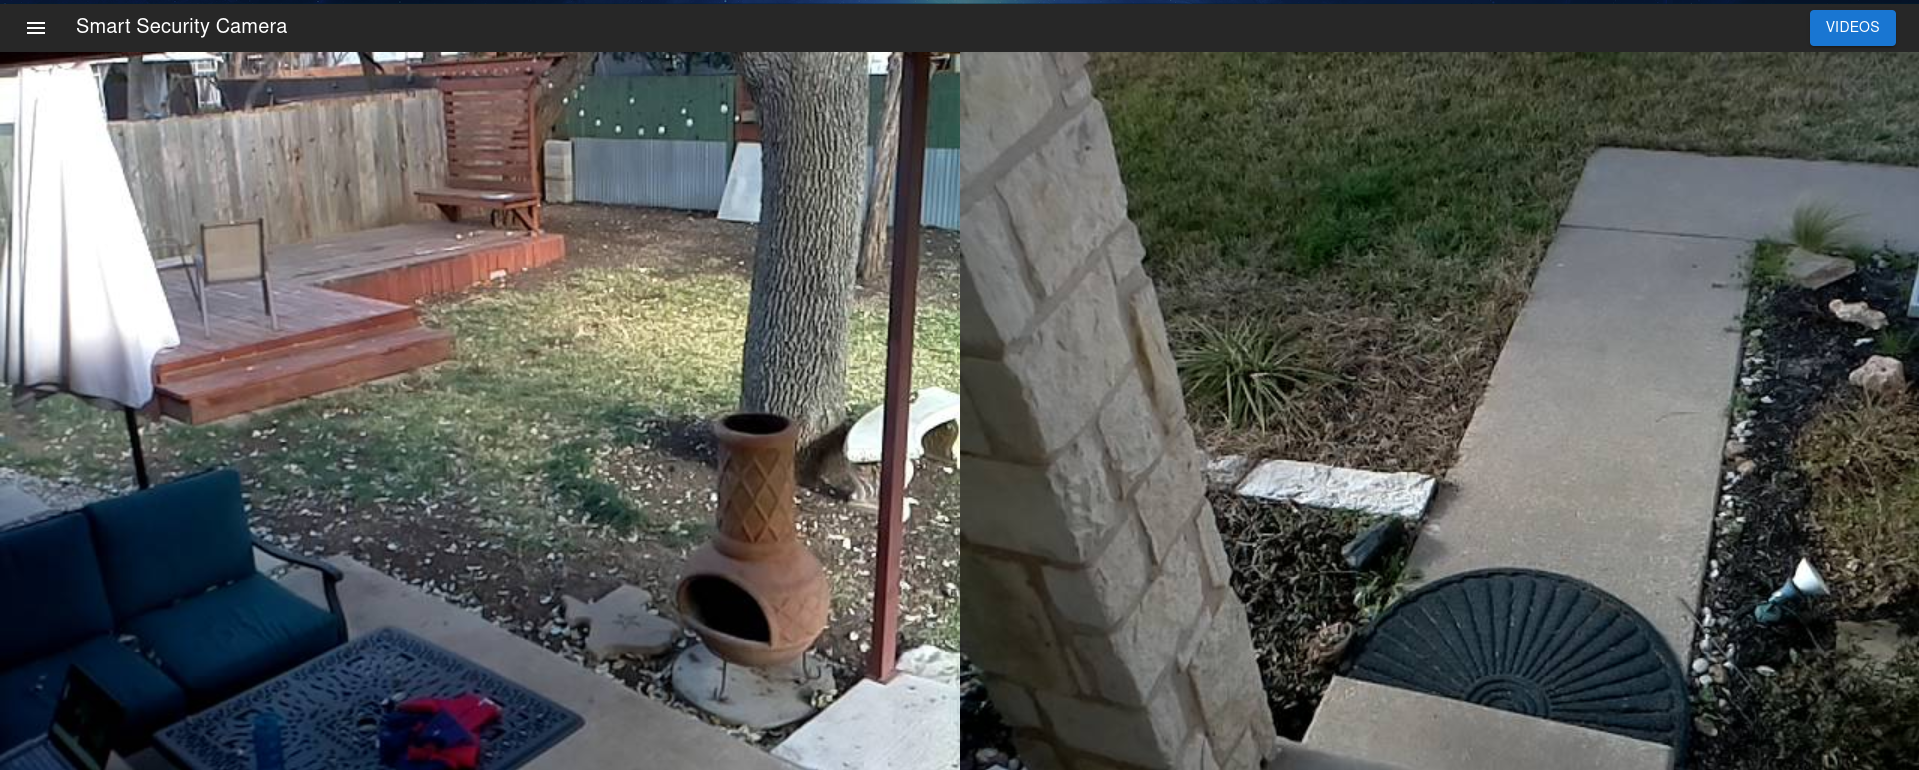
Multiple live video feeds on a single UI:
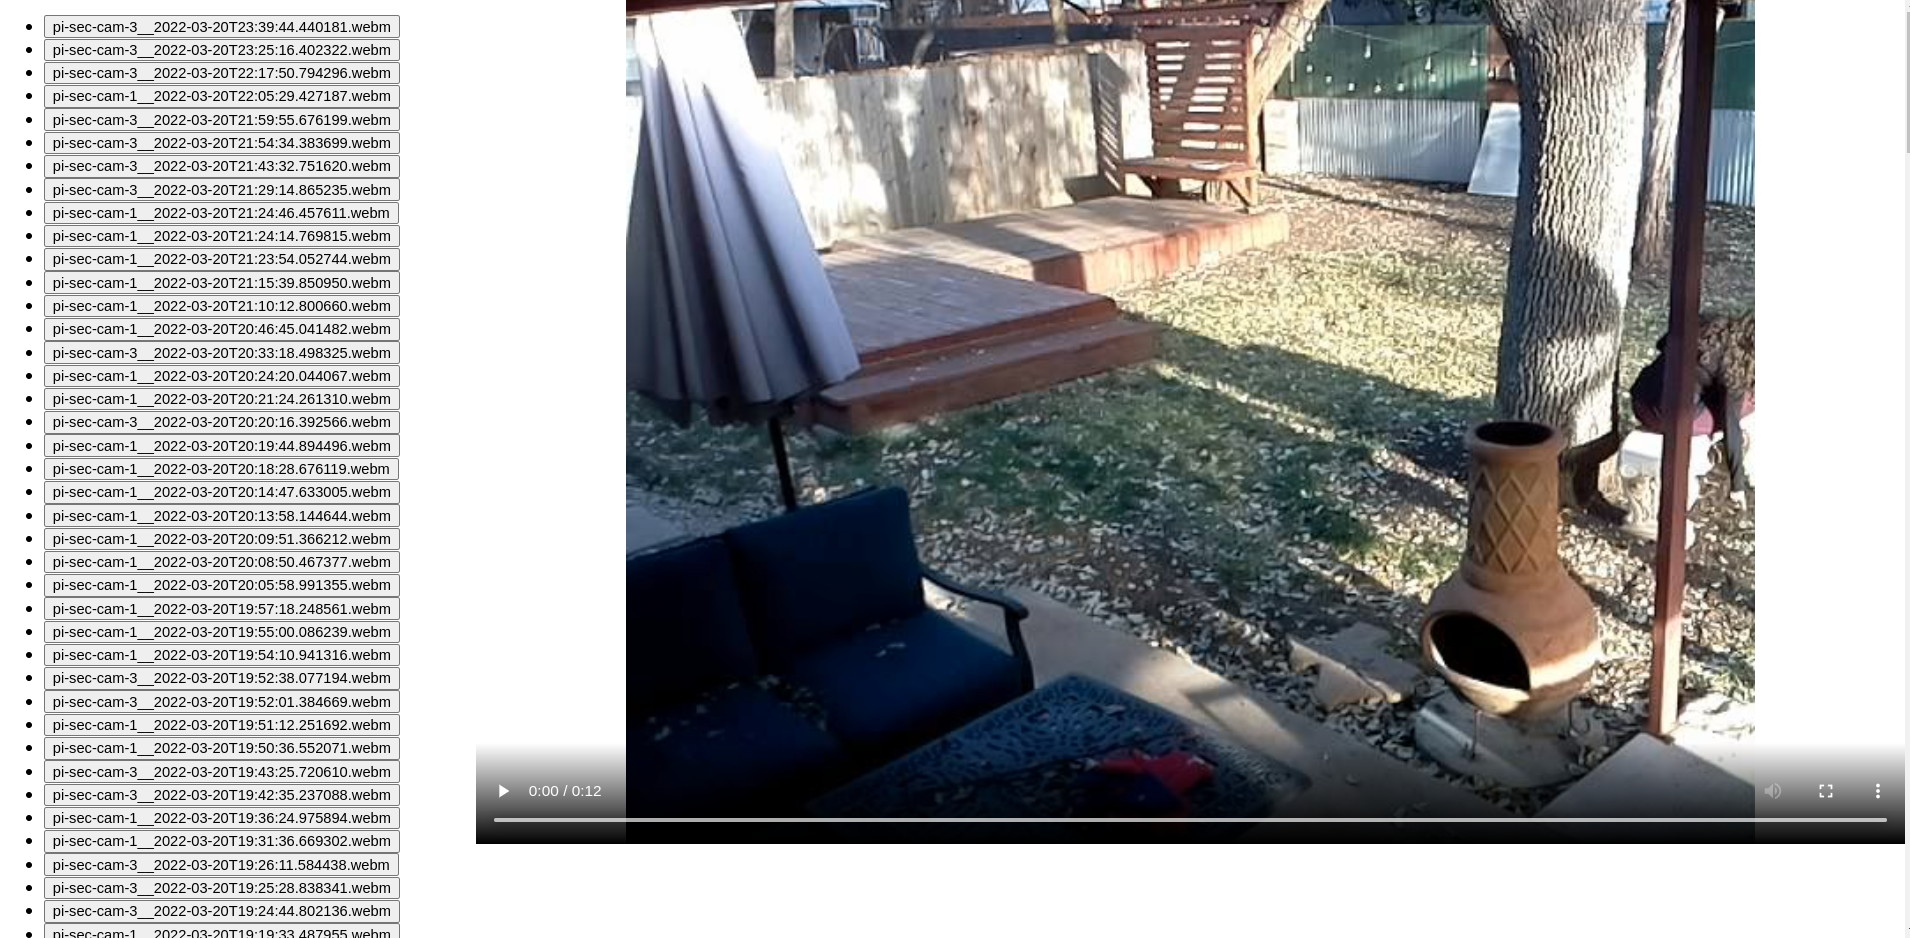
Replay of recorded videos triggered by motion detection:
Setup
Sec-cam-server is designed to be deployed flexibly. There are 2 core components:
Camera:
A device capable of capturing video and streaming to the server. Requirements:
- Must be able to run Python
- Must have a device capable of capturing video (e.g. a USB camera, webcam, or raspberry pi camera module)
- Must be able to communicate to the server over a network. During setup, you will point the camera at the server's hostname or IP address.
Server:
The server components aggregates feeds from the cameras, performs motion detection, and makes video available in a web UI via an API. The server can be a standalone host, or can run on one of your cameras (e.g. a Raspberry Pi). Requirements:
- Must be able to run Docker.
- Must be accessible to your camera(s) over a network.
Example deployment configurations:
Example 1: A standalone server, with the hostname sec-cam-server.local, and 2 cameras, with hostnames camera1.local and
camera2.local.
- On
sec-cam-server.local, follow the instructions in "Setting up the server". Replace<server-hostname:server-port>withsec-cam-server.local:8443. - On each camera, follow the instructions in "Adding a camera". In Step 3,
run.shshould be updated to contain--server_url sec-cam-server.local. - The web UI with camera feeds will be available at
https://sec-cam-server.local:8443
Example 2: 2 cameras with hostnames camera1.local and camera2.local, with the "server" running camera1.local
- On
camera1.local, follow the steps to install the server. - On
camera1.local, follow the steps to install the in "Adding a camera". In Step 3,run.shshould be updated to contain--server_url localhost. - On
camera2.local, follow the steps to install the in "Adding a camera". In Step 3,run.shshould be updated to contain--server_url camera1.local. - The web UI with camera feeds will be available at
https://camera1.local:8443
Setting up the server
Docker:
- Install Docker following the instructions on their website.
- Clone this repository
- Generate SSL certificates:
./create-certs.sh. Alternatively, you may place your own certs in thecertsdir - Pull and run the docker containers:
docker-compose pull
API_URL=<server-hostname:server-port> docker-compose up -d
For example, if the server was running on the host sec-cam-server and port 8443 (the default), you should use
API_URL=sec-cam-server:8443.
5. You should now be able to view the UI at https://<server-hostname>:8443.
6. Until a user is created, you will be automatically redirected to
Configuration:
Adding multiple users:
By default, user registration will be disabled once an initial user is created. To enable registration to add
additional users, update the environment variable ENABLE_REGISTRATION under the server service:
- ENABLE_REGISTRATION=1
When you're done adding users, you should re-set this value to 0 and restart the server.
Adding a camera
Installation:
NOTE: These instructions assume you are deploying to a Debian-based OS.
- Install the required packages and dependencies:
sudo apt install python3-opencv libatlas-base-deva. If you are installing on a Raspberry Pi using a Pi Camera module, also runsudo apt install python3-picamera2. - Clone this repository.
- Create a virtual environment, inheriting site packages:
python -m venv .venv --system-site-packages. You can activate this virtual environment withsource .venv/bin/activate. - Install the package:
cd backend && python3 -m pip install .[streamer]. - Update
--server_urlinrun.shto point at the host you deployed the server to. - You can install the camera software as a systemd service or run it manually. Either:
- Run the script to create the camera systemd service:
cd scripts && ./create-streamer-service.sh - Run the camera manually:
./run.sh.
- Run the script to create the camera systemd service:
- In the Web UI, you should see live video from that camera.
Contributors
- @khlam for his help with Github Actions and building docker images