
nguyenvulong/devenv-macos
nguyenvulong/devenv-macos has 35 GitHub stars and 7 forks. GitHot measured 0 stars in 24 hours and 0 in 7 days. Last checked 2026-11-11 02:33 UTC. Last push 2026-09-25.
my personal dotfiles, optimized for MacOS 75% keyboards
Measured star growth
- in 24h
- 0
- in 7 days
- 0
- in 15 days
- Update delayed
- in 1 month
- Update delayed
Net star changes over overlapping periods, not daily totals. Missing measurements are left blank. Stars measure attention, not software quality.
README.md
OriginalDevelopment environment for macOS users
Introduction
My personal dotfiles for setting up a development environment on macOS.
Prefer zsh over fish? Use the zsh branch instead.
- Terminal
- Shell: Fish with the Starship prompt
- Neovim (with LazyVim) and vim
- Sketchybar
| Shell | Neovim | Tmux | LazyGit |
|---|---|---|---|
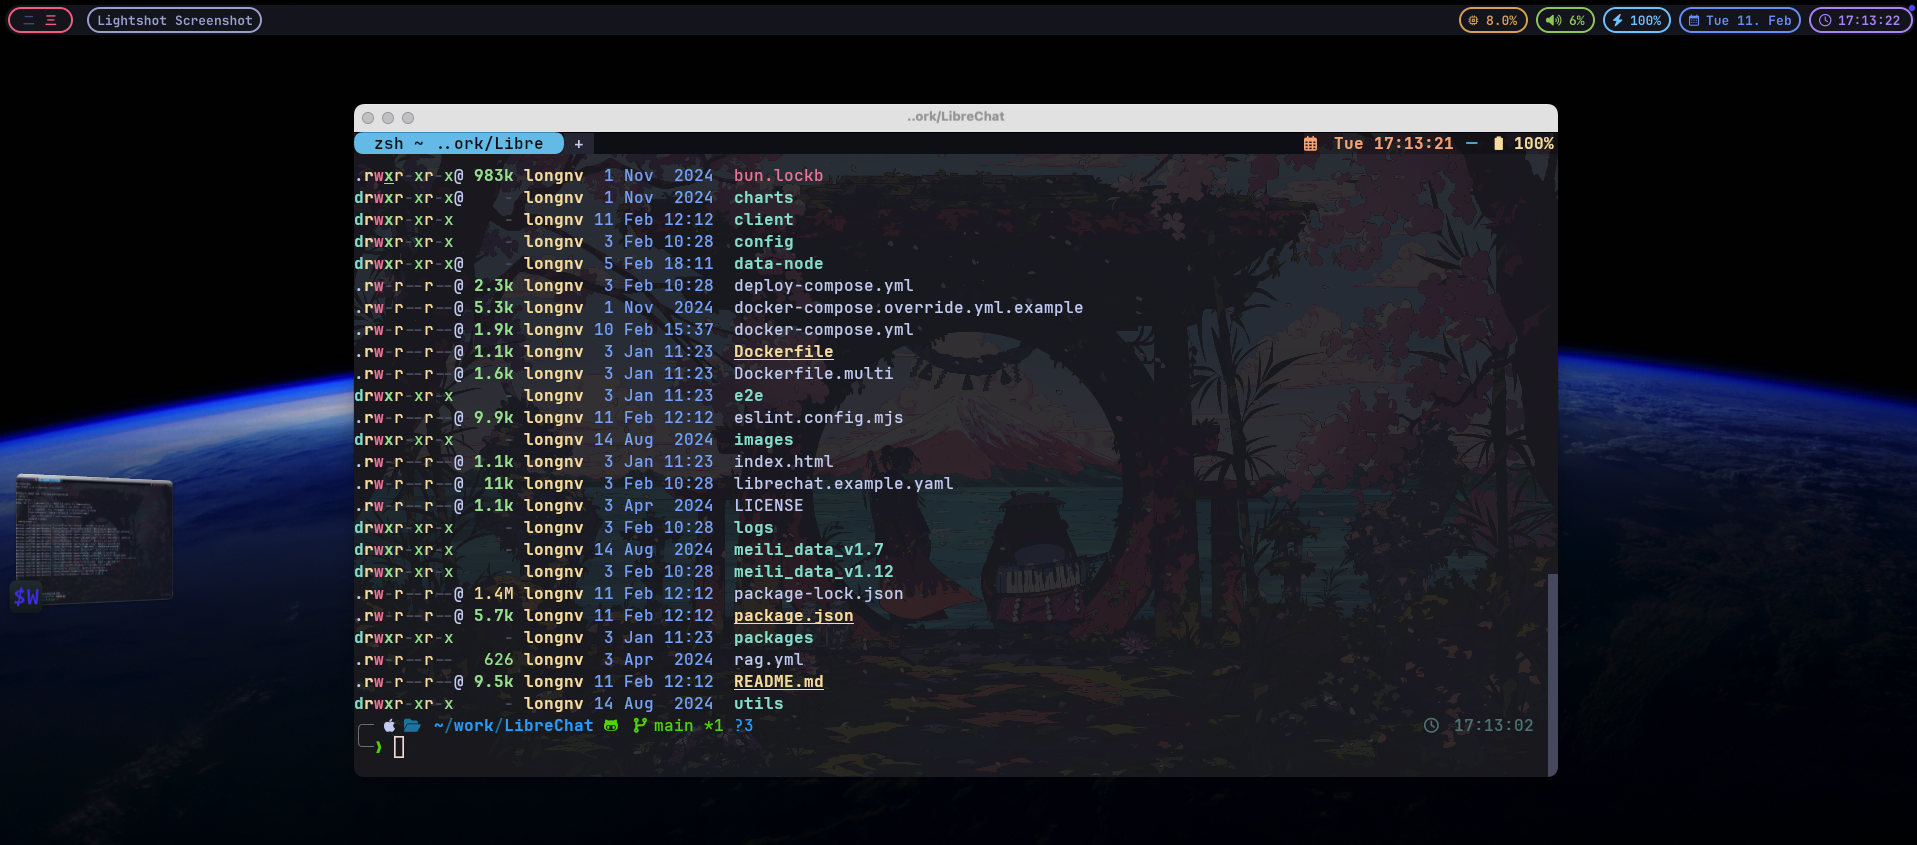 |
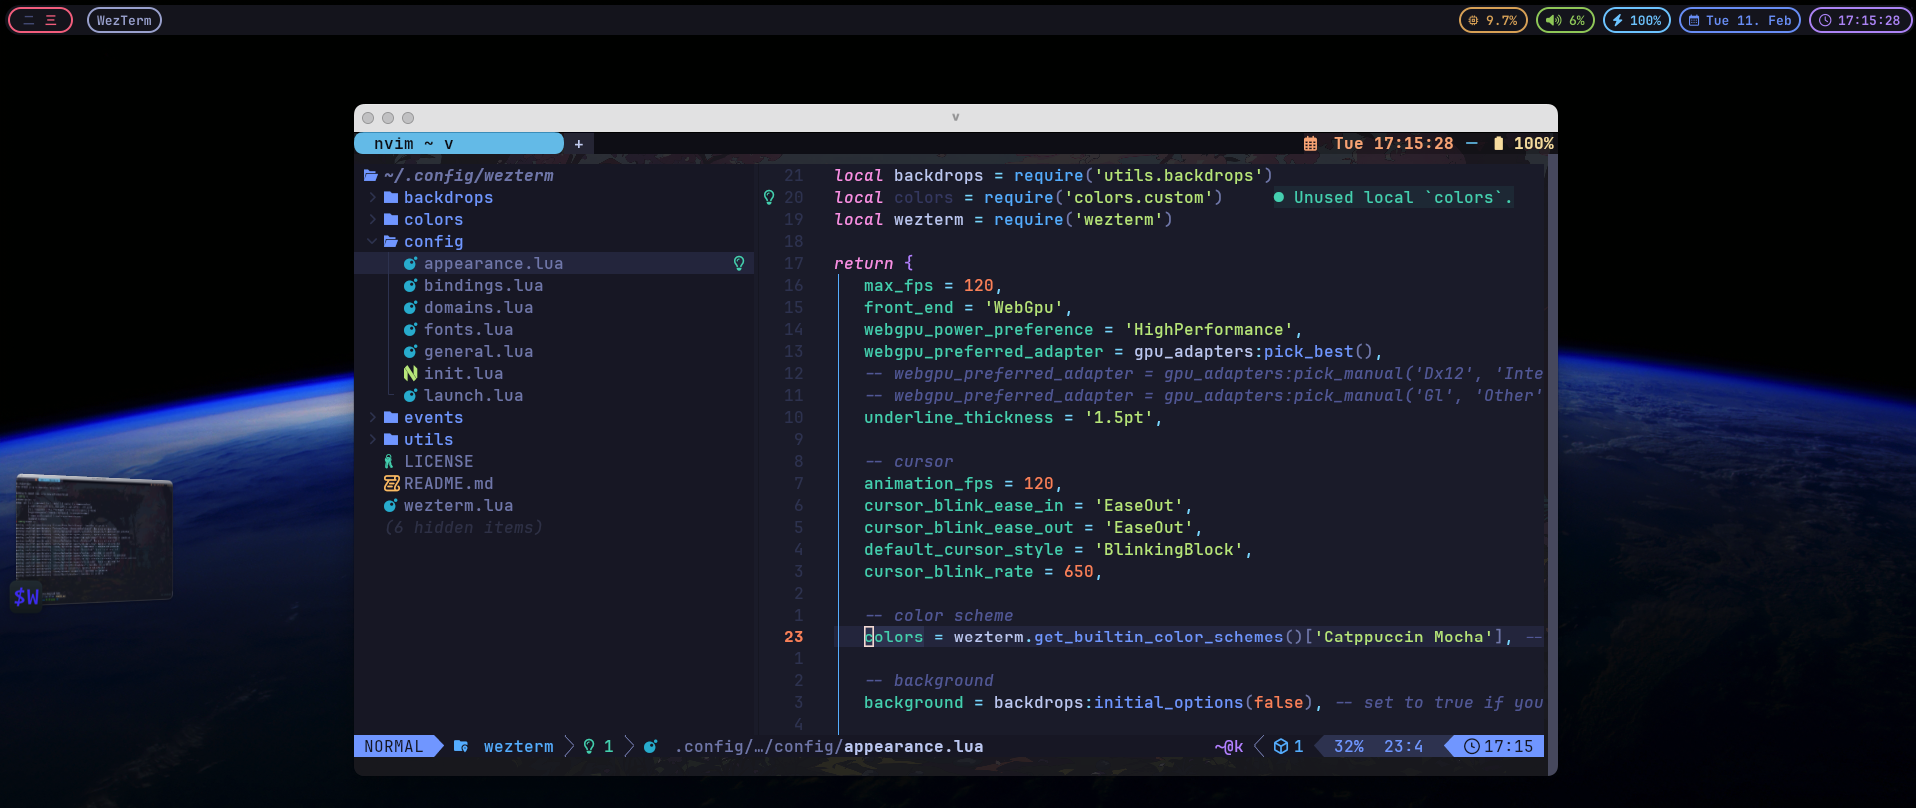 |
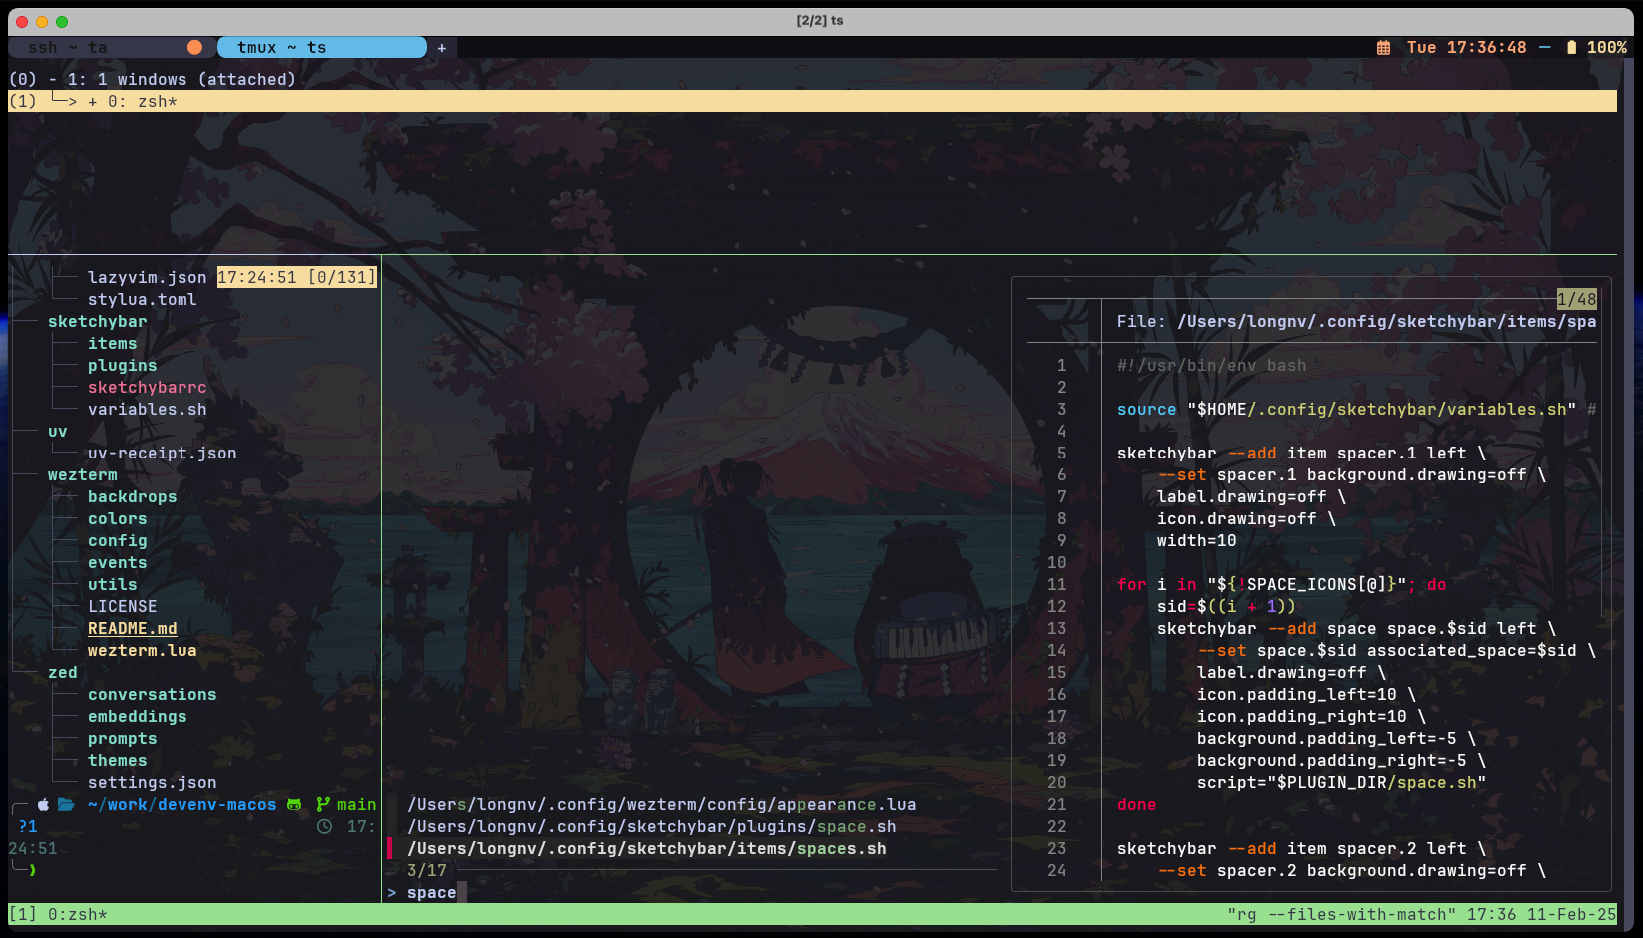 |
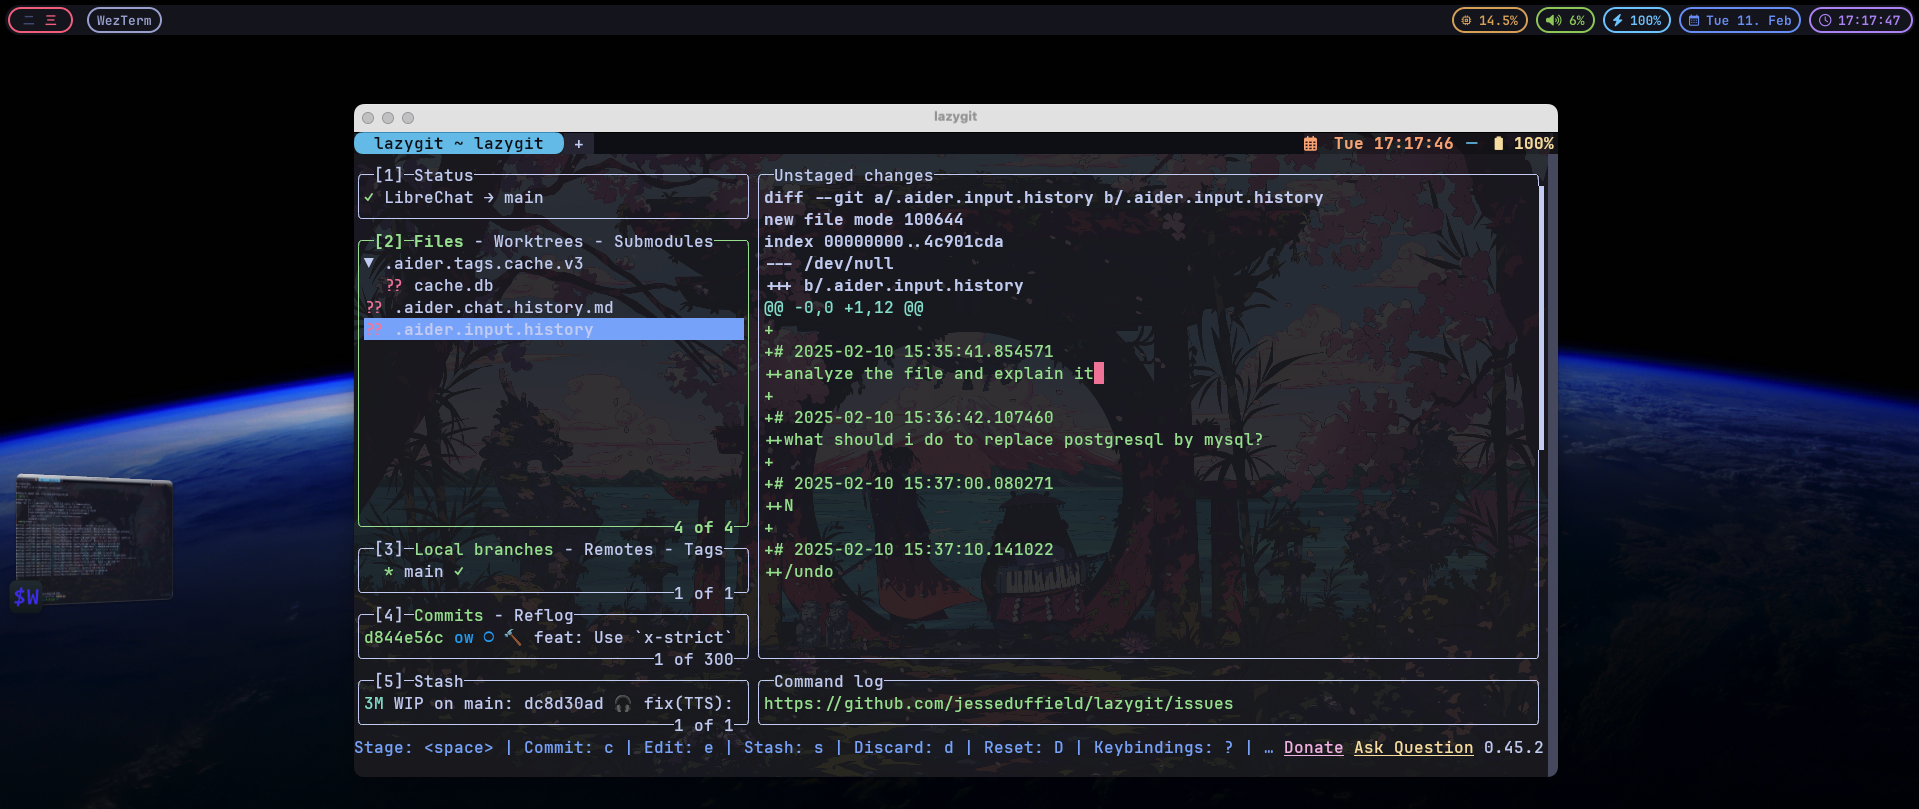 |
| Shell | Neovim | VS Code + Tmux | Warp |
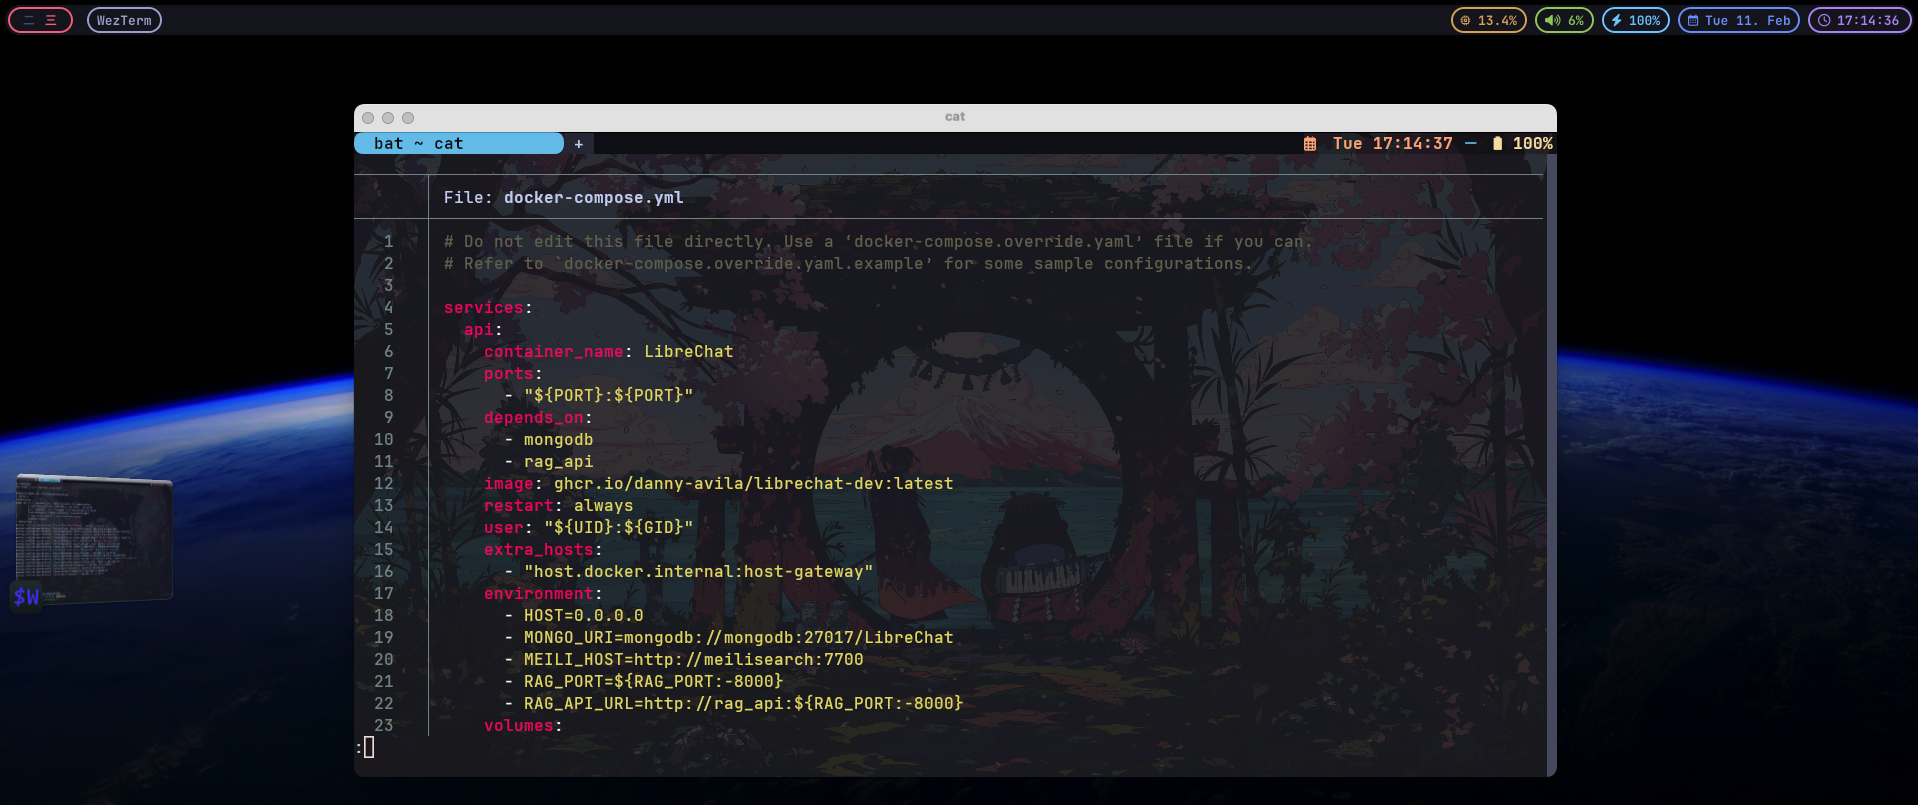 |
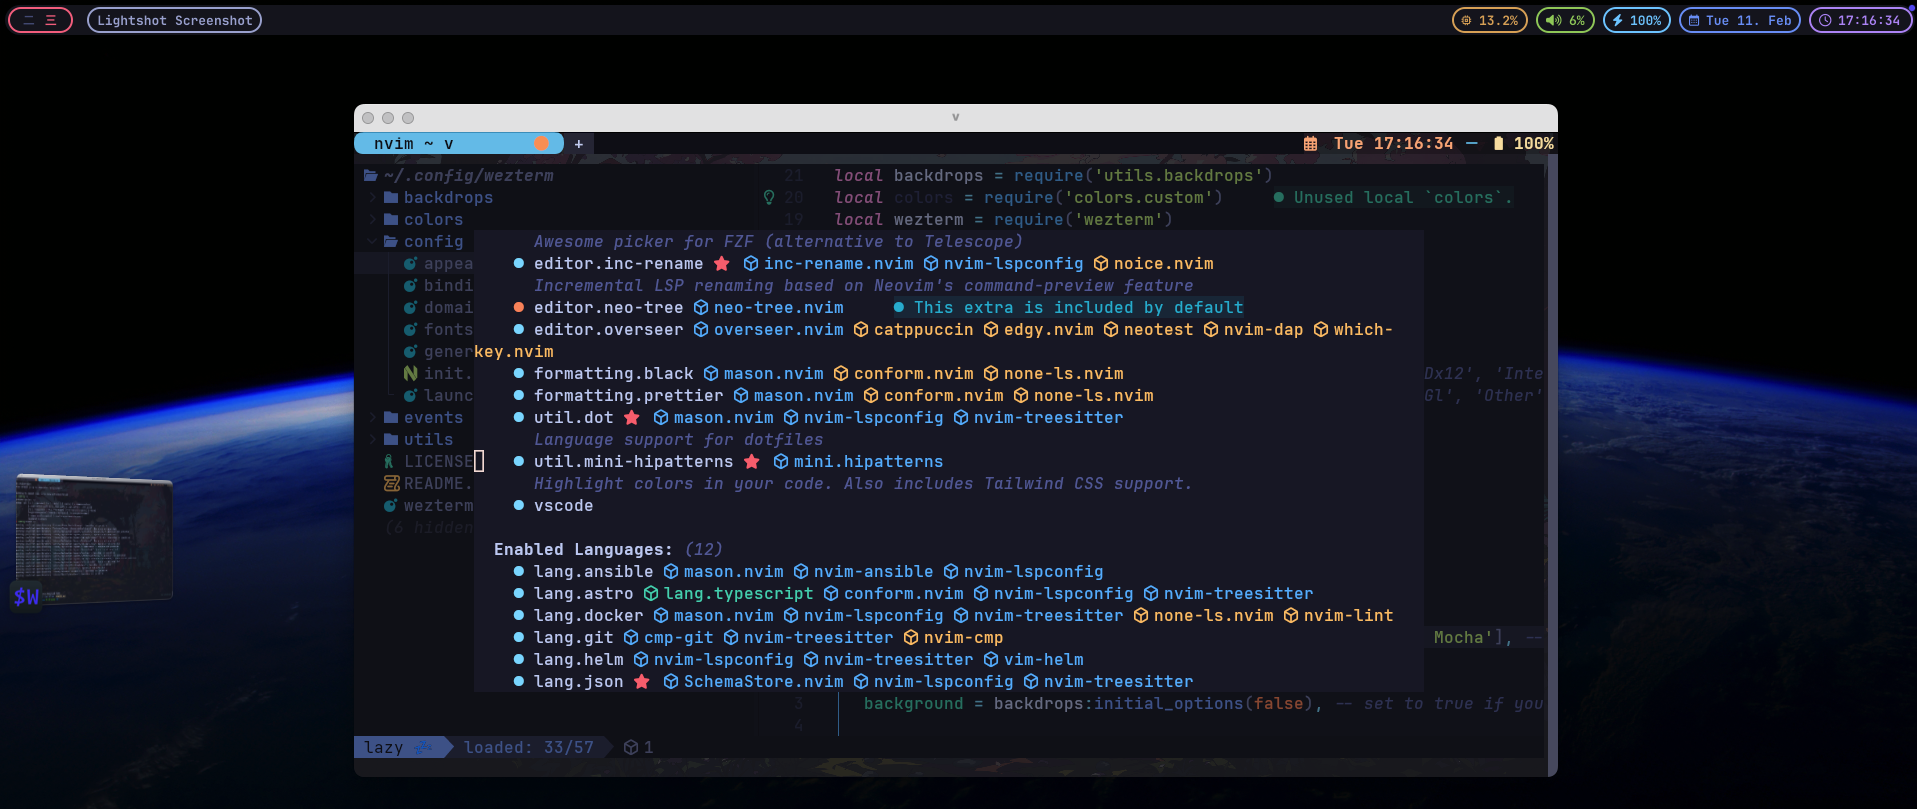 |
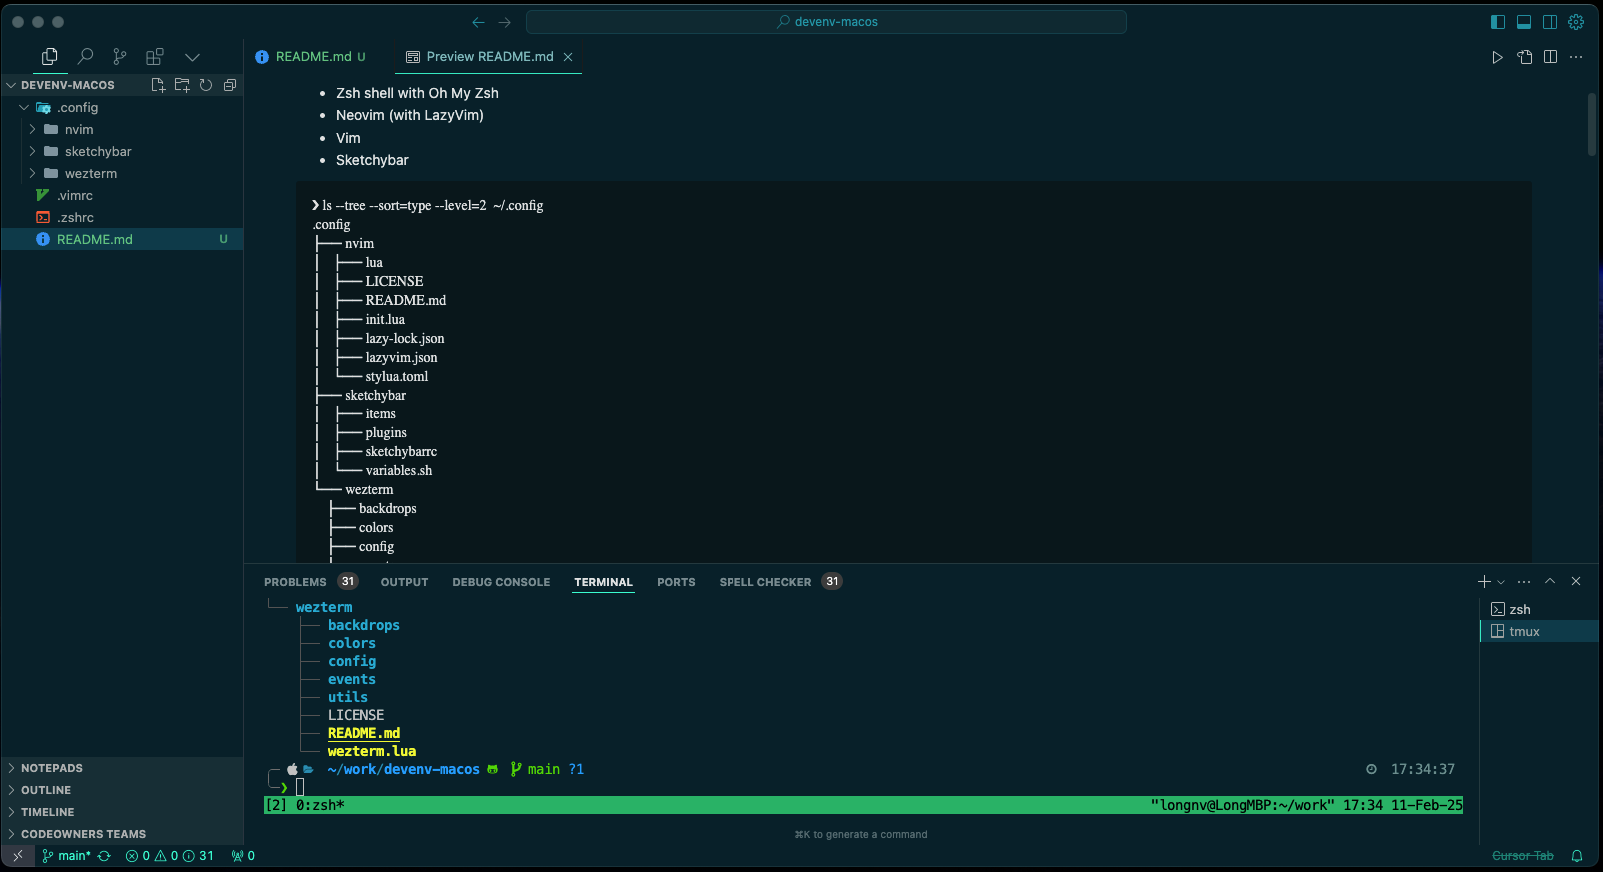 |
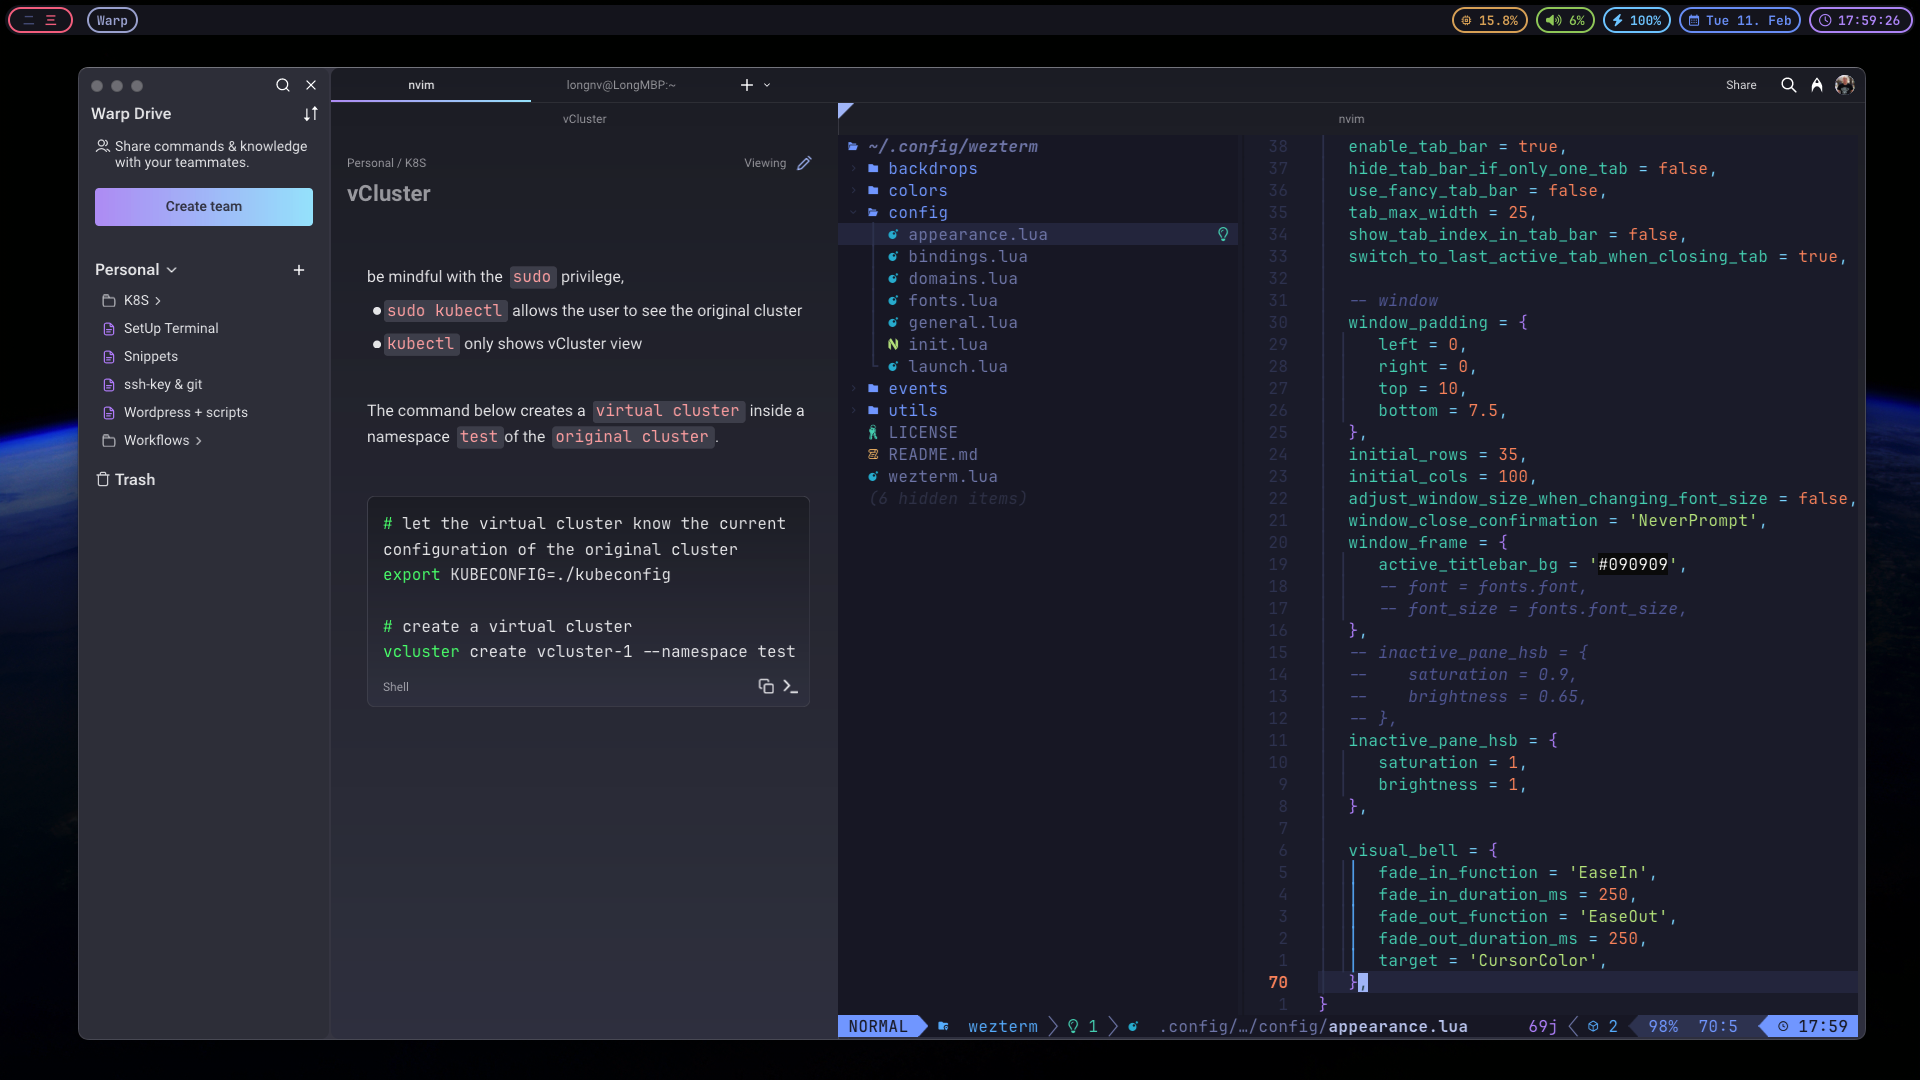 |
Getting started
1. Install Homebrew
If you don't have Homebrew yet:
/bin/bash -c "$(curl -fsSL https://raw.githubusercontent.com/Homebrew/install/HEAD/install.sh)"
2. Clone the repository
git clone https://github.com/nguyenvulong/devenv-macos.git ~/devenv-macos
cd ~/devenv-macos
3. Run the install script
./install.sh            # install Homebrew packages and link the configs
./install.sh --dry-run  # preview what would change
./install.sh --shell    # also set fish as the login shell
The script installs everything in the Brewfile and symlinks fish, ghostty, nvim, sketchybar,
starship.toml and .vimrc into your home directory. Existing files are moved to
~/.dotfiles-backup/<timestamp>/ first, and running it again is safe. Run ./install.sh --help for all options.
4. (Optional) Manage packages yourself
If you'd rather not use the script, install the packages with Homebrew Bundle:
brew bundle install
To regenerate the Brewfile from your current packages:
brew bundle dump --force
5. Set up fish as your shell
After the install, just execute fish and confirm the settings for the first time.
Make sure to check the configuration in ~/.config/fish/config.fish and ~/.config/starship.toml,
then you're good to go.
To set fish as a login shell (or run ./install.sh --shell):
echo "$(brew --prefix)/bin/fish" | sudo tee -a /etc/shells
chsh -s "$(brew --prefix)/bin/fish"
Then restart your terminal.
6. Configure Neovim
The Neovim configuration uses LazyVim as the base with additional customizations:
- Package manager: lazy.nvim
- Theme: tokyonight-moon
- LSP support for multiple languages
- Various coding and UI enhancements
- Extra plugins: undotree (
<leader>U), rainbow_csv, markdown-preview - Clipboard: system clipboard locally, OSC 52 over SSH
Plugins are installed automatically the first time you start nvim. Plugin versions are pinned in
lazy-lock.json; run :Lazy restore to install exactly those versions, or :Lazy update to upgrade them
and commit the updated lock file.
7. Start Sketchybar
The Sketchybar config is already linked by the install script, so just start the service:
brew services start sketchybar
To hide the default macOS menu bar, enable System Settings → Control Center → Automatically hide and show the menu bar → Always.
Credits
The configurations build upon these amazing projects:
- Neovim - Hyperextensible Vim-based text editor
- LazyVim - Neovim config for the lazy
- Ghostty - GPU-accelerated cross-platform terminal emulator
- Sketchybar - A highly customizable macOS status bar replacement
- Fish - The user-friendly command line shell
- Starship - A minimal, blazing-fast, and infinitely customizable prompt for any shell
Special thanks to these individuals for sharing the config files and writing.
- Michael Bao: tcmmichaelb139/.dotfiles
- Dusty Phillips: LazyVim for Ambitious Developers
License
This project is licensed under the MIT License.
Explore related projects
codecrafters-io/build-your-own-x
Master programming by recreating your favorite technologies from scratch.
561,871 starspublic-apis/public-apis
A collective list of free APIs
498,229 starsmorluto/rea
Reverse engineer anything with agents, from app behavior down to native binaries.
452,625 starsopenclaw/openclaw
The AI that really does things. Any OS. Any Platform. The lobster way. 🦞
394,365 stars