
holoviz/datashader
holoviz/datashader has 3,572 GitHub stars and 377 forks. GitHot measured 0 stars in 24 hours. Last checked 2026-11-07 17:34 UTC. Last push 2026-11-02.
Quickly and accurately render even the largest data.
Measured star growth
- in 24h
- 0
- in 7 days
- Update delayed
- in 15 days
- Update delayed
- in 1 month
- Update delayed
Net star changes over overlapping periods, not daily totals. Missing measurements are left blank. Stars measure attention, not software quality.
README.md
Original
Turn even the largest data into images, accurately
| Downloads |   |
| Build Status |  |
| Coverage |  |
| Latest dev release |   |
| Latest release |      |
| Python |  |
| Docs |   |
| Support |  |

What is it?
Datashader is a data rasterization pipeline for automating the process of creating meaningful representations of large amounts of data. Datashader breaks the creation of images of data into 3 main steps:
Projection
Each record is projected into zero or more bins of a nominal plotting grid shape, based on a specified glyph.
Aggregation
Reductions are computed for each bin, compressing the potentially large dataset into a much smaller aggregate array.
Transformation
These aggregates are then further processed, eventually creating an image.
Using this very general pipeline, many interesting data visualizations can be created in a performant and scalable way. Datashader contains tools for easily creating these pipelines in a composable manner, using only a few lines of code. Datashader can be used on its own, but it is also designed to work as a pre-processing stage in a plotting library, allowing that library to work with much larger datasets than it would otherwise.
Installation
Datashader supports Python 3.11, 3.12, 3.13, 3.14, and 3.15 on Linux, Windows, and Mac and can be installed with conda:
conda install datashader
or with pip:
pip install datashader
For the best performance, we recommend using conda so that you are sure
to get numerical libraries optimized for your platform. The latest
releases are available on the pyviz channel conda install -c pyviz datashader and the latest pre-release versions are available on the
dev-labelled channel conda install -c pyviz/label/dev datashader.
Fetching Examples
Once you've installed datashader as above you can fetch the examples:
datashader examples
cd datashader-examples
This will create a new directory called datashader-examples with all the data needed to run the examples.
To run all the examples you will need some extra dependencies. If you installed datashader within a conda environment, with that environment active run:
conda env update --file environment.yml
Otherwise create a new environment:
conda env create --name datashader --file environment.yml
conda activate datashader
Developer Instructions
Install Python 3 miniconda or anaconda, if you don't already have it on your system.
Clone the datashader git repository if you do not already have it:
git clone git://github.com/holoviz/datashader.gitSet up a new conda environment with all of the dependencies needed to run the examples:
cd datashader
conda env create --name datashader --file ./examples/environment.yml
conda activate datashader
Put the datashader directory into the Python path in this environment:
pip install --no-deps -e .
Learning more
After working through the examples, you can find additional resources linked from the datashader documentation, including API documentation and papers and talks about the approach.
Some Examples
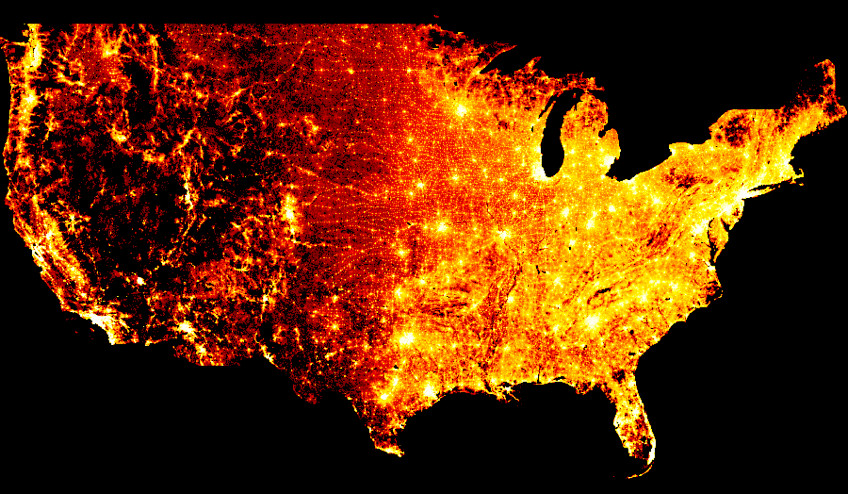
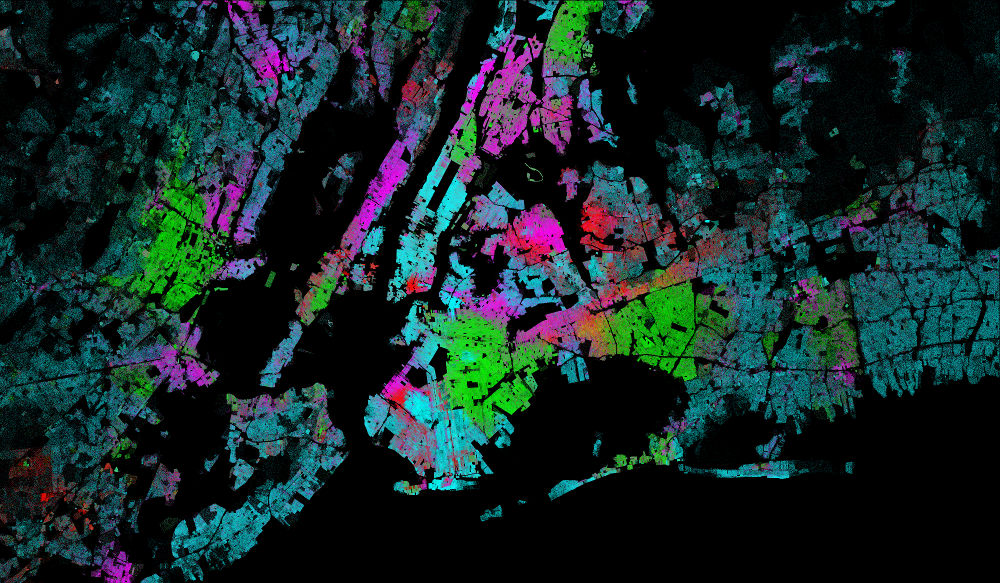
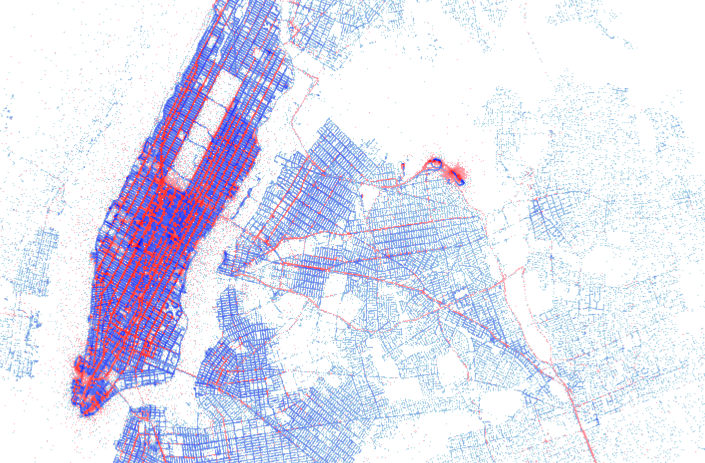
Explore related projects
codecrafters-io/build-your-own-x
Master programming by recreating your favorite technologies from scratch.
560,836 starspublic-apis/public-apis
A collective list of free APIs
497,083 starsmorluto/rea
Reverse engineer anything with agents, from app behavior down to native binaries.
441,536 starsopenclaw/openclaw
The AI that really does things. Any OS. Any Platform. The lobster way. 🦞
394,157 stars