
OutSorcerer/pocket-automl-android-tutorial
OutSorcerer/pocket-automl-android-tutorial has 27 GitHub stars and 7 forks. GitHot measured 0 stars in 24 hours. Last checked 2026-11-14 09:49 UTC. Last push 2026-07-03.
Measured star growth
- in 24h
- 0
- in 7 days
- Collecting history
- in 15 days
- Collecting history
- in 1 month
- Collecting history
Net star changes over overlapping periods, not daily totals. Missing measurements are left blank. Stars measure attention, not software quality.
About
Pocket AutoML: Tutorial for Creating an Android App for Image Classification with Deep Learning
Machine LearningREADME.md
OriginalPocket AutoML: Tutorial for Creating an Android App for Image Classification with Deep Learning
Translations
Overview
This document will walk you through the steps for creating your Android app that runs a deep learning image classification model trained in Pocket AutoML and exported in LiteRT (formerly TensorFlow Lite) .tflite format. The app will continuously classify whatever it sees from the device's back camera.
This tutorial is based on the Google AI Edge LiteRT image classification Android example.
Note: This app was modernized in 2026 — it is now written in Kotlin and uses LiteRT (formerly TensorFlow Lite; the
CompiledModelAPI) for inference, CameraX for the camera, and a current Gradle/AGP build. The previous version (Java, Camera2, and the legacy TensorFlow Lite Task Library) is preserved at thepre-modernizationtag.
If you have any issues following this tutorial please contact me (the creator of Pocket AutoML) via email at or by creating a GitHub issue.
Requirements
Android Studio Panda 4 (2025.3.4) or newer (installed on a Linux, Mac or Windows machine)
[if not using an Android emulator] an Android device in developer mode with USB debugging enabled and a USB cable (to connect an Android device to your computer)
Step 1. Train a model in Pocket AutoML
Install Pocket AutoML from Google Play Store and open it
Create a task e.g.
Kittens or Puppiesby pressing+buttonCreate a class e.g.
Kittens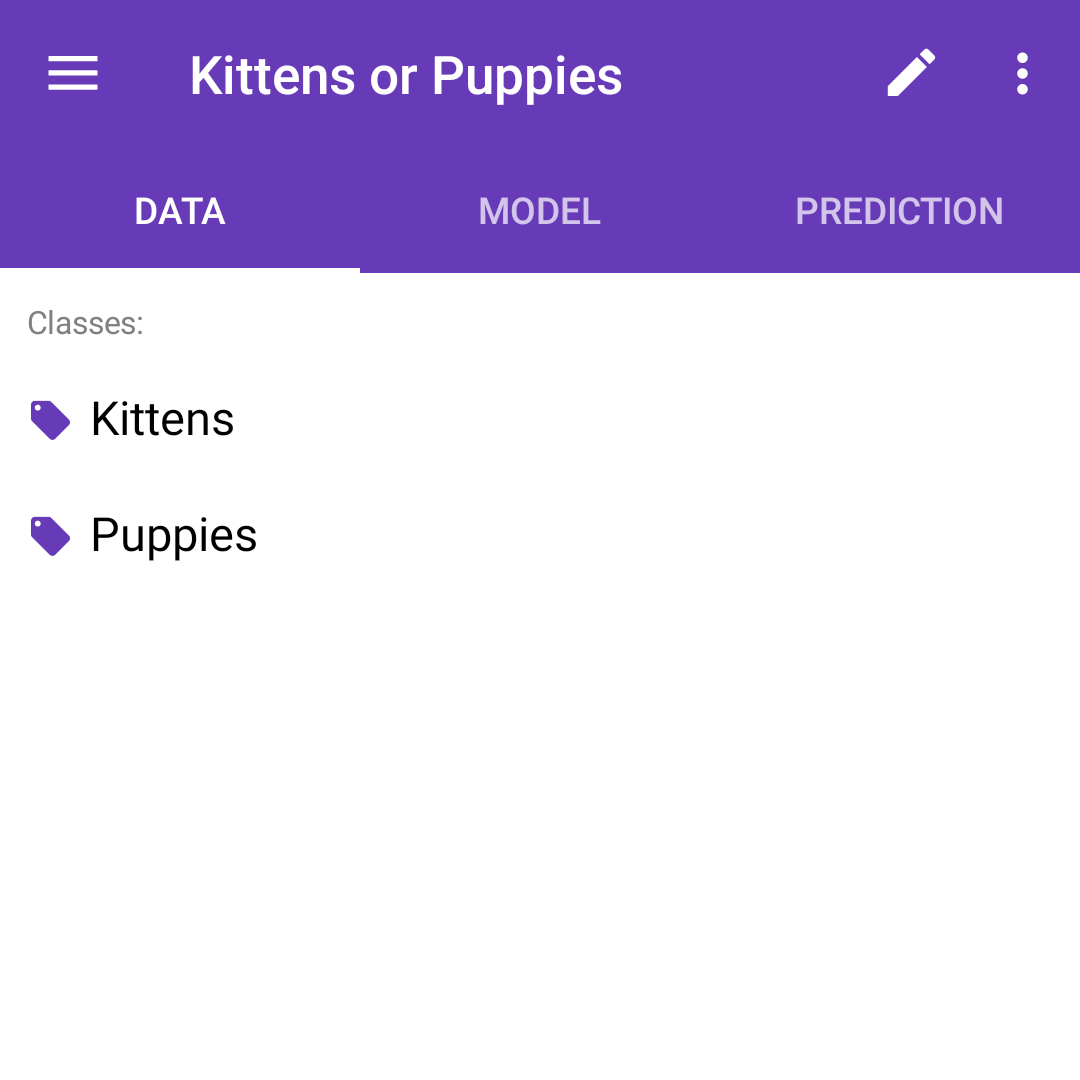
Add example images of the class by taking photos with a camera or picking them from a storage
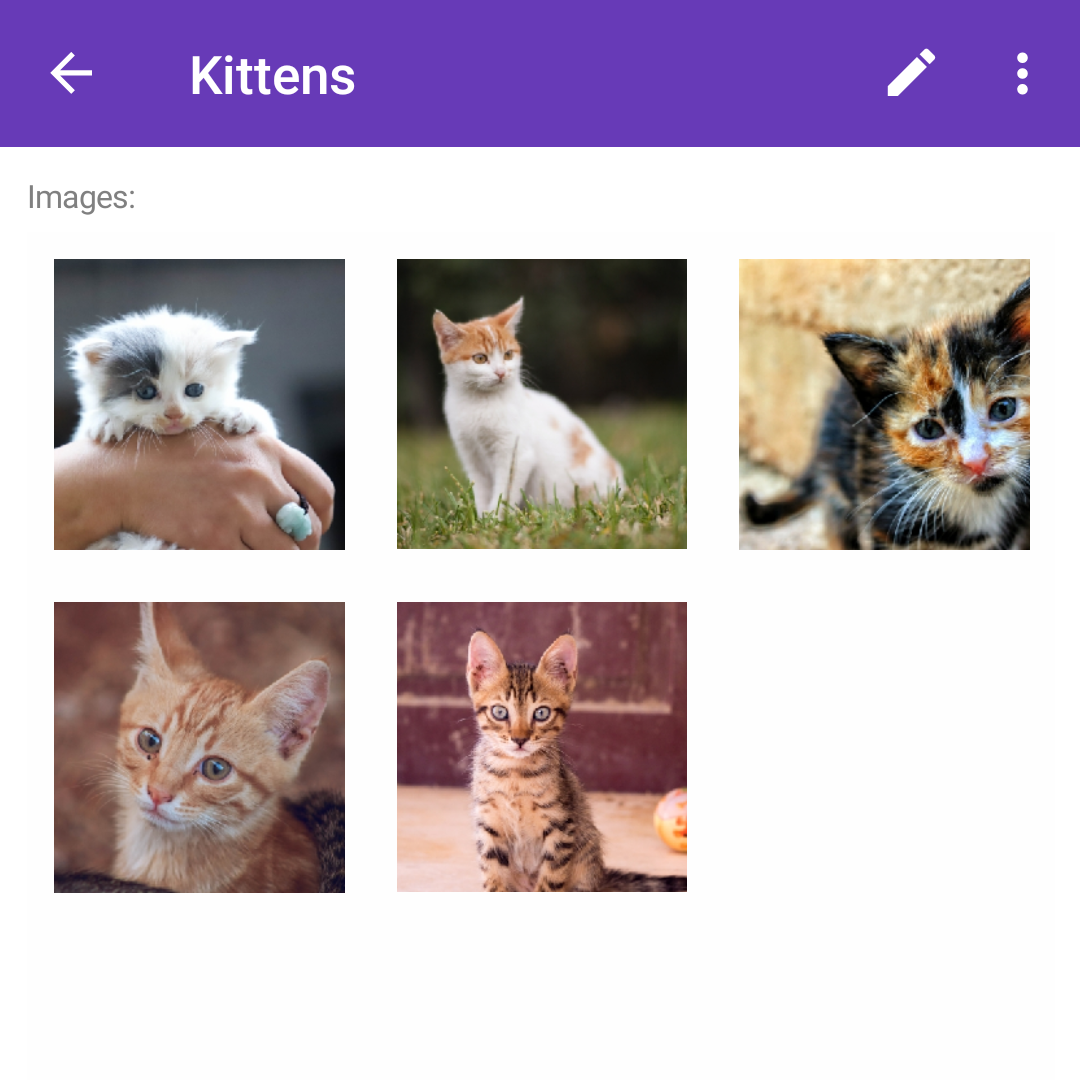
Go back to the task view by pressing
<-and repeat these steps for each classGo back to the task view by pressing
<-, switch to theMODELtab and pressTRAIN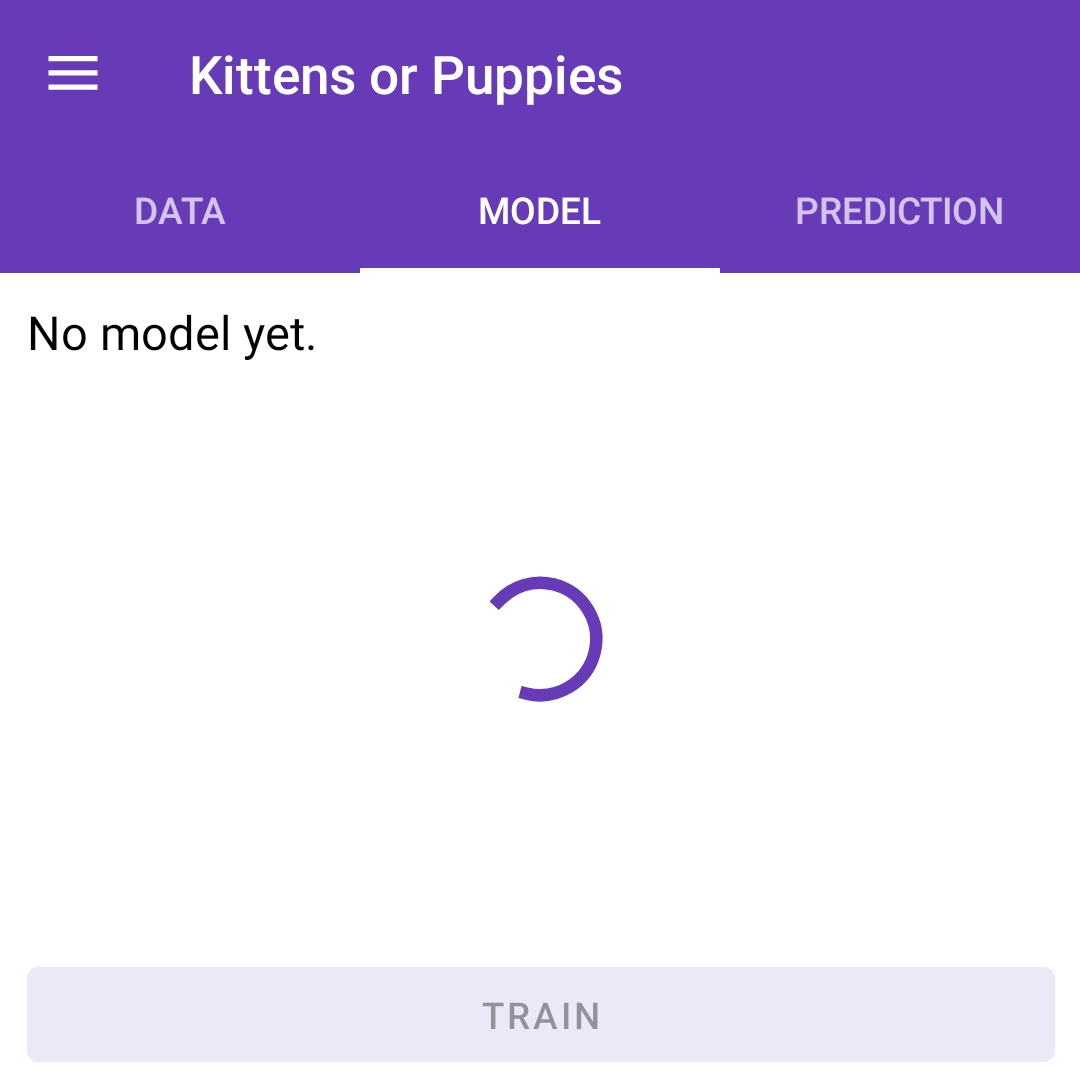
Step 2. Export a model in TF Lite format from Pocket AutoML
Press
EXPORT IN TENSORFLOW LITE FORMATThe model is downloaded to your device's
Downloadsfolder by the system download manager. Swipe down from the top of the screen to watch the download progress in the notification drawer. The export takes a few minutes.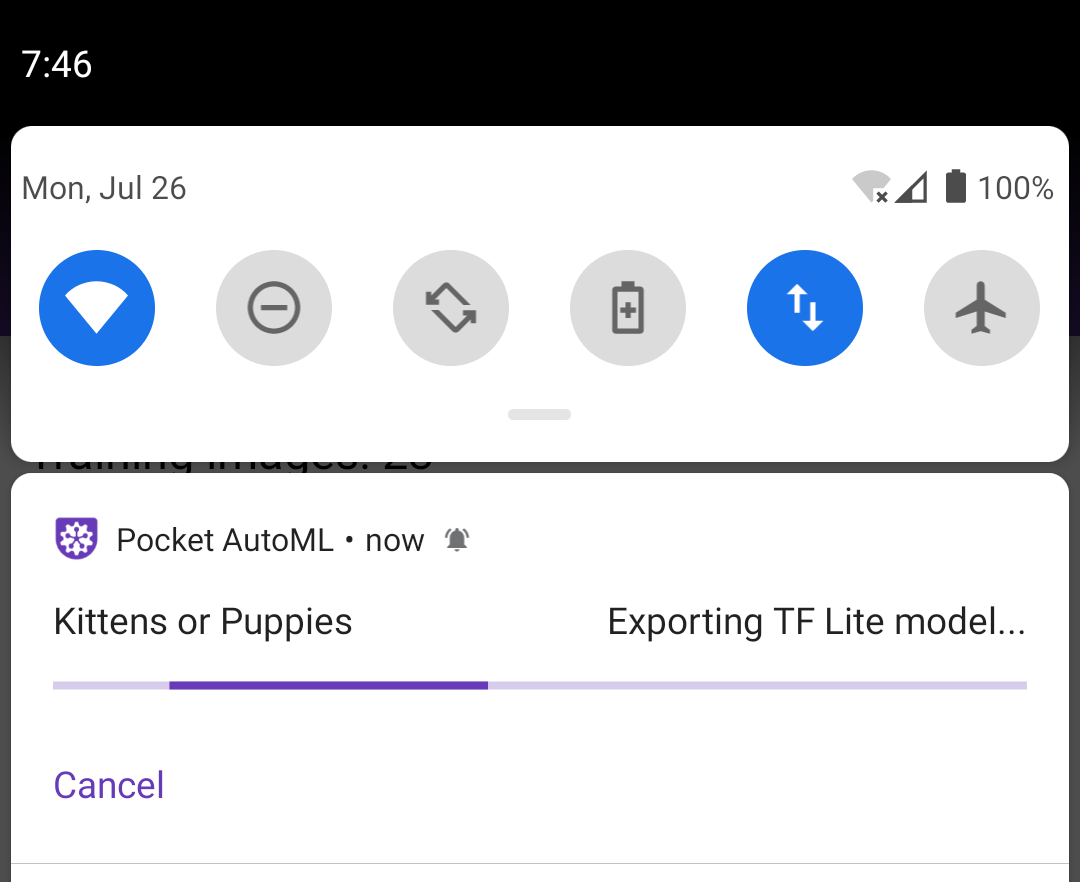
When the download is done, open the
Downloadsfolder (e.g. with theFilesapp), find<your_task_name>.tfliteand transfer it to your PC — for example by sending it to yourself via an email app like GMail or uploading it to cloud storage like Google Drive or Dropbox.
Step 3. Clone the Pocket AutoML example source code
Run the following command to get the demo application.
git clone https://github.com/OutSorcerer/pocket-automl-android-tutorial
Open the example source code in Android Studio. To do this, open Android
Studio and select Open an existing project, setting the folder to
pocket-automl-android-tutorial
This app runs inference with the LiteRT CompiledModel API. On the GPU it forces full FP32 precision (LiteRT's GpuOptions), which is what lets the EfficientNet-based Pocket AutoML model run on the GPU without producing NaN scores. Class labels and the input normalization (mean/std) are read directly from the metadata embedded in the .tflite model, so there is no separate labels file to manage at runtime (see Step 6).
Step 4. Build the Android Studio project
Select Build -> Assemble Project (you can also click the hammer 🔨 icon in the toolbar or press Ctrl+F9 / Cmd+F9) and check that the project builds successfully.
Android Studio will prompt you to download any missing components (such as the
Android SDK and build tools).
Step 5. Install and run the app
Follow this step to make sure that the example runs successfully in your environment using its built-in models. The following step will demonstrate how to add your custom model from Pocket AutoML into the example app.
Run on a device
If you are willing to test the app on an Android device, connect the device to the computer and be sure to approve any ADB
permission prompts that appear on your phone. Select your device in the target device dropdown at the top of Android Studio
(connected devices also appear in the Device Manager). Then click Run -> Run 'app' from the main menu of Android Studio
to build and install the app on the selected device.
Run on an an emulator
If you are willing to test the app on an Android emulator
- open
Tools -> Device Managerand click+ -> Create Virtual Device - choose a device definition e.g.
Medium Phone(this controls its screen resolution and density) and clickNext - select the API level —
Android 16 (API level 36)or newer is recommended to match the app's target SDK (the app requires API level 24 or higher) - select a system image, preferably the one marked with a star, which is recommended for your system
- click
Finish - select the newly created device in the
Device Managerand clickRun -> Run 'app'from the main menu of Android Studio
If you want to know more, see Create and manage virtual devices in Android documentation.
To test the app, open the app called Pocket AutoML Predictor on your device or emulator.
When you run the app the first time, the app will request permission to access the camera.
Re-installing the app may require you to uninstall the previous installations.
Step 6. Add your model from Pocket AutoML into the example app
At this point you must have your
<your_task_name>.tflitemodel exported from Pocket AutoML. The class labels are embedded in the model's metadata, which the LiteRT Metadata library reads directly at runtime — there is nothing else to prepare.Copy
<your_task_name>.tfliteintopocket-automl-android-tutorial/app/src/main/assetsOpen
ImageClassifierHelper.kt(by clickingNavigate -> Search Everywhereor pressingShifttwice and typing its name) and, insetupImageClassifier(), point theMODEL_POCKET_AUTOMLbranch of thewhen (currentModel)block at your file:MODEL_POCKET_AUTOML -> "<your_task_name>.tflite"Run the app. The Pocket AutoML model is selected by default; you can also swipe up the bottom sheet and pick it from the
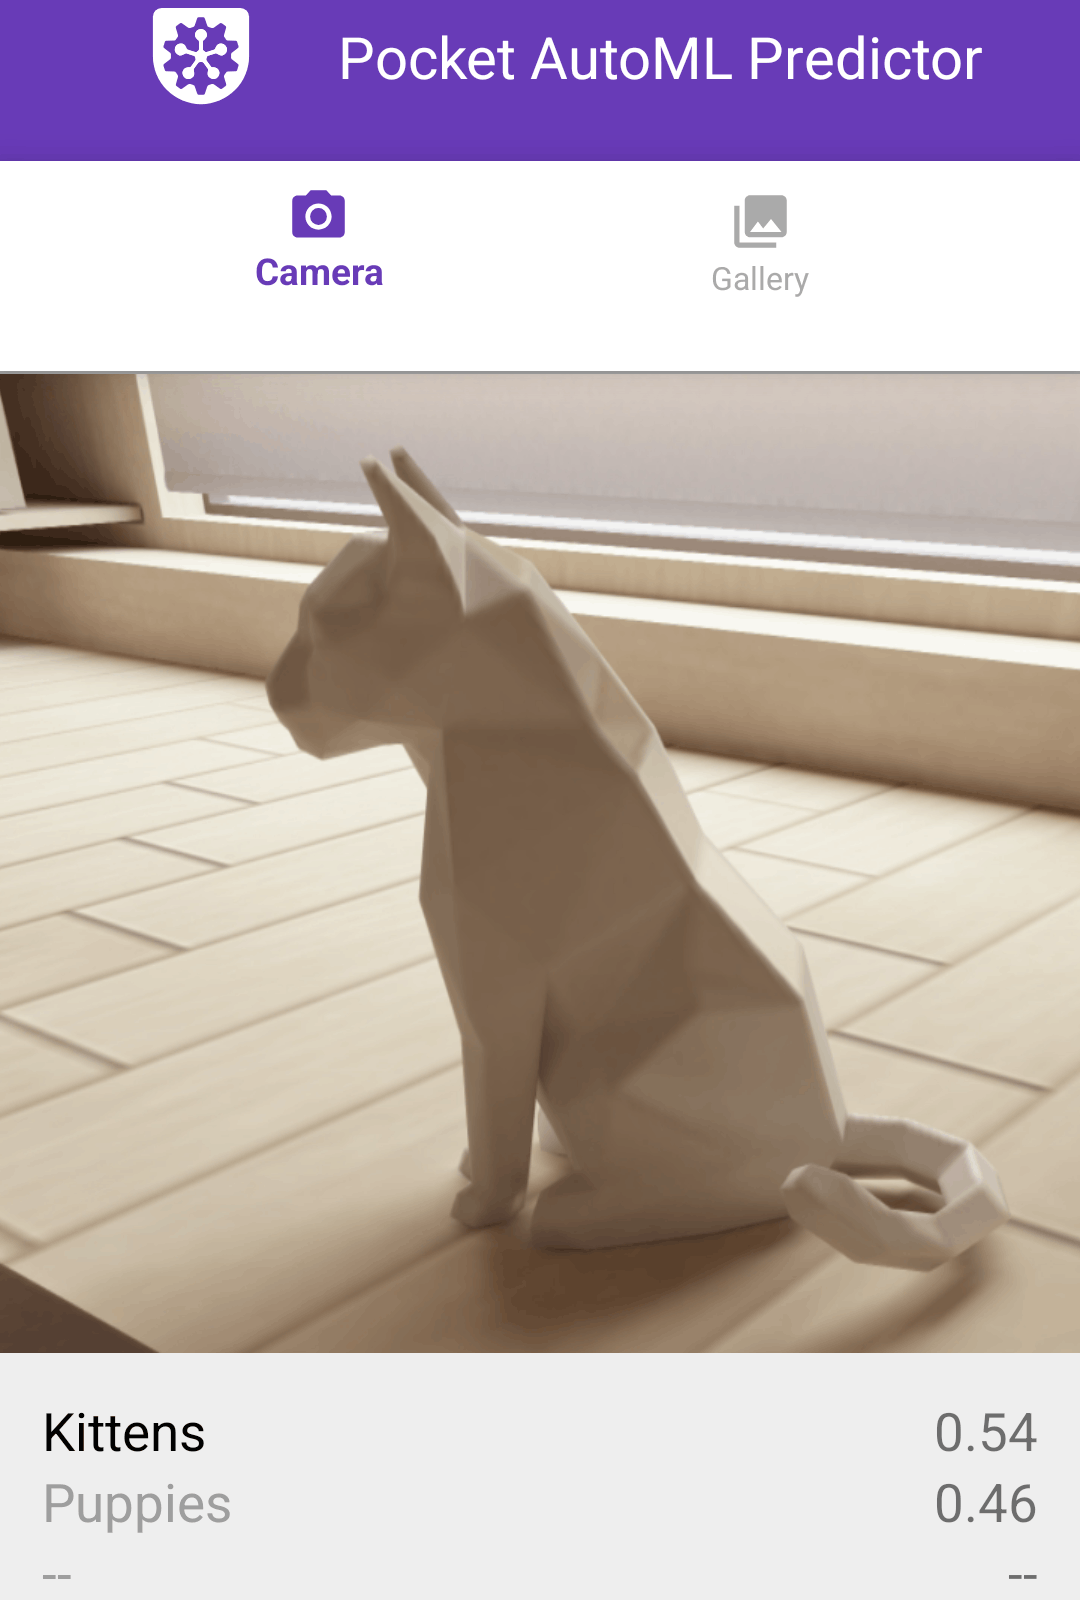
ML Modeldropdown menu.You will see the predicted class and its probability, with the other classes below. Well done!
Next steps
Applications
Do you have a task at hand that can be solved with a help of an image classification model running in a mobile app? It could be sorting lego bricks or controlling a robot with hand gestures.
I will be excited to know what you have built with the help of Pocket AutoML and this tutorial and will add links to Play Store or GitHub into this document.
Other platforms
TF Lite can run not only on Android but on other platforms as well including iOS, embedded Linux devices like Raspberry Pi or Coral and microcontrollers.
Other model training methods
You can try other no-code or low-code deep learning solutions like Teachable Machine, Roboflow, Create ML, Google Cloud AutoML, Azure Custom Vision, LandingLens, Edge Impulse or MediaPipe Model Maker.
Pocket AutoML uses transfer learning approach, you can also implement it yourself using a tutorial Transfer learning and fine-tuning in Google Colab.
Learning deep learning
If you want to learn how to train better models and have a systematic understanding or deep learning I recommend Deep Learning Specialization and Machine Learning Engineering for Production (MLOps) Specialization on Coursera.
License
Explore related projects
tensorflow/tensorflow
An Open Source Machine Learning Framework for Everyone
201,592 starshuggingface/transformers
🤗 Transformers: the model-definition framework for state-of-the-art machine learning models in text, vision, audio, and multimodal models, for both inference and training.
168,962 starsAUTOMATIC1111/stable-diffusion-webui
Stable Diffusion web UI
165,311 starsComfy-Org/ComfyUI
The most powerful and modular diffusion model GUI, api and backend with a graph/nodes interface. The fastest local inference engine in the world.
146,752 stars