
NatLee/batch-crop-images
NatLee/batch-crop-images has 76 GitHub stars and 4 forks. GitHot measured 0 stars in 24 hours and 0 in 7 days. Last checked 2026-11-15 07:09 UTC. Last push 2026-11-04.
Measured star growth
- in 24h
- 0
- in 7 days
- 0
- in 15 days
- Collecting history
- in 1 month
- Collecting history
Net star changes over overlapping periods, not daily totals. Missing measurements are left blank. Stars measure attention, not software quality.
About
Crop a whole folder of images with one box: draw it once in an OpenCV window (or pass --box / a preset) and batch-crop applies it to every image.
Developer ToolsREADME.md
Original
batch-crop-images




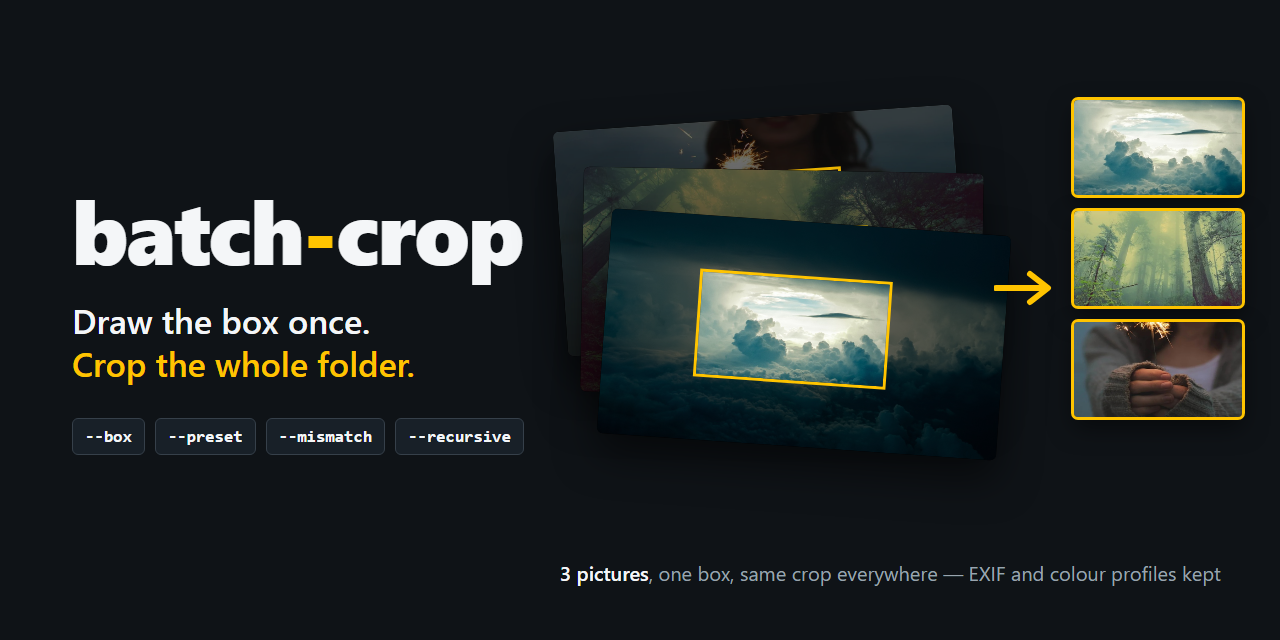
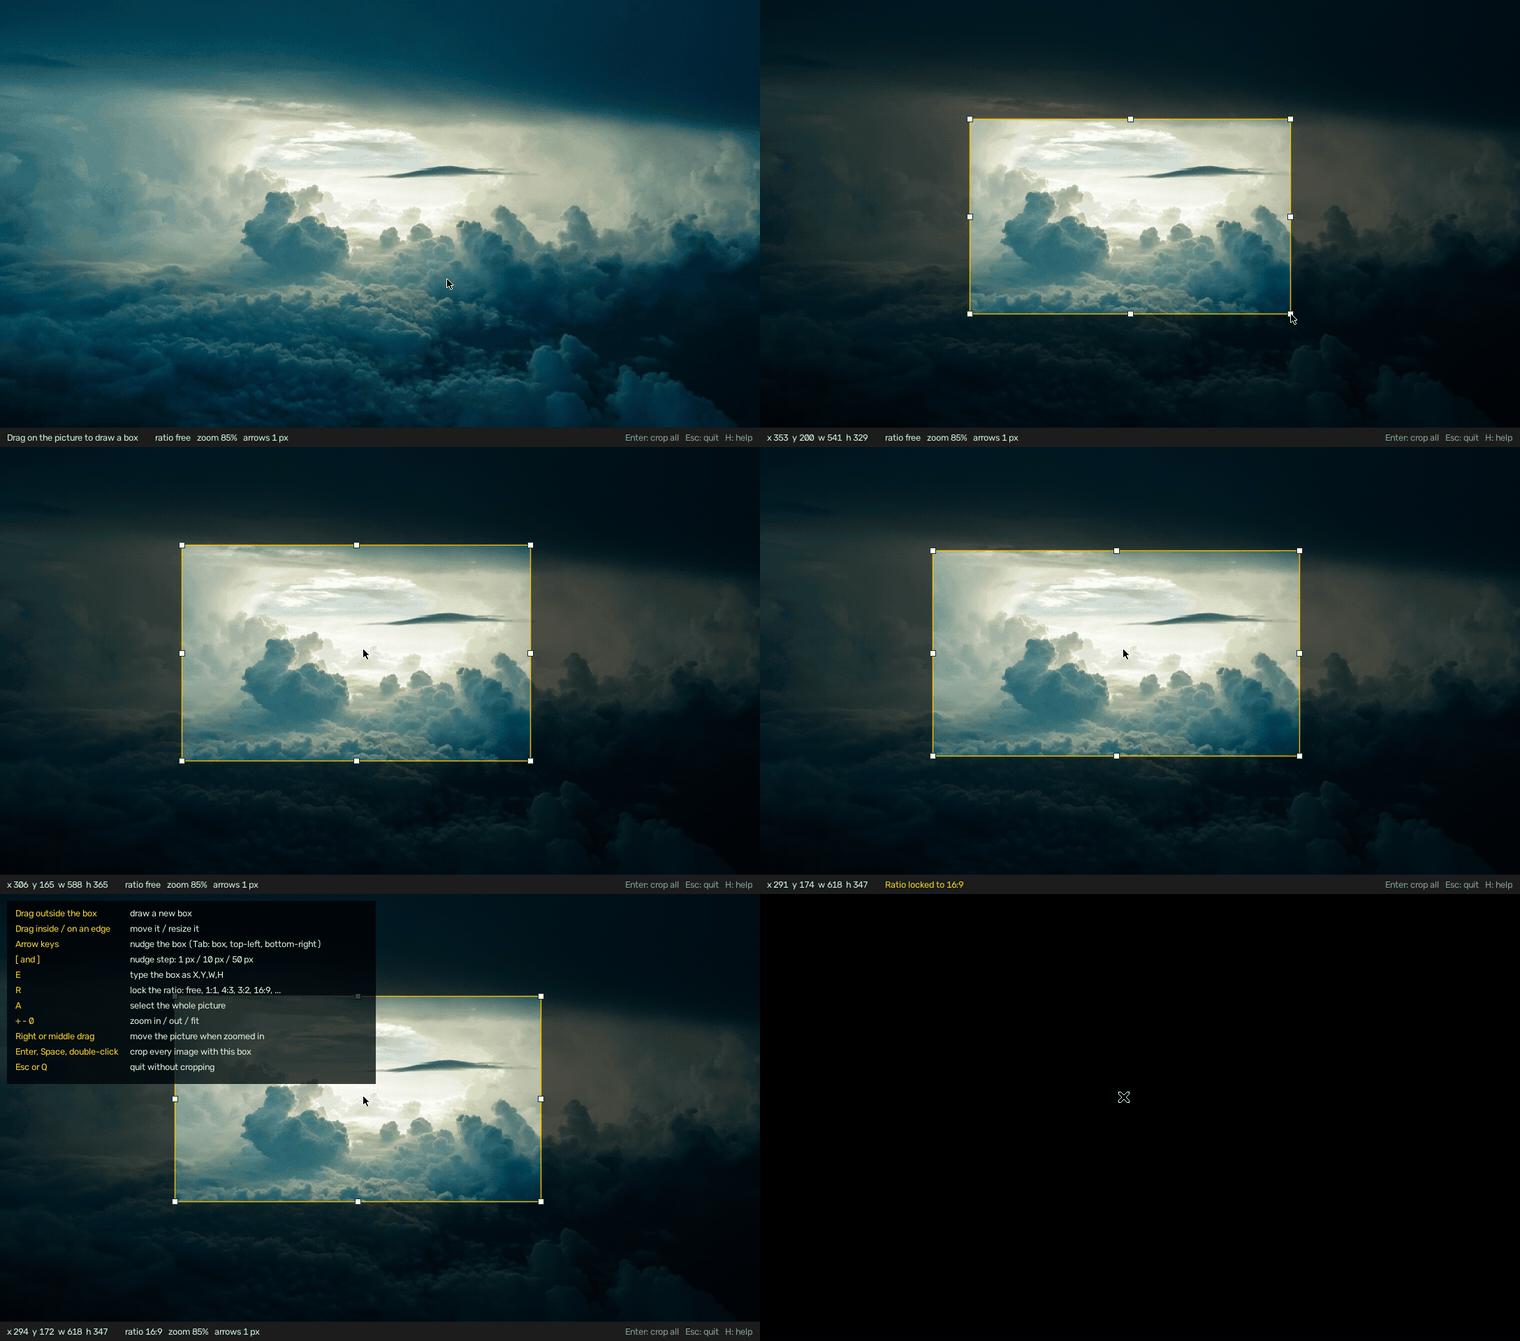
Draw a crop box once, on one picture, and every picture in the folder gets the same crop. It is made for images that share a layout: screenshots, scans, video frames, product photos, dataset images. A window lets you draw the box and fine-tune it to the pixel. After that you can repeat the exact same crop from the command line, without the window.
Install
You need Python 3.10 or newer.
pip install "git+https://github.com/NatLee/batch-crop-images.git"
That gives you the batch-crop command (python -m batch_crop works too).
Working from a clone, the original way still works:
git clone https://github.com/NatLee/batch-crop-images.git
cd batch-crop-images
pip install -r requirements.txt
python main.py --input_path img/input --output_path img/result
On a minimal Linux system the window may need OpenGL and GLib: sudo apt install libgl1 libglib2.0-0.
Quick start
batch-crop -i photos -o cropped
- The first picture (by name) opens in a window. Big pictures are shown smaller so they fit the screen.
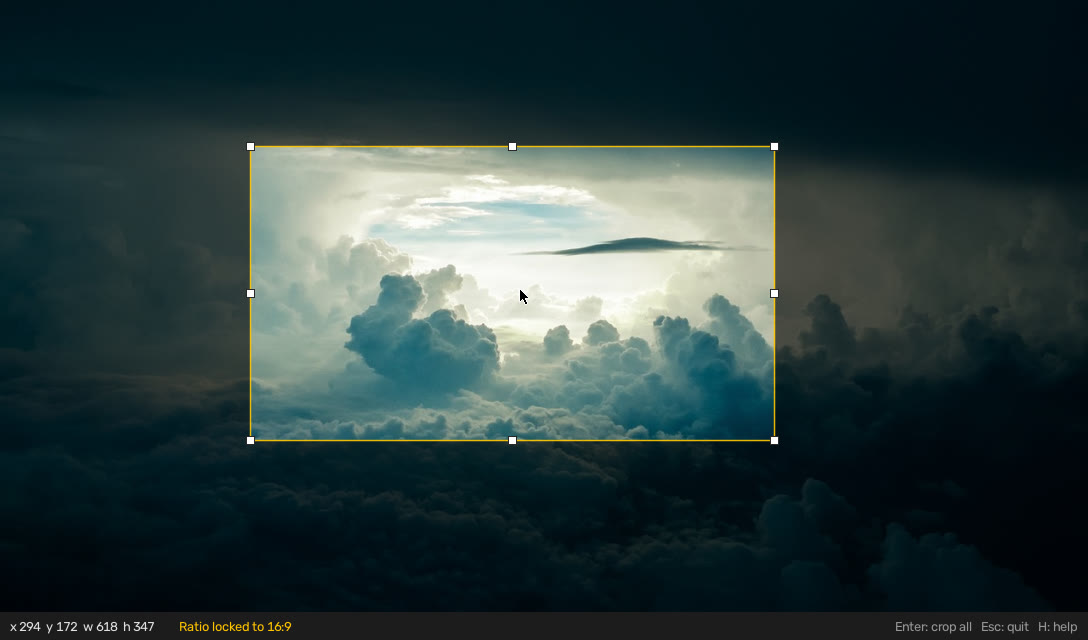
- Drag a box. Drag inside it to move it, drag an edge or a corner to resize it, and use the arrow keys to nudge it one pixel at a time.
- Press Enter. Every picture in
photosis cropped intocropped, with the same file name and format. The originals are not changed.
The command then prints the box, so you can crop more pictures the same way without the window:
Crop box: 294,172,618,347 (x,y,width,height) on the 1280x720 reference image 1.jpg
To crop the same way without the window, add --box 294,172,618,347
In the window
| Do this | To |
|---|---|
| Drag outside the box | draw a new box (in any direction) |
| Drag inside the box / on an edge or corner | move it / resize it |
| Arrow keys | nudge the box by 1 px; Tab switches to nudging the top-left or bottom-right corner |
[ and ] |
nudge step 1, 10 or 50 px |
E |
type the box as X,Y,W,H, then Enter |
R |
lock the ratio: free, 1:1, 4:3, 3:2, 16:9, 3:4, 2:3, 9:16 |
A |
select the whole picture |
+ - 0 |
zoom in, zoom out, fit (Windows and macOS: the mouse wheel too) |
| Right or middle drag | move the picture while zoomed in |
| Enter, Space, or double-click in the box | crop every picture |
Esc or Q (or close the window) |
quit; nothing is written |
H |
show all keys |
On Linux, OpenCV's window zooms with the mouse wheel by itself; use + and - instead, because a
left drag pans that built-in zoom.
Examples
The examples use the demo pictures in img/input: two are 1280×720, one is 1280×853.
Crop without the window
batch-crop -i img/input -o cropped --box 294,172,618,347 --mismatch stretch
Input:  /home/me/batch-crop-images/img/input  (3 images)
Output: /home/me/batch-crop-images/cropped
Crop box: 294,172,618,347 (x,y,width,height) on the 1280x720 reference image 1.jpg
written     cropped/1.jpg
written     cropped/2.jpg
written     cropped/3.jpg  (stretched from 1280x853 to 1280x720)
Done in 0.1 s: 3 written, 0 skipped, 0 failed.
Save the box, reuse it later
batch-crop -i img/input -o cropped --save-preset box.json      # draw once, save the box
batch-crop -i more-pictures -o cropped --preset box.json        # same box, no window
The preset is plain JSON: the box and the size of the picture it was drawn on.
{
  "format": "batch-crop-preset",
  "version": 1,
  "box": {"x": 294, "y": 172, "width": 618, "height": 347},
  "reference_size": {"width": 1280, "height": 720}
}
Pictures of different sizes
The box is drawn on one picture, the reference (the first by name, or --reference FILE).
--mismatch decides what happens to pictures of another size:
--mismatch |
What happens | Output size |
|---|---|---|
ask (default) |
asks for each picture; yes = stretch, no = stop before writing anything |
box size |
stretch |
resizes the picture to the reference size, then crops | always the box size |
scale |
scales the box with the picture: the same part of every picture | grows and shrinks |
anchor |
keeps the box's pixel size and its distance to --anchor (center, top, bottom-right, …) |
always the box size |
skip |
leaves those pictures out | — |
Try them with --dry-run, which shows the plan and writes nothing:
batch-crop -i img/input -o cropped --box 294,172,618,347 --mismatch scale --dry-run
would write cropped/1.jpg
would write cropped/2.jpg
would write cropped/3.jpg  (scale: box 294,204,618,411 on 1280x853)
Dry run: 3 would be written, 0 skipped, 0 failed. Nothing was written.
anchor suits screenshots of windows that changed size: anchor to the side your area is attached to.
batch-crop -i screenshots -o panels --box 960,0,320,720 --mismatch anchor --anchor top-right
More
batch-crop -i photos -o cropped --aspect 1:1          # open the window with the ratio locked to a square
batch-crop -i photos -o cropped --recursive           # include sub-folders; the output mirrors them
batch-crop -i photos -o cropped --skip-existing       # keep files already in the output folder
batch-crop -i photos -o cropped --ext jpg png webp    # choose the file types (any letter case)
batch-crop -i photos -o cropped --quality 90 -j 4     # JPEG/WebP quality, 4 pictures at a time
What is kept
- Format and name:
photo.jpgbecomes a croppedphoto.jpg; PNG stays PNG. - Quality: JPEG and WebP are saved at quality 95 (as before), or
--quality. - Metadata: EXIF (camera, date), the colour profile (ICC) and DPI are copied.
- Pixels: transparency, palettes and 16-bit depth are kept. Phone photos that are stored sideways are turned upright first, the way a photo viewer shows them.
- Originals: never touched, unless you choose the input folder as the output folder.
- File names: any characters work, including Chinese or Japanese names on Windows.
How it works
flowchart LR
    A[Input folder] --> B{Where does the box come from?}
    B -- "--box / --preset" --> D[Plan every picture]
    B -- "otherwise" --> C[Window: draw, adjust, Enter] --> D
    D -- "same size as the reference" --> E[Crop the box as drawn]
    D -- "other size" --> F{"--mismatch"}
    F -- "ask / stretch" --> G[Resize to the reference, crop]
    F -- "scale" --> H[Scale the box, crop]
    F -- "anchor" --> I[Move the box with the anchor, crop]
    F -- "skip" --> J[Leave it out]
    E & G & H & I --> K[Write in parallel, keep EXIF and ICC] --> L[Output folder]
Planning only reads the picture headers and asks its questions before anything is written, so
saying "no" or using --dry-run never leaves half a batch behind.
All options
batch-crop --help
usage: batch-crop [-h] [-i DIR] [-o DIR] [-r] [--ext EXT [EXT ...]] [--reference IMAGE]
                  [--box X,Y,W,H | --preset FILE] [--save-preset FILE] [--aspect W:H]
                  [--mismatch MODE] [--anchor SIDE] [--quality Q] [--skip-existing] [-n] [-j N]
                  [--quiet] [--version]

Draw a crop box on one image; every image in the folder is cropped the same way.

options:
  -h, --help            show this help message and exit

images:
  -i DIR, --input DIR, --input_path DIR
                        folder with the images to crop (default: img/input)
  -o DIR, --output DIR, --output_path DIR
                        folder for the cropped copies, created when missing (default: img/result)
  -r, --recursive       include sub-folders; the output folder gets the same sub-folders
  --ext EXT [EXT ...]   file extensions to crop, in any letter case (default: jpg jpeg png)
  --reference IMAGE     image to draw the box on and to compare sizes with (default: the first by
                        name)

crop box:
  --box X,Y,W,H         crop this box (pixels of the reference image) instead of drawing it
  --preset FILE         use a box saved earlier with --save-preset
  --save-preset FILE    save the box to FILE, to re-run the batch later without the window
  --aspect W:H          lock the box in the window to a ratio such as 16:9 or 1:1 (R in the window
                        cycles)

images of another size than the reference:
  --mismatch MODE       ask, stretch, scale, anchor or skip, explained below (default: ask)
  --anchor SIDE         for --mismatch anchor: center, top, bottom-right, ... (default: center)

output:
  --quality Q           JPEG and WebP quality, 1-100 (default: 95, the same as before)
  --skip-existing       keep files that already exist in the output folder (default: overwrite
                        them)
  -n, --dry-run         show what would be written; write nothing

running:
  -j N, --jobs N        images processed at the same time (default: 0, one per CPU core)
  --quiet               print only problems and the summary
  --version             show program's version number and exit
Exit codes: 0 done, 1 some pictures failed or you cancelled, 2 bad arguments or input folder.
Coming from the old script?
Everything you used still works: python main.py --input_path … --output_path …, the same defaults
(img/input → img/result), the same file names, JPEG quality 95, and the same size question.
Three things changed on purpose:
- Releasing the mouse no longer starts cropping right away, so you can adjust the box first. Press Enter (or Space, or double-click inside the box).
- The size question is asked before anything is written, instead of halfway through the batch.
- Upper-case extensions such as
.JPGare now included, and pictures are taken in name order.
Development
pip install -e ".[test,lint]"
python -m pytest                     # engine, files, CLI and window logic; no screen needed
ruff check . && ruff format --check . && mypy
The window itself is tested by driving it with a real mouse and keyboard on a virtual screen:
docker build -f tests/gui/Dockerfile -t batch-crop-gui .
docker run --rm batch-crop-gui
On Windows, BATCH_CROP_GUI_TESTS=1 python -m pytest -m gui does the same on your desktop.
The demo GIF, the window screenshot and img/result are recorded with
docs/demo/record.sh; the cover is docs/images/cover.html.
Credits
The demo pictures are from Free-Photos on Pixabay.