
AmbireTech/extension
AmbireTech/extension has 74 GitHub stars and 32 forks. GitHot measured +1 stars in 24 hours. Last checked 2026-11-17 16:31 UTC. Last push 2026-11-12.
Measured star growth
- in 24h
- +1
- in 7 days
- Update delayed
- in 15 days
- Update delayed
- in 1 month
- Update delayed
Net star changes over overlapping periods, not daily totals. Missing measurements are left blank. Stars measure attention, not software quality.
About
Your Web3 wallet that just works, on browser and mobile.
SecurityREADME.md
Original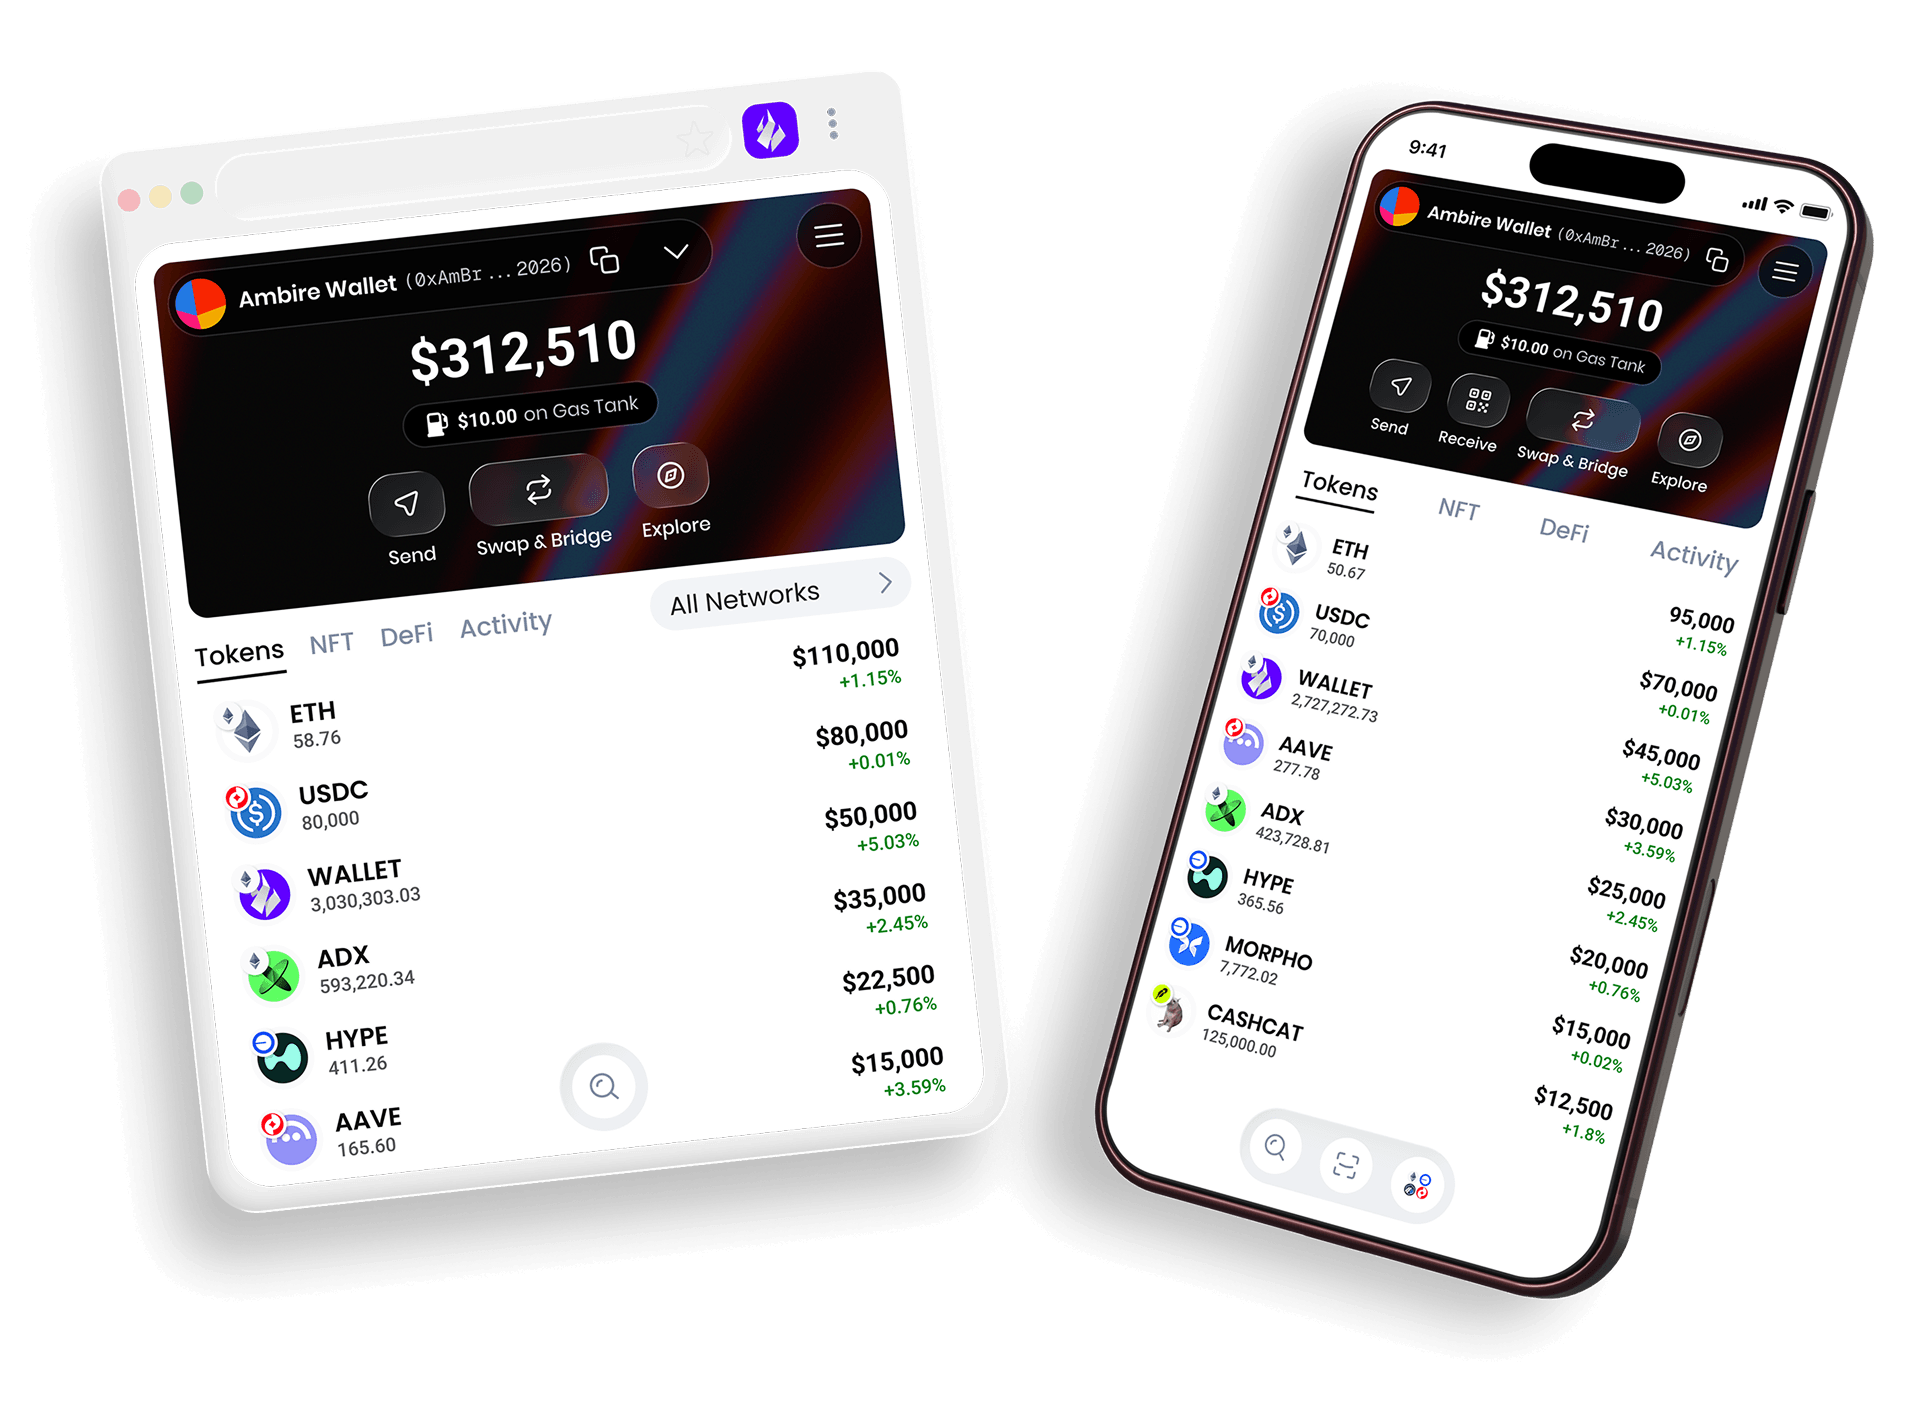
Ambire Wallet
Your Web3 wallet that just works, on browser and mobile.
A self-custody wallet for Ethereum and EVM networks, with EIP-7702 smart accounts, Safe multisig, and hardware wallet support. The browser extension and mobile app are built from this one codebase.
Downloads
💻 Browser extension:
Chrome ·
Brave ·
Firefox ·
Edge ·
Opera ·
Arc
📱 Mobile app:
iOS ·
Android
👥 Join the community:
X (Twitter) |
Discord |
Telegram
🐞
Report a Bug ·
Get help
Third-party integrations
Ambire is self-custodial: it never takes custody of user funds and is not a counterparty to any trade. Where a feature relies on third-party services, the providers, their public documentation and terms, and any fee are documented per feature:
- Swap & Bridge - a user interface on top of independent third-party aggregators
- Explore - a directory of bookmarks to public third-party websites, opened in the user's own browser or, on mobile, in an in-app browser
Environment Setup
Built in a hybrid approach (with React Native and React Native Web) so that in a single codebase we can support building cross-browser extensions, mobile apps and web apps.
This project is built with Expo's bare workflow, allowing us to extend the default Vanilla React Native with additional expo modules in the form of installable expo libraries.
More about the environment setup and prerequisites here.
Toolchain versions are pinned in the repo, so use a version manager that reads them (nvm, rbenv, jenv, etc.)
| Tool | File | Target |
|---|---|---|
| Node | .nvmrc |
All apps |
| Yarn | package.json |
All apps |
| Ruby | .ruby-version |
iOS |
| Xcode | .xcode-version |
iOS |
| CocoaPods | Gemfile |
iOS |
| JDK | .java-version |
Android |
Yarn and CocoaPods are not picked up by a version manager: Yarn is pinned via packageManager/engines in package.json, CocoaPods via the Gemfile (run it through bundle exec, see "Mobile Apps").
Install
Install all dependencies:
yarn setup
Install the ambire-common submodule, a common ground for the Ambire apps, run:
git submodule init
git submodule update
Environment Variables
Create ".env" file in the root directory and fill in all variables, see ".env-sample" for a reference.
Crash Analytics
Ambire sends anonymous crash reports to a self-hosted Sentry, so we can find and fix bugs without asking anyone to reproduce them.
The safeguards we use to keep private keys, seed phrases, passwords and other sensitive data out of these reports are documented in CRASH-ANALYTICS.md.
Users can opt out of sending crash analytics at any time from Settings - Privacy opt-outs.
Editor Config
Make sure your code editor has plugins that support the following configuration files: .editorconfig, .prettierrc, tsconfig.json, eslintrc.js, import-sorter.json.
Browser Extensions
Development-optimized Builds
Start the browser extension for webkit browsers (tested mostly on Chrome and Brave):
yarn web:webkitThen follow the instructions to load an unpacked extension here.
Start the browser extension for gecko browsers (tested mostly on Firefox):
yarn web:geckoThen follow the instructions to temporarily install an extension in Firefox here.
Start the browser extension for the Safari browser:
yarn web:safariTwo new folders will be created:
- build/safari-dev (dev build folder)
- safari-extension/wallet-dev (Xcode project)
then in the Safari browser:
- Developer -> Developer settings...
- Check the “Allow unsigned extensions” option. (Note: This setting may not persist after Safari is restarted.)
- Then the extension should be automatically added and pinned in the browser.
NOTE: You can manage the available extensions from: Safari -> Settings... -> Extensions
NOTE: The development script for Safari relies on the fswatch tool to automatically reload the Safari build when the development server is reloaded. If fswatch is not already installed on your system, you can install it using Homebrew with the following command:
brew install fswatch
Production-optimized Builds
For webkit browsers:
yarn build:web:webkitAnd find the resulting build in the "build/webkit-prod" folder.
For gecko browsers:
yarn build:web:geckoAnd find the resulting build in the "build/gecko-prod" folder.
For the Safari browser:
yarn build:web:safariTwo new folders will be created:
- "build/safari-prod" (production build folder)
- "safari-extension/wallet" (the Xcode project)
Then, in xCode manually do (TODO: automate these steps, it turned out to be a huge challenge):
- Delete "walletTests" and "walletUITests" targets.
- For both targets (macOS and extension): Signing & Capabilities: Team: "Ambire Tech Ltd", Signing Certificate: Development
- For both targets (macOS and extension): General - Identity - Version: X.X (should match the version in the app.json file, example:
4.36) and Build: X (integer, bump up on every next build submitted to the App Store Connect, example:3) - For the macOS target: General - App Category: "Utilities"
- For the extension target: General - Identity - Bundle Identifier:
com.ambire.app.wallet.extension
LavaMoat Policy Generation
The extension uses LavaMoat with SES (Secure EcmaScript) to harden the background service worker. LavaMoat uses a policy file (lavamoat/webpack/policy.json) to control which packages can import what and access which globals.
When to Regenerate Policy
Regenerate the policy when:
- Adding/removing dependencies
- Updating dependencies that change their import patterns
- Runtime errors: "Policy does not allow importing X from Y"
- Runtime errors: "Policy does not allow accessing global X"
Do NOT regenerate for:
- Every build (policy is stable and should be version-controlled)
- Code changes that don't affect dependencies
- UI changes (UI chunks are unlocked and don't use policy)
Policy Generation Workflow
Generate policy:
yarn build:web:webkit:generate-policyReview generated policy:
- Check
lavamoat/webpack/policy.jsonfor any unexpected entries - Review package dependencies and global access patterns
- Check
Update policy overrides:
- Manually edit
lavamoat/webpack/policy-override.jsonfor custom overrides - Common overrides: primordial mutations, font packages, reflect-metadata globals
- Manually edit
Commit policy files:
- Both
policy.jsonandpolicy-override.jsonshould be version-controlled - This ensures consistent builds across environments
- Both
Note: The same policy works for both gecko and webkit builds since they share the same dependencies and only differ in entry points (which are mostly unlocked).
Extract Source Maps
The production-optimized builds come with source maps files included. When preparing a production build for a browser store release, run the following commands to extract the source maps in separate directories:
For the webkit build:
yarn export:web:webkit:sourcemapsAs a result, build/webkit-prod will no longer include the source map files (as before). Instead, a new folder, build/webkit-prod-source-maps, will be created to hold only the source maps. This folder should also be included in the GitHub release tag we create.
For the gecko build:
yarn export:web:gecko:sourcemapsSame as for the webkit build, but for the gecko build.
For the Safari build: not implemented yet.
For more details, including how to trace /deminify a production reported error, see #3191.
Store-prepared Builds
Automates the steps before every extension extension store release that could be otherwise done manually:
- Makes webkit and gecko extension production builds
- Exports source maps to "clean" the builds (and to prepare for upload those source maps in the GitHub release)
- Zips the "clean" builds (stores accept zips only) and the source maps
yarn build:extensions
And find the resulting zips in the "build" folder as ambire-extension-<VERSION>-<TYPE>.zip
Verifying a Downloaded Release
Releases live at AmbireTech/extension/releases. Installing from the official download page is the recommended way, because the stores handle signing and updates for you. If you install a .zip by hand instead, verify it first.
Applies to v6.19.2 and later.
Check the signature (recommended)
GitHub signs every release and everything attached to it, so this proves the file is exactly what we published and that nobody changed it afterwards. Needs GitHub CLI 2.81 or newer:
gh release verify-asset v6.19.2 ./ambire-extension-v6.19.2-webkit.zip -R AmbireTech/extension
Success looks like ✓ Verification succeeded!. Anything else means the file does not match the release - do not install it.
Or check the hash
If you would rather not install anything, download the SHA256SUMS file from the same release, put it next to the .zip files, and run:
sha256sum -c SHA256SUMS --ignore-missing # macOS: shasum -a 256 -c SHA256SUMS --ignore-missing
Every file must print OK. This catches a corrupted or swapped download, but only the signature check above proves the file came from us.
Releases before v6.19.2 have neither a signature nor a SHA256SUMS file.
Android APK (sideload)
Some releases also carry an Ambire-v<VERSION>.apk, for installing the Android app without Google Play. Google Play remains the recommended way, because it installs updates for you.
Before installing, know that:
- The APK and the Google Play app cannot be installed over one another. To switch between them you have to uninstall the other one first, which deletes your accounts from the phone - make sure you have your recovery phrase or another backup before you do.
- The APK does not update by itself. Newer APKs from this releases page install over it and keep your data.
It is not in SHA256SUMS. Check the release signature the same way as the .zip files:
gh release verify-asset v6.22.0 ./Ambire-v6.22.0.apk -R AmbireTech/extension
Then check that it was signed by our key. Android refuses to update an app with an APK signed by anyone else, so this key is what keeps every future update genuine. Run apksigner from the Android SDK build-tools:
apksigner verify --print-certs ./Ambire-v6.22.0.apk
The Signer #1 certificate SHA-256 digest line must be exactly:
b3f8d89ae9ab240ed7cf79a98e1eaa23094f089bfc42c2a5ef322581f8f2111e
Other tools may show the same fingerprint in uppercase with colons: B3:F8:D8:9A:E9:AB:24:0E:D7:CF:79:A9:8E:1E:AA:23:09:4F:08:9B:FC:42:C2:A5:EF:32:25:81:F8:F2:11:1E.
Anything else means the APK was not signed by us - do not install it. The key is the same for every release, so an APK that passes this check can only ever be updated by another one from us.
Mobile Apps
The mobile apps share the same codebase. The business logic (the background) runs in the React Native realm (src/mobile/services/controllerHost/), in the same JS context as the UI. The WebView worker (src/mobile/modules/webview/services/) is still mounted and its bridge is live, so a controller can be moved back into it, but it hosts none today.
Install
For iOS: Make sure you have Xcode + CocoaPods via bundler (see the "Environment Setup" section), then install the pods:
cd ios && bundle install && bundle exec pod installFor Android: Make sure you have Android Studio with the Android SDK and the NDK required by React Native (see "Environment Setup" section).
Development-optimized Builds
Compile a new native build and run it on a simulator/emulator or a connected device:
yarn ios
# or
yarn android
These recompile the native app every time, which is slow. If the app is already installed, only the Metro bundler is needed - start it with a cleared cache and launch the app from the device:
yarn start:clean
A new native build is only needed after changing native code or native dependencies.
Webview dev server
yarn dev:webview
Not needed for a normal dev flow. The app boots without it, because the worker hosts no controllers, and dapp browsing falls back to the inpage bundles yarn setup already built via yarn build:webview. Run it when you are editing the webview or inpage code and want those changes without rebuilding. If a controller is ever moved back into the worker, it becomes required again (see WebViewWorker.tsx).
It listens on port 8182 and is separate from the Metro bundler (port 8081), which yarn ios/yarn android start on their own. The app resolves its host automatically:
| Target | Host |
|---|---|
| iOS simulator | localhost |
| Android emulator | 10.0.2.2 |
| Physical device | WEBVIEW_DEV_HOST from .env |
On a physical device, set WEBVIEW_DEV_HOST to the LAN IP of the machine running the dev server and keep both on the same network.
The error screen prints the exact URL the app expects. The app also keeps re-probing the server and remounts the webview by itself once it is back up, so starting the dev server late doesn't require restarting the app.
Production-optimized Builds
Both platforms run yarn build:inject:mobile-ota-config (seeds the Stallion OTA config into Info.plist/strings.xml) and yarn build:webview before the native build, so no manual prep is needed.
Local production builds are normally not OTA-capable: without the STALLION_* variables in ".env" the injection is skipped, the committed placeholders stay, and the app never pulls an OTA update. That is fine for testing. Fill them in (see "Over-the-Air (OTA) Updates") only if you specifically need to test the OTA flow locally. In CI they are mandatory - a missing one fails the build instead of shipping an app that silently cannot update.
iOS, for a simulator (unsigned
.app, useful for sharing test builds):yarn build:ios:simulatorFind the result in "ios/build/Build/Products/Release-iphonesimulator/Ambire.app", and install it on the booted simulator with:
yarn build:ios:simulator:installiOS, for the App Store (signed
.ipa):yarn build:ios:productionThis archives the app and exports it with "ios/ExportOptions.plist". Find the result in the "ios/build/ipa" folder.
Requires the Ambire distribution certificate in your keychain and the matching provisioning profile installed.
For an ad-hoc/development
.ipa(installable on registered test devices) useyarn build:ios:production-for-testing, which exports with "ios/ExportOptions-Development.plist" into "ios/build/ipa-for-testing".Android, APK (for testing, easiest to install directly on a device):
yarn build:android:production:apkFind the result in the "android/app/build/outputs/apk/release" folder. To build, reinstall and restart on a connected device in one go:
yarn build:android:production:apk:installAndroid, AAB (for the Play Store):
yarn build:android:production:aabFind the result in the "android/app/build/outputs/bundle/release" folder.
NOTE: Locally, release builds are signed with the debug keystore unless a "credentials.json" file with the release keystore details exists in the root directory. That's fine for testing, but a Play Store upload requires the real upload keystore, so use the CI build for store releases.
CI Builds (GitHub Actions)
Store-ready artifacts are built in CI, so nobody has to keep signing material locally. All four are manually triggered (workflow_dispatch) and upload a zipped artifact named ambire-<platform>-v<VERSION>-<TYPE>, where the version is read from "app.json":
| Workflow | Yarn command | Artifact | Signed |
|---|---|---|---|
| 🍎 Build · iOS Simulator | yarn build:ios:simulator |
Ambire.app |
No |
| 🍎 Build · iOS App Store | yarn build:ios:production |
Ambire.ipa |
Yes |
| 🤖 Build · Android APK | yarn build:android:production:apk |
Ambire-v<VERSION>.apk (+ armeabi-v7a) |
Yes, sideload key |
| 🤖 Build · Android Play Store | yarn build:android:production:aab |
Ambire.aab (+ armeabi-v7a) |
Yes |
The shared steps live in .github/workflows/_build-ios.yml and .github/workflows/_build-android.yml. The signing material (Apple certificate and provisioning profile, Android upload keystore for Play and the separate sideload keystore for the APK), the Stallion OTA credentials and all API keys come from the GitHub environment.
Over-the-Air (OTA) Updates
JS-only changes can be shipped to already installed apps without a store release, via Stallion. Both the React Native bundle and the webview worker bundle (the background) ride the OTA, so the core business logic can be updated too.
A build can only receive OTA updates if it was made with the Stallion credentials in place: yarn build:inject:mobile-ota-config swaps the placeholders in "Info.plist"/"strings.xml" for STALLION_PROJECT_ID, STALLION_APP_TOKEN and STALLION_PUBLIC_SIGNING_KEY. CI always has them, a local ".env" usually doesn't.
NOTE: that injection rewrites the committed "Info.plist" and "strings.xml" in place. Never commit the result - restore them with git checkout first.
OTA bundles are signed (RS256), so a tampered bundle cannot reach a device: the app verifies every incoming bundle against the STALLION_PUBLIC_SIGNING_KEY embedded into it at build time.
Once an OTA is downloaded, the app shows an "Update Available" banner. The active OTA version and build are listed in Settings - About.
Two copies of the webview worker bundle
Every build has the webview worker bundle (the background) baked into the app binary. An OTA can only replace JS, never a file inside the binary, so that copy on its own would keep the wallet's core logic frozen at whatever the store build shipped.
That is why the same bundle now travels inside the OTA JS bundle as well. On the first launch after an install or an update, the app writes it out into its own private folder and the WebView loads it from there via file://; later launches reuse what is already on disk. If that write ever fails, the app falls back to the copy baked into the binary, so it always has a working bundle to boot from.
Loading from disk keeps the protections the baked-in copy had: the page may only run scripts from file:// (CSP), and its HTML carries a SHA-384 hash (SRI) pinning the exact JS file it loads, so the two can never drift apart. That hash only proves the HTML and the JS belong together, though - what makes OTA'd code trustworthy in the first place is the signature check above.
Explorer (Old name: Benzin)
Ambire's transaction explorer, that makes human readable ERC-4337 transactions and contract interactions.
Comes not only as integrated module in the Ambire extension(s), but as a standalone web app also.
Development-optimized Build
yarn web:benzin
And find the resulting build in the "build/benzin-dev" folder.
Production-optimized Build
yarn build:web:benzin
And find the resulting build in the "build/benzin-prod" folder.
Ambire Rewards
Ambire Rewards is a gamified testing web3 app for the Ambire browser extensions. It is designed to users you discover the power of Smart Accounts via an epic onchain adventure. Read more.
Development-optimized Build
yarn web:legends
And find the resulting build in the "build/legends-dev" folder.
yarn build:web:legends
And find the resulting build in the "build/legends-prod" folder.
Others
Starting the Ledger Emulator Locally
You can run the Ledger emulator locally for testing purposes. Make sure Docker is installed on your machine before proceeding.
Steps
- Navigate to the emulator folder:
cd e2e-playwright-tests/ledger-emulator
- Start the emulator:
$LEDGER_EMULATOR_SEED='<LEDGER-SEED-PHRASE>' ./start-emulator.sh
Note: Make sure port 5000 is available before starting the emulator.
- Check if port 5000 is in use:
lsof -i :5000
If nothing is returned, the port is free. If you see a process listed, the port is occupied.
- macOS specific context
On macOS, port 5000 is commonly taken by AirPlay Receiver (enabled by default on newer macOS versions). To check:
System Settings → General → AirDrop & Handoff → AirPlay Receiver
If enabled, it may bind to port 5000.
You can either:
- Disable AirPlay Receiver, or
- Kill the process manually:
kill -9 $(lsof -t -i :5000)
Browser Extensions E2E Tests
Configuration
We've migrated from Puppeteer to Playwright (./e2e-playwright-tests/). Documentation will follow soon.