
gventer/SUN-DIC
gventer/SUN-DIC has 26 GitHub stars and 9 forks. GitHot measured 0 stars in 24 hours. Last checked 2026-11-15 01:53 UTC. Last push 2026-11-12.
What you can do
- Fully open-source, using standard Python libraries wherever possible
- Provides both a user-friendly GUI and a programmable API
- Implements the Zero-Mean Normalized Sum of Squared Differences (ZNSSD) correlation criterion
- Uses an advanced starting strategy based on the AKAZE feature detection algorithm for initial guess generation
Progression mesurée des étoiles
- in 24h
- 0
- in 7 days
- Historique en cours
- in 15 days
- Historique en cours
- in 1 month
- Historique en cours
Variations nettes sur des périodes qui se chevauchent, pas des totaux quotidiens. Les mesures absentes restent vides. Les étoiles indiquent l’intérêt, pas la qualité.
À propos
Stellenbosch University DIC Code
Outils de développementREADME.md
OriginalSUN-DIC
Stellenbosch University Digital Image Correlation (DIC) Code
SUN-DIC is an open-source Python package for 2D digital image correlation (DIC) developed in the MOD Research Group at Stellenbosch University. It provides both a graphical user interface (GUI) and a Python API for displacement and strain analysis from image sets, making it suitable for both interactive use and research workflows.


Early release notice: SUN-DIC is currently in an early public release phase. Core functionality is available and documented, but the interface and documentation will continue to evolve. Bug reports, suggestions, and feedback are very welcome.
Quick Start
Install with pip
Note: Please see detailed installation instructions for both
pipandcondafurther down in thisREADMEfile.
python3.12 -m venv sundic
source sundic/bin/activate
pip install SUN-DIC
copy-examples
sundic
Documentation
SUN-DIC documentation is currently provided through the following resources:
User manual: installation, GUI workflow, and API overview SUN-DIC User Manual (PDF)
Example configuration: a fully documented
settings.inifile included with the provided example problemExample notebook:
test_sundic.ipynb, copied into your current directory withcopy-examplesGUI tooltips: GUI options include tooltip descriptions
API documentation: online reference documentation

Publications
- Venter, Gerhard and Neaves, Melody, SUN-DIC: A Python-Based Open-Source Software Tool for Digital Image Correlation, Advances in Engineering Software, Volume 211, 2025.
- Visser, Carl-Hein and Venter, Gerhard and Neaves, Melody, A Strain-Gauge-Based Method for the Compensation of Out-of-Plane Motions in 2D Digital Image Correlation, Mathematical and Computational Applications, Volume 28, Issue 2, 2023.
Key Features
- Fully open-source, using standard Python libraries wherever possible
- Provides both a user-friendly GUI and a programmable API
- Implements the Zero-Mean Normalized Sum of Squared Differences (ZNSSD) correlation criterion
- Uses an advanced starting strategy based on the AKAZE feature detection algorithm for initial guess generation
- Supports both linear (affine) and quadratic shape functions
- Includes Inverse Compositional Gauss-Newton (IC-GN) and Inverse Compositional Levenberg-Marquardt (IC-LM) solvers
- Provides both absolute and relative update strategies for handling multiple image pairs
- Supports rectangular regions of interest (ROI) and custom ROIs defined by a black/white mask
- Automatically ignores subsets with an all-black background, allowing irregularly shaped domains to be handled naturally
- Computes displacements and strains, with multiple plotting and visualization options
- Uses Savitzky-Golay smoothing for strain calculations, with optional displacement smoothing using the same algorithm
- Supports parallel computing for improved performance
- Easy installation via PyPI
Limitations
- Currently supports 2D planar DIC problems only
- A stereo / 3D version is under development
Installation
Although SUN-DIC can be installed without creating a virtual environment, using one is strongly recommended for easier dependency management.
Note The
raylibrary providing the parallel computing functionality is typically not supported for the latest Python releases on Windows. If you run into araydependency issue during installation, please try an older version of Python.
Note If you are installing on a Mac equipped with an Apple Silicon processor (Mac M1/M2/M3), using the standard Anaconda distribution may cause version conflicts or C++ compilation errors (eg, with
llvmliteorray). This is typically due to Anaconda defaulting to x86_64 emulation. To ensure a seamless, native ARM64 installation without needing to modify therequirements.txtfile, it is recommended to use Miniforge instead of Anaconda as outlined below.
General Steps
Create a virtual environment
Activate the environment
Install the package from PyPI
Optionally install Jupyter dependencies
Copy the example problem into your current directory using
copy-examplesOptionally you can issue the
copy-examples --manualcommand to also copy the user manual to your current directoryThe example problem includes:
test_sundic.ipynbsettings.iniplanar_images/
These files provide a practical starting point for both the GUI and API workflows.
Using pip
Create a virtual environment (e.g.,
sundic):python3.12 -m venv sundicActivate the virtual environment:
Linux / macOS
source sundic/bin/activateWindows (Command Prompt)
sundic\Scripts\activateInstall the base package:
pip install SUN-DICOptional -- install Jupyter notebook support:
pip install "SUN-DIC[jupyter]"Copy the example problem:
copy-examples
Using conda
Create a virtual environment with Python 3.12:
conda create -n sundic python=3.12Activate the environment:
conda activate sundicInstall the base package:
pip install SUN-DICOptional -- install Jupyter notebook support:
pip install "SUN-DIC[jupyter]"Copy the example problem:
copy-examples
Instructions for Apple Silicon
- Install the macOS arm64 version of Miniforge.
- Open a new terminal to ensure Miniforge is active (you should see the base environment).
- Proceed with the standard installation using
condaas described above.
Installing Directly from GitHub (Advanced Users)
Create and activate a virtual environment using either
piporcondaas described aboveClone the repository and install the package:
git clone https://github.com/gventer/SUN-DIC.git
pip install ./SUN-DIC
Optional: install Jupyter notebook support:
pip install "./SUN-DIC[jupyter]"The example problem is available in:
SUN-DIC/sundic/examples
Usage
Make sure the virtual environment where SUN-DIC is installed is active before proceeding.
Running the GUI
Launch the GUI from a terminal:
sundicUse the
copy-examplescommand to copy a complete example to your current directoryIn the GUI, use File → Import Settings File to import the example
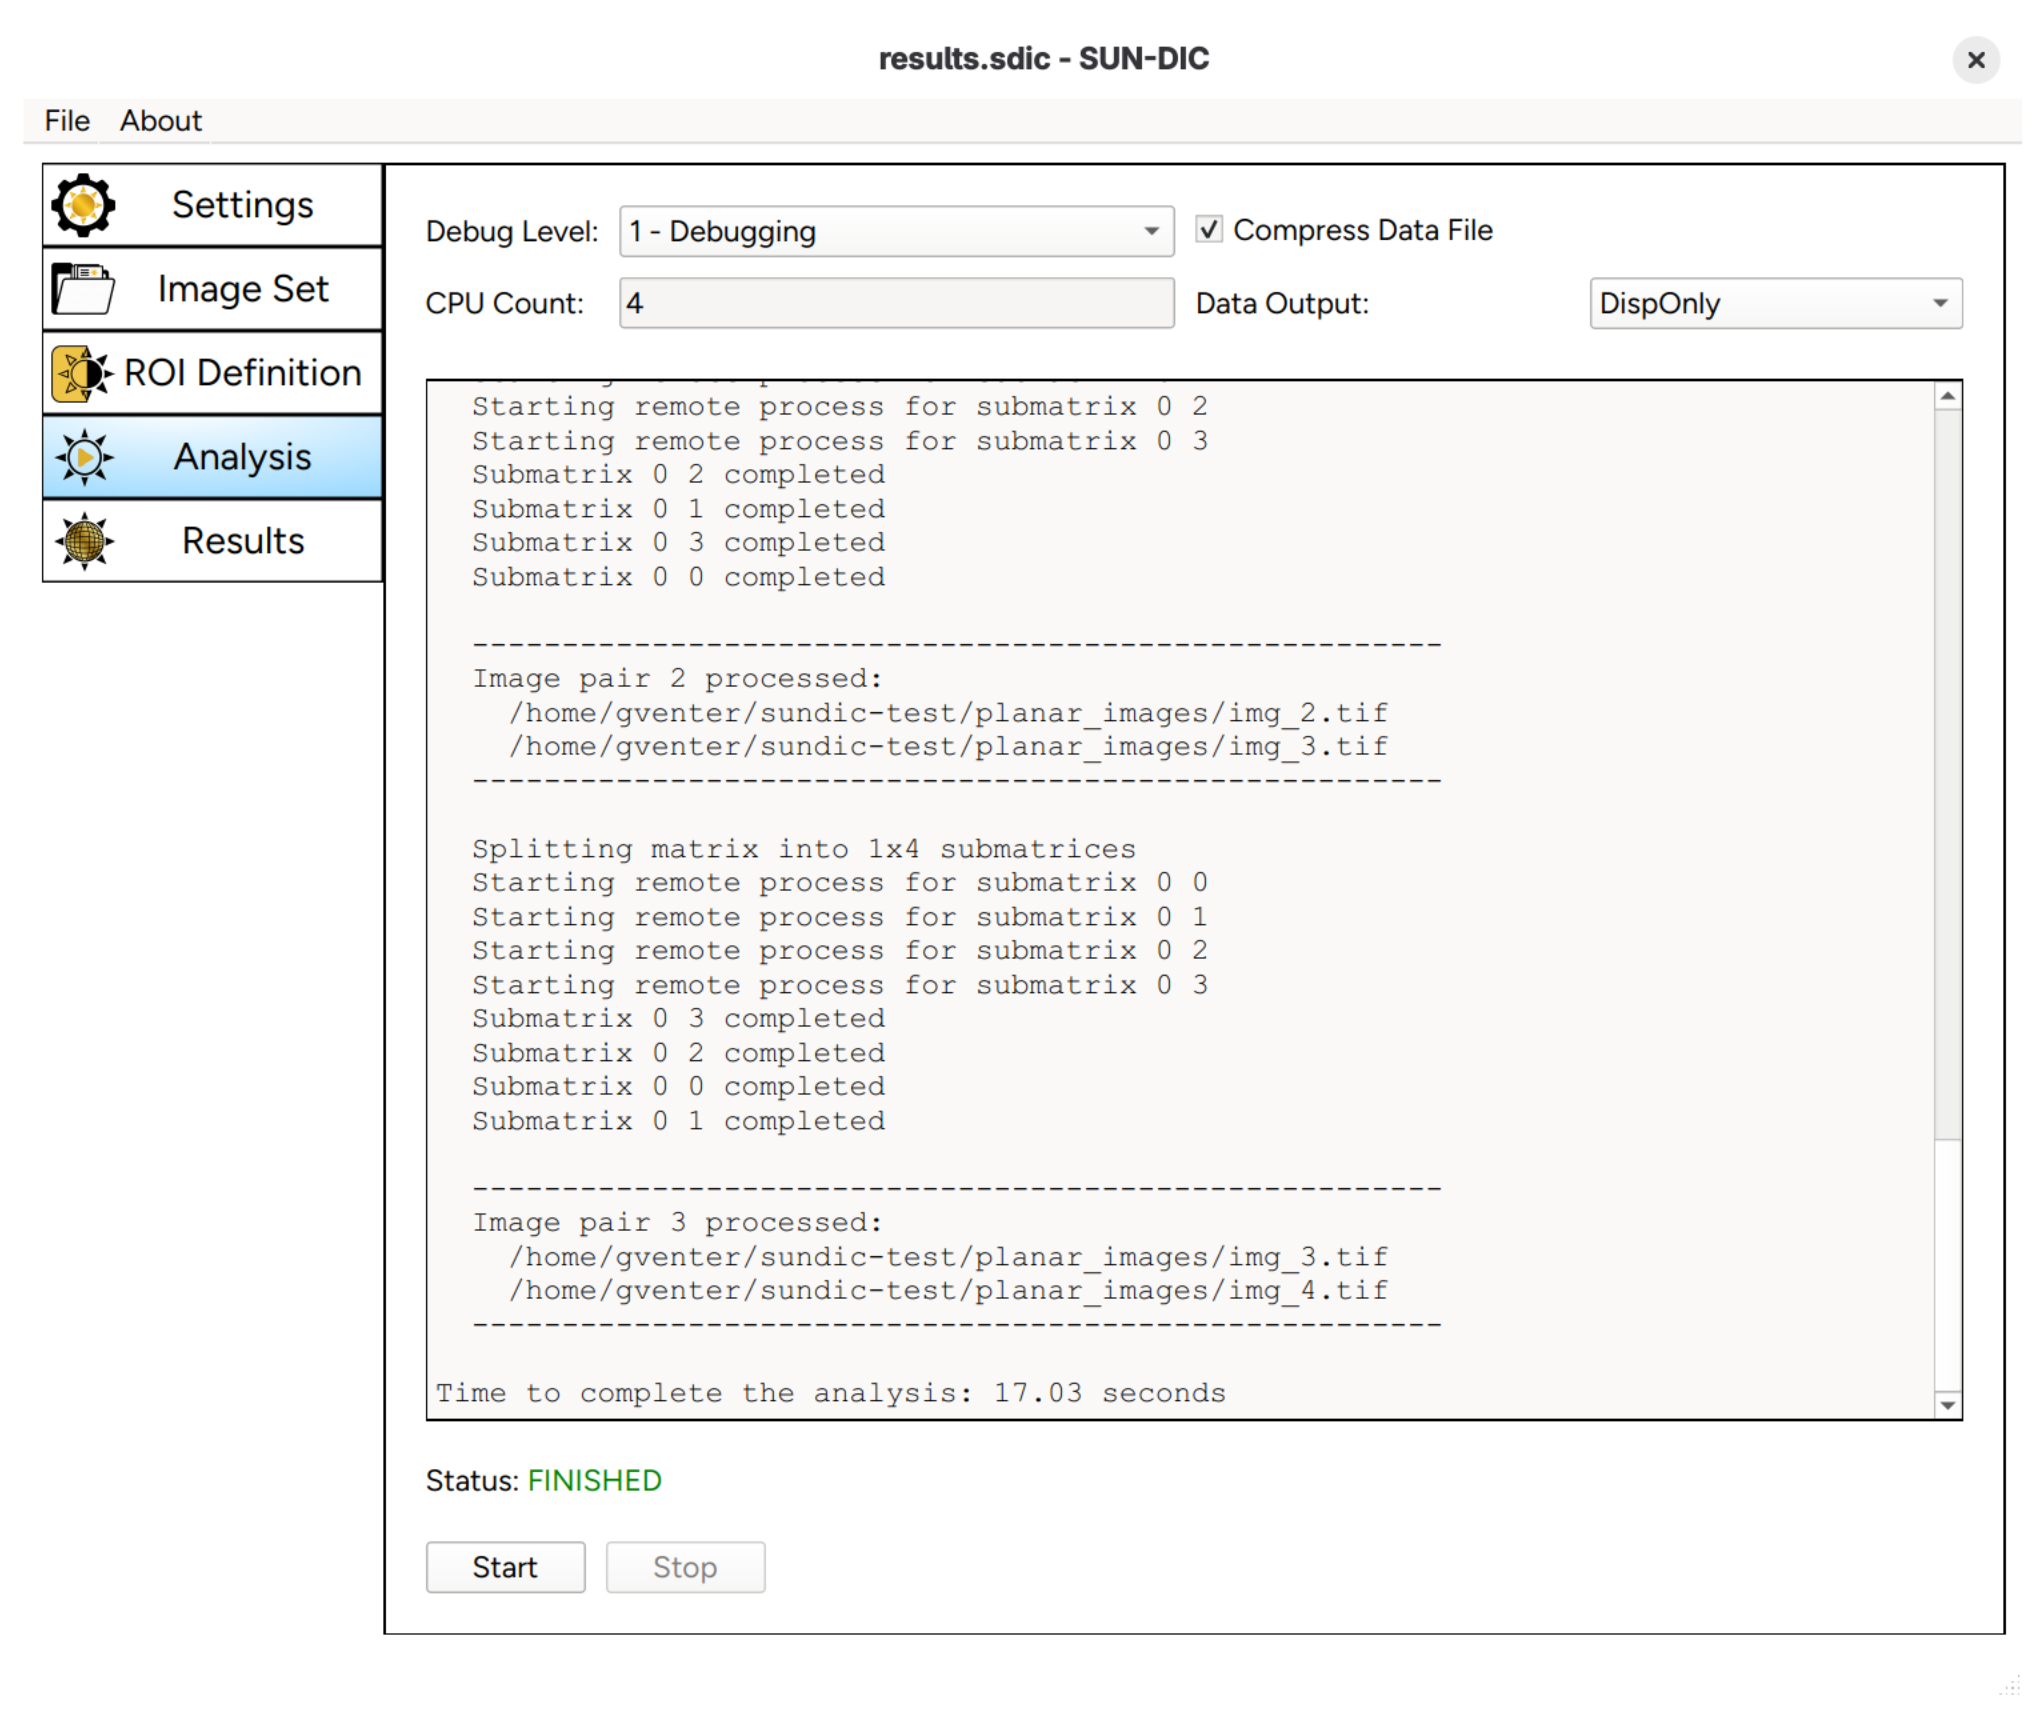
settings.iniRun the example problem from the Analysis panel
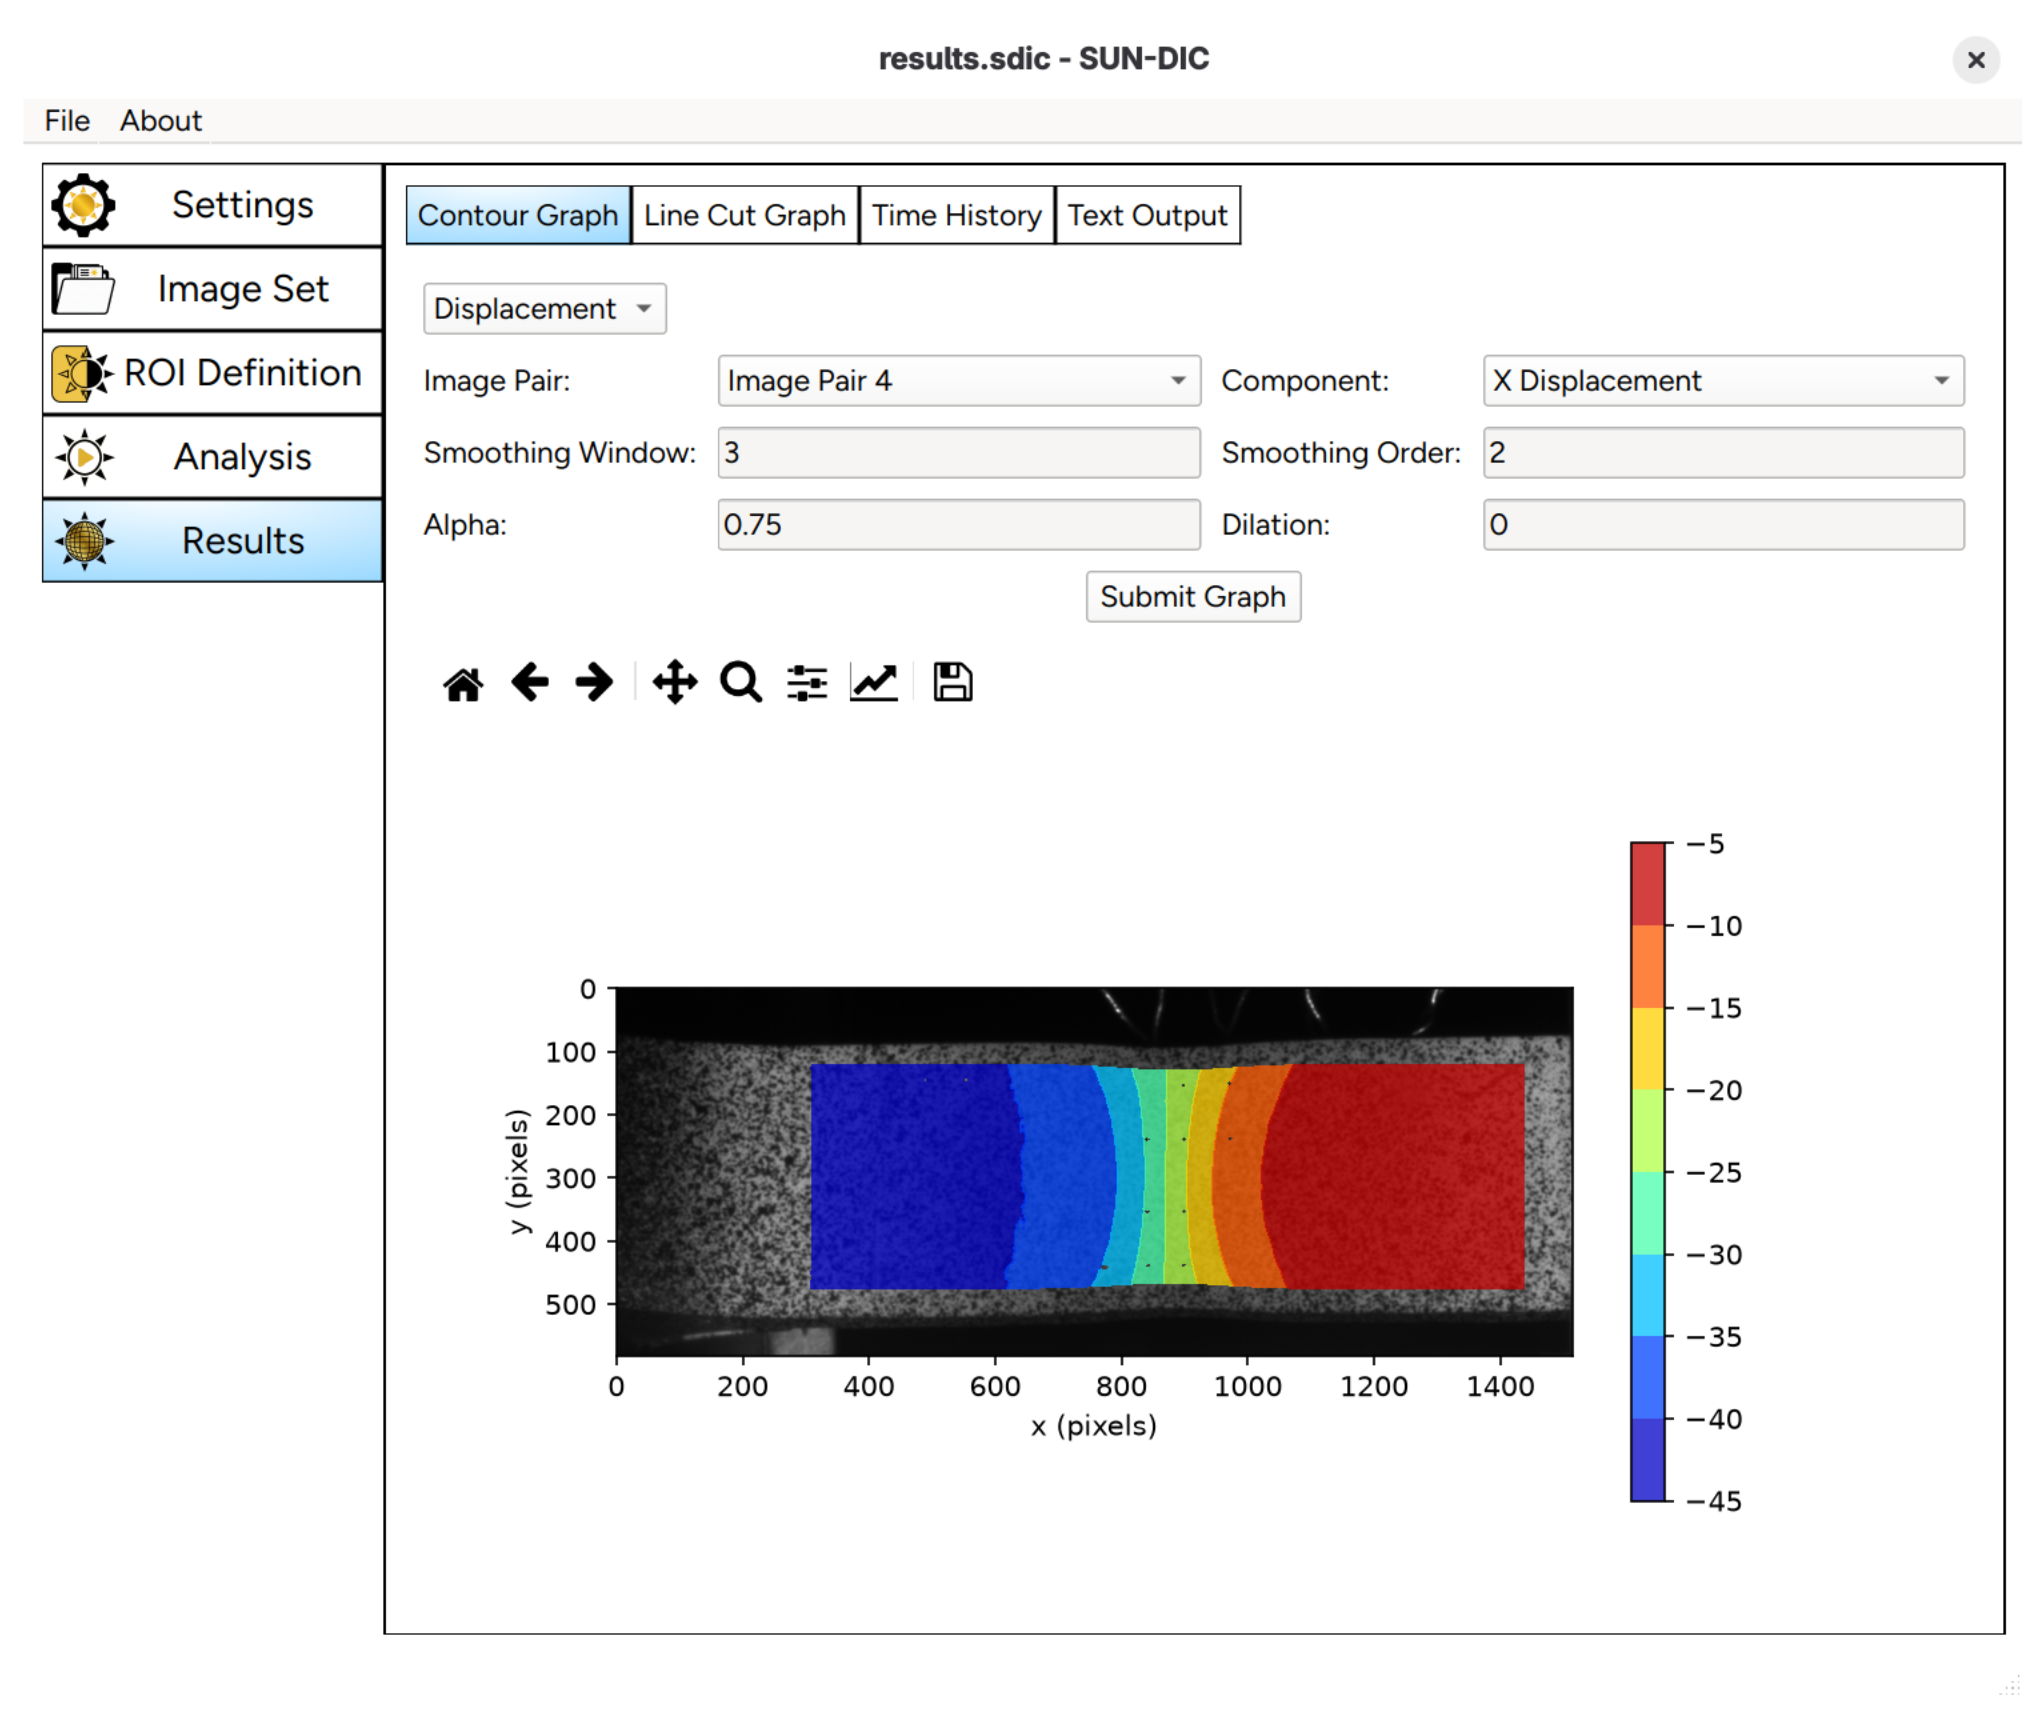
Perform post-processing using the Results panel
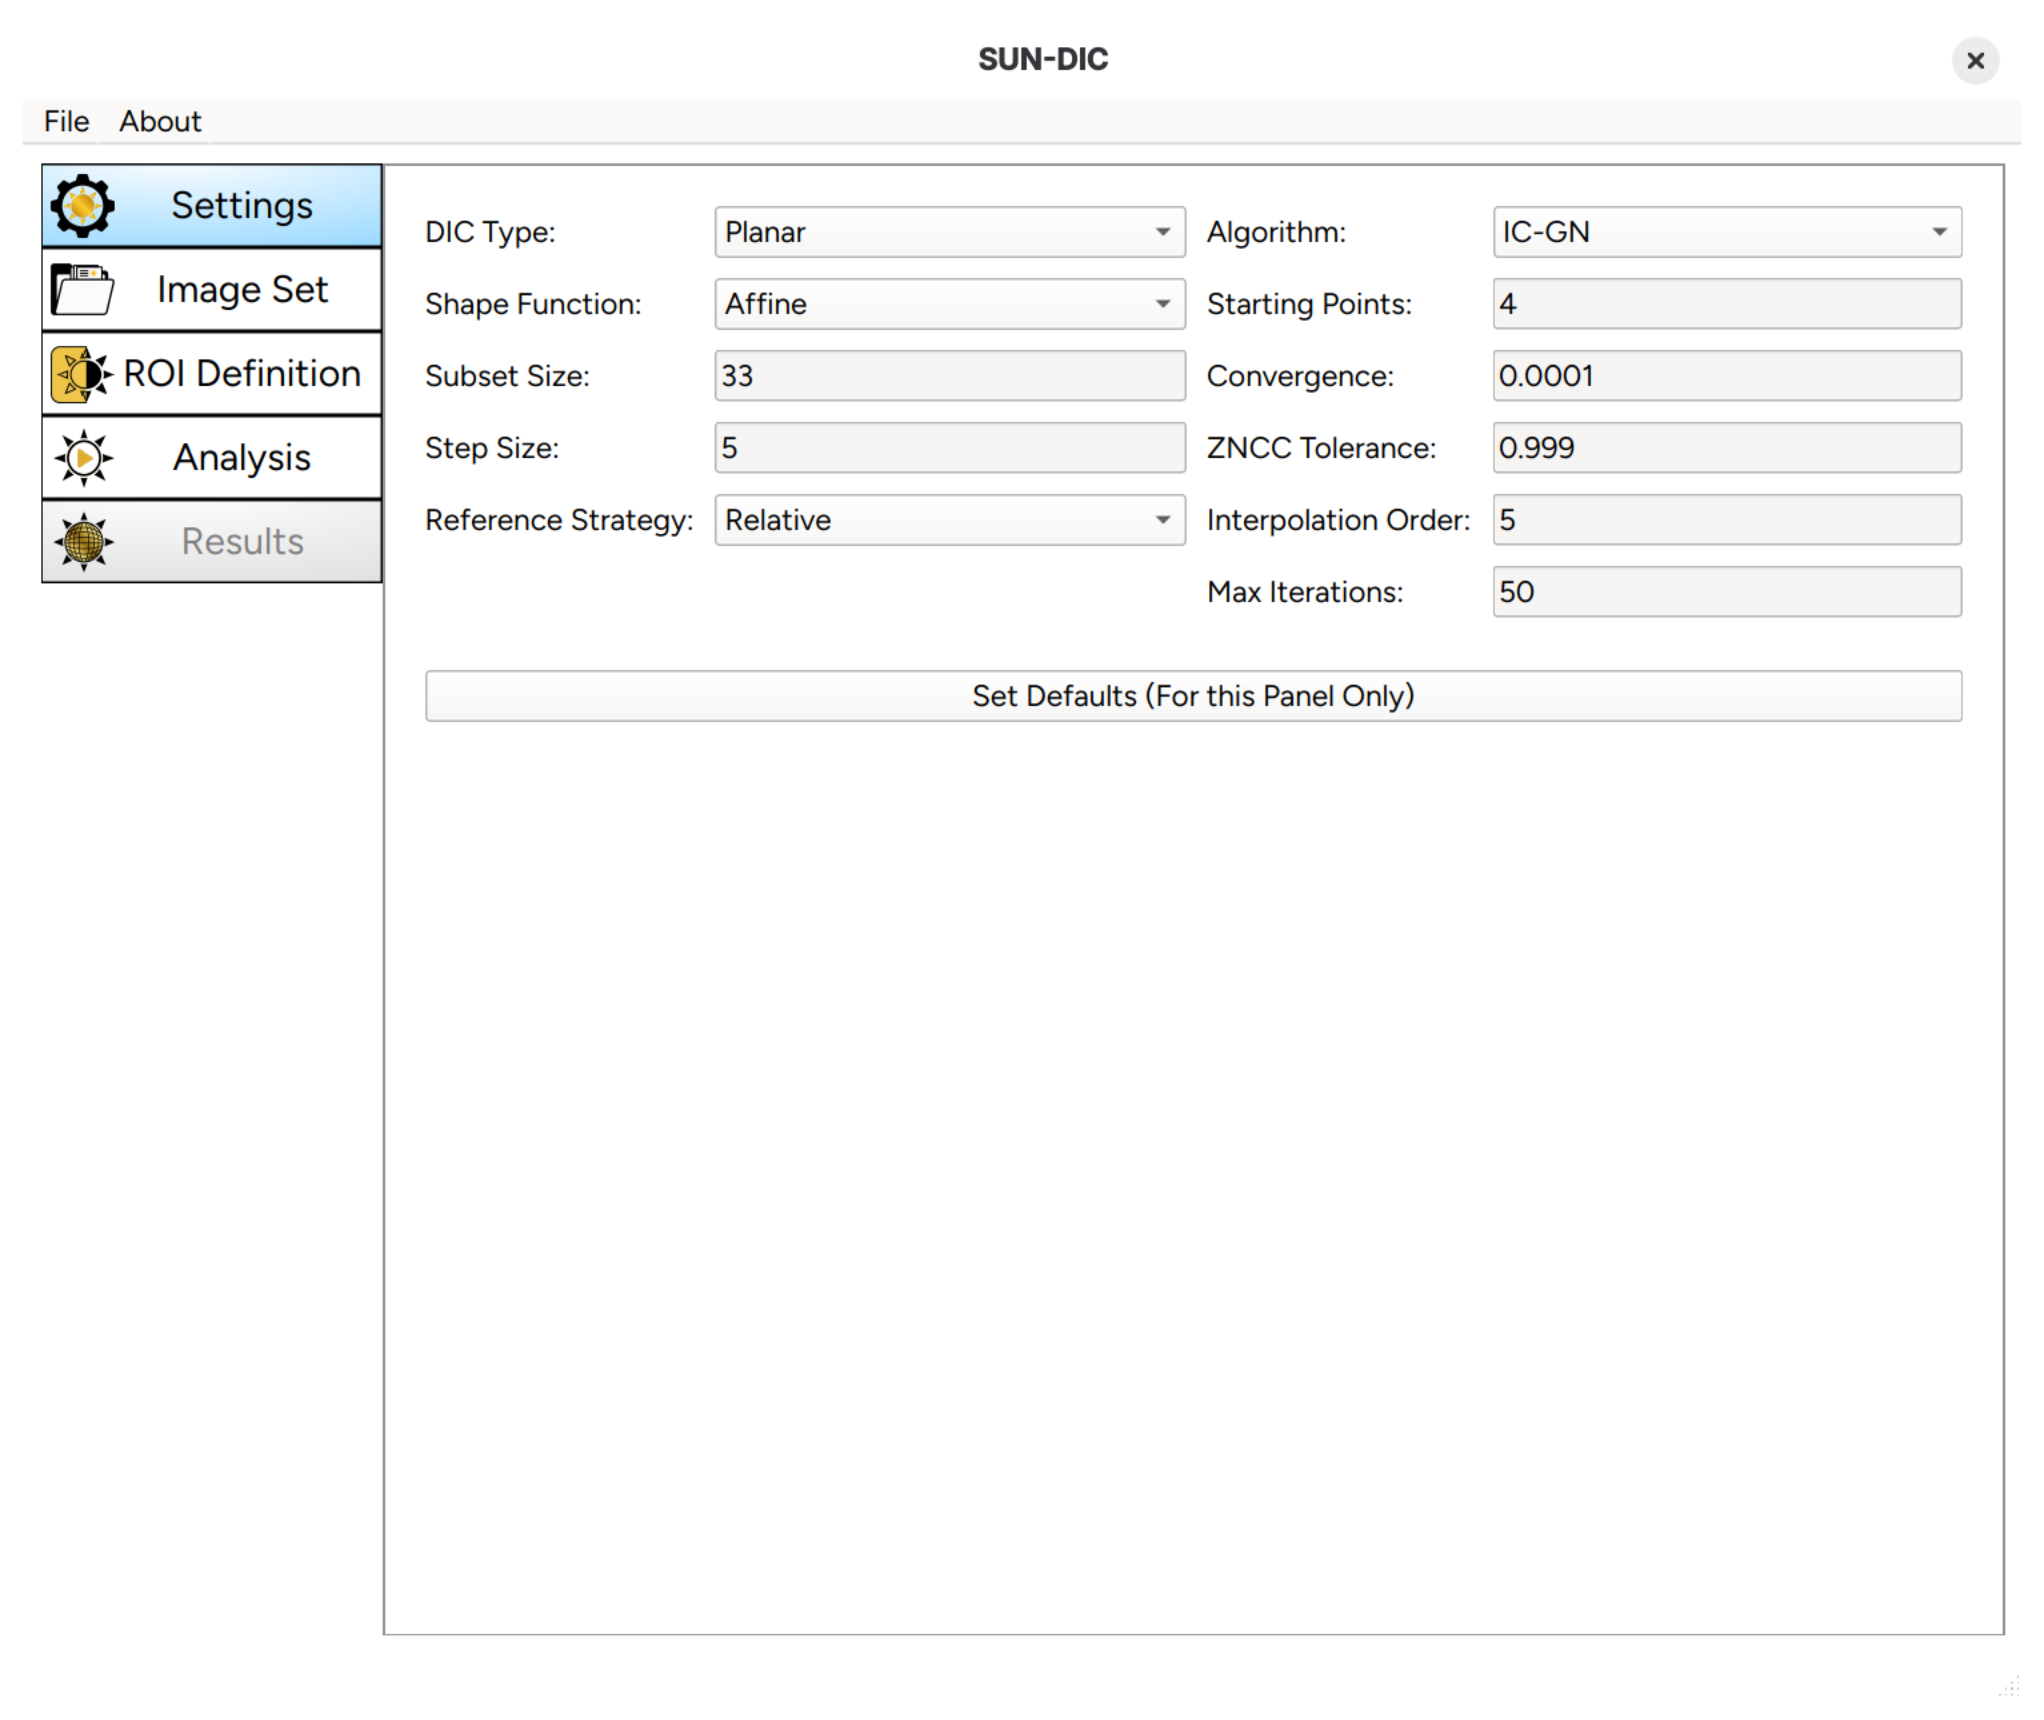
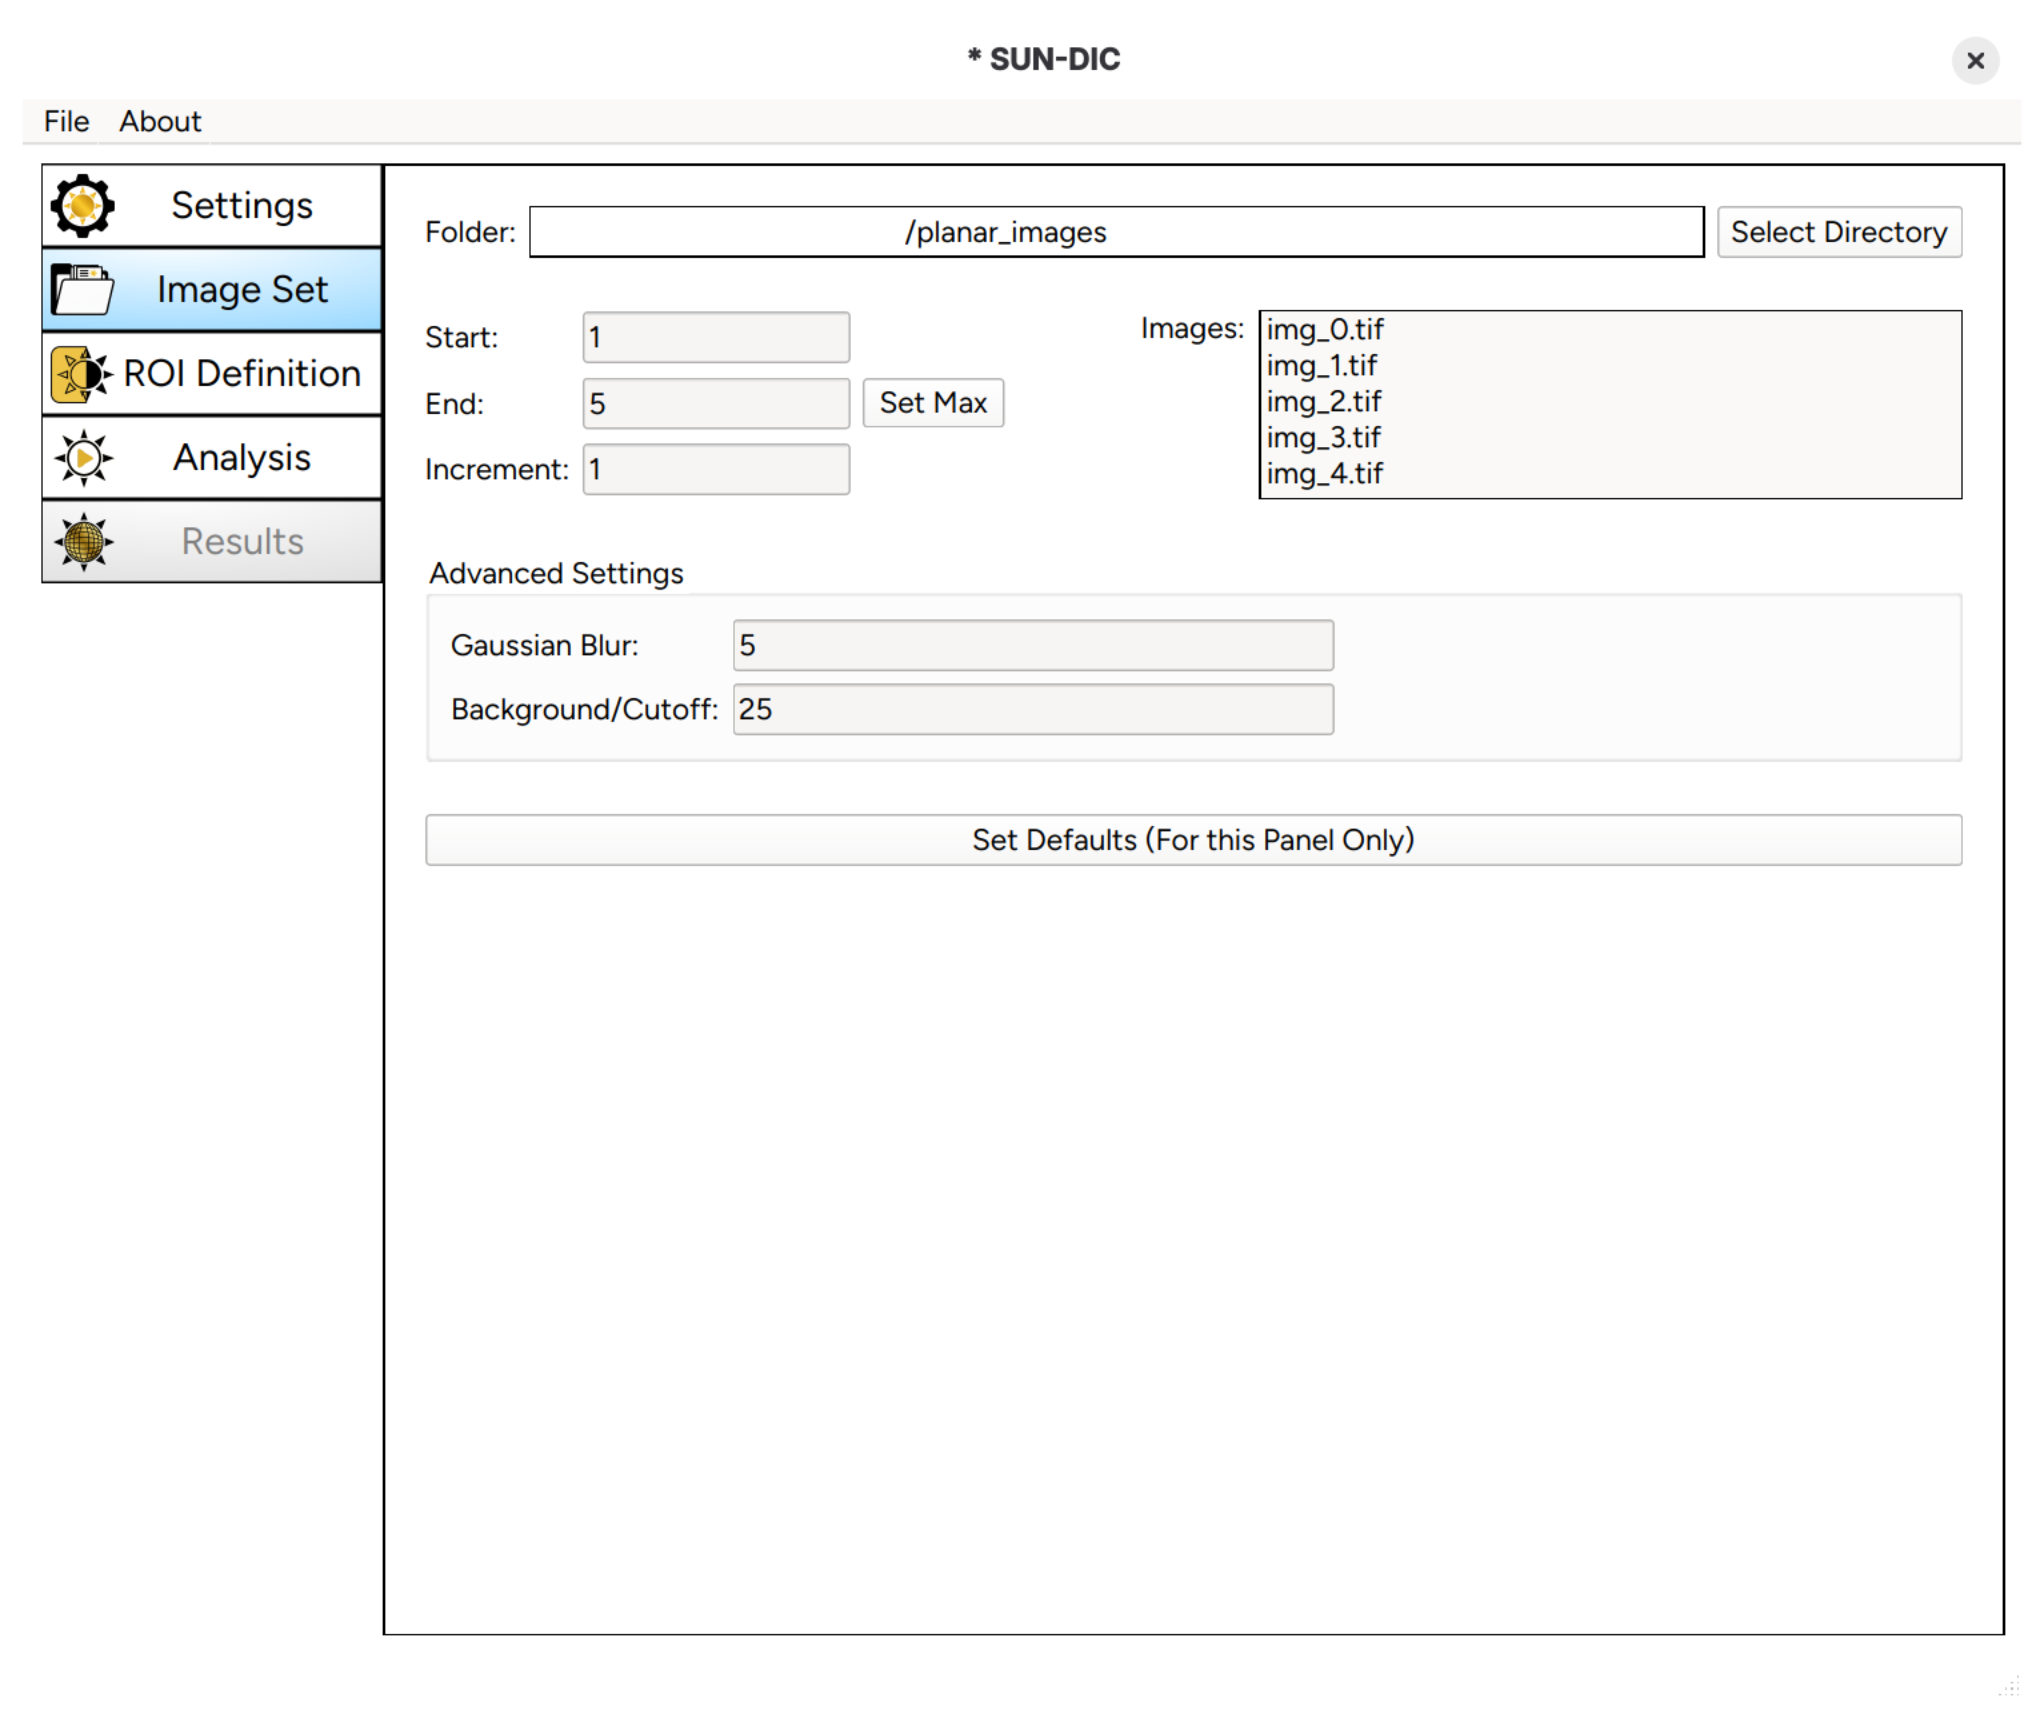
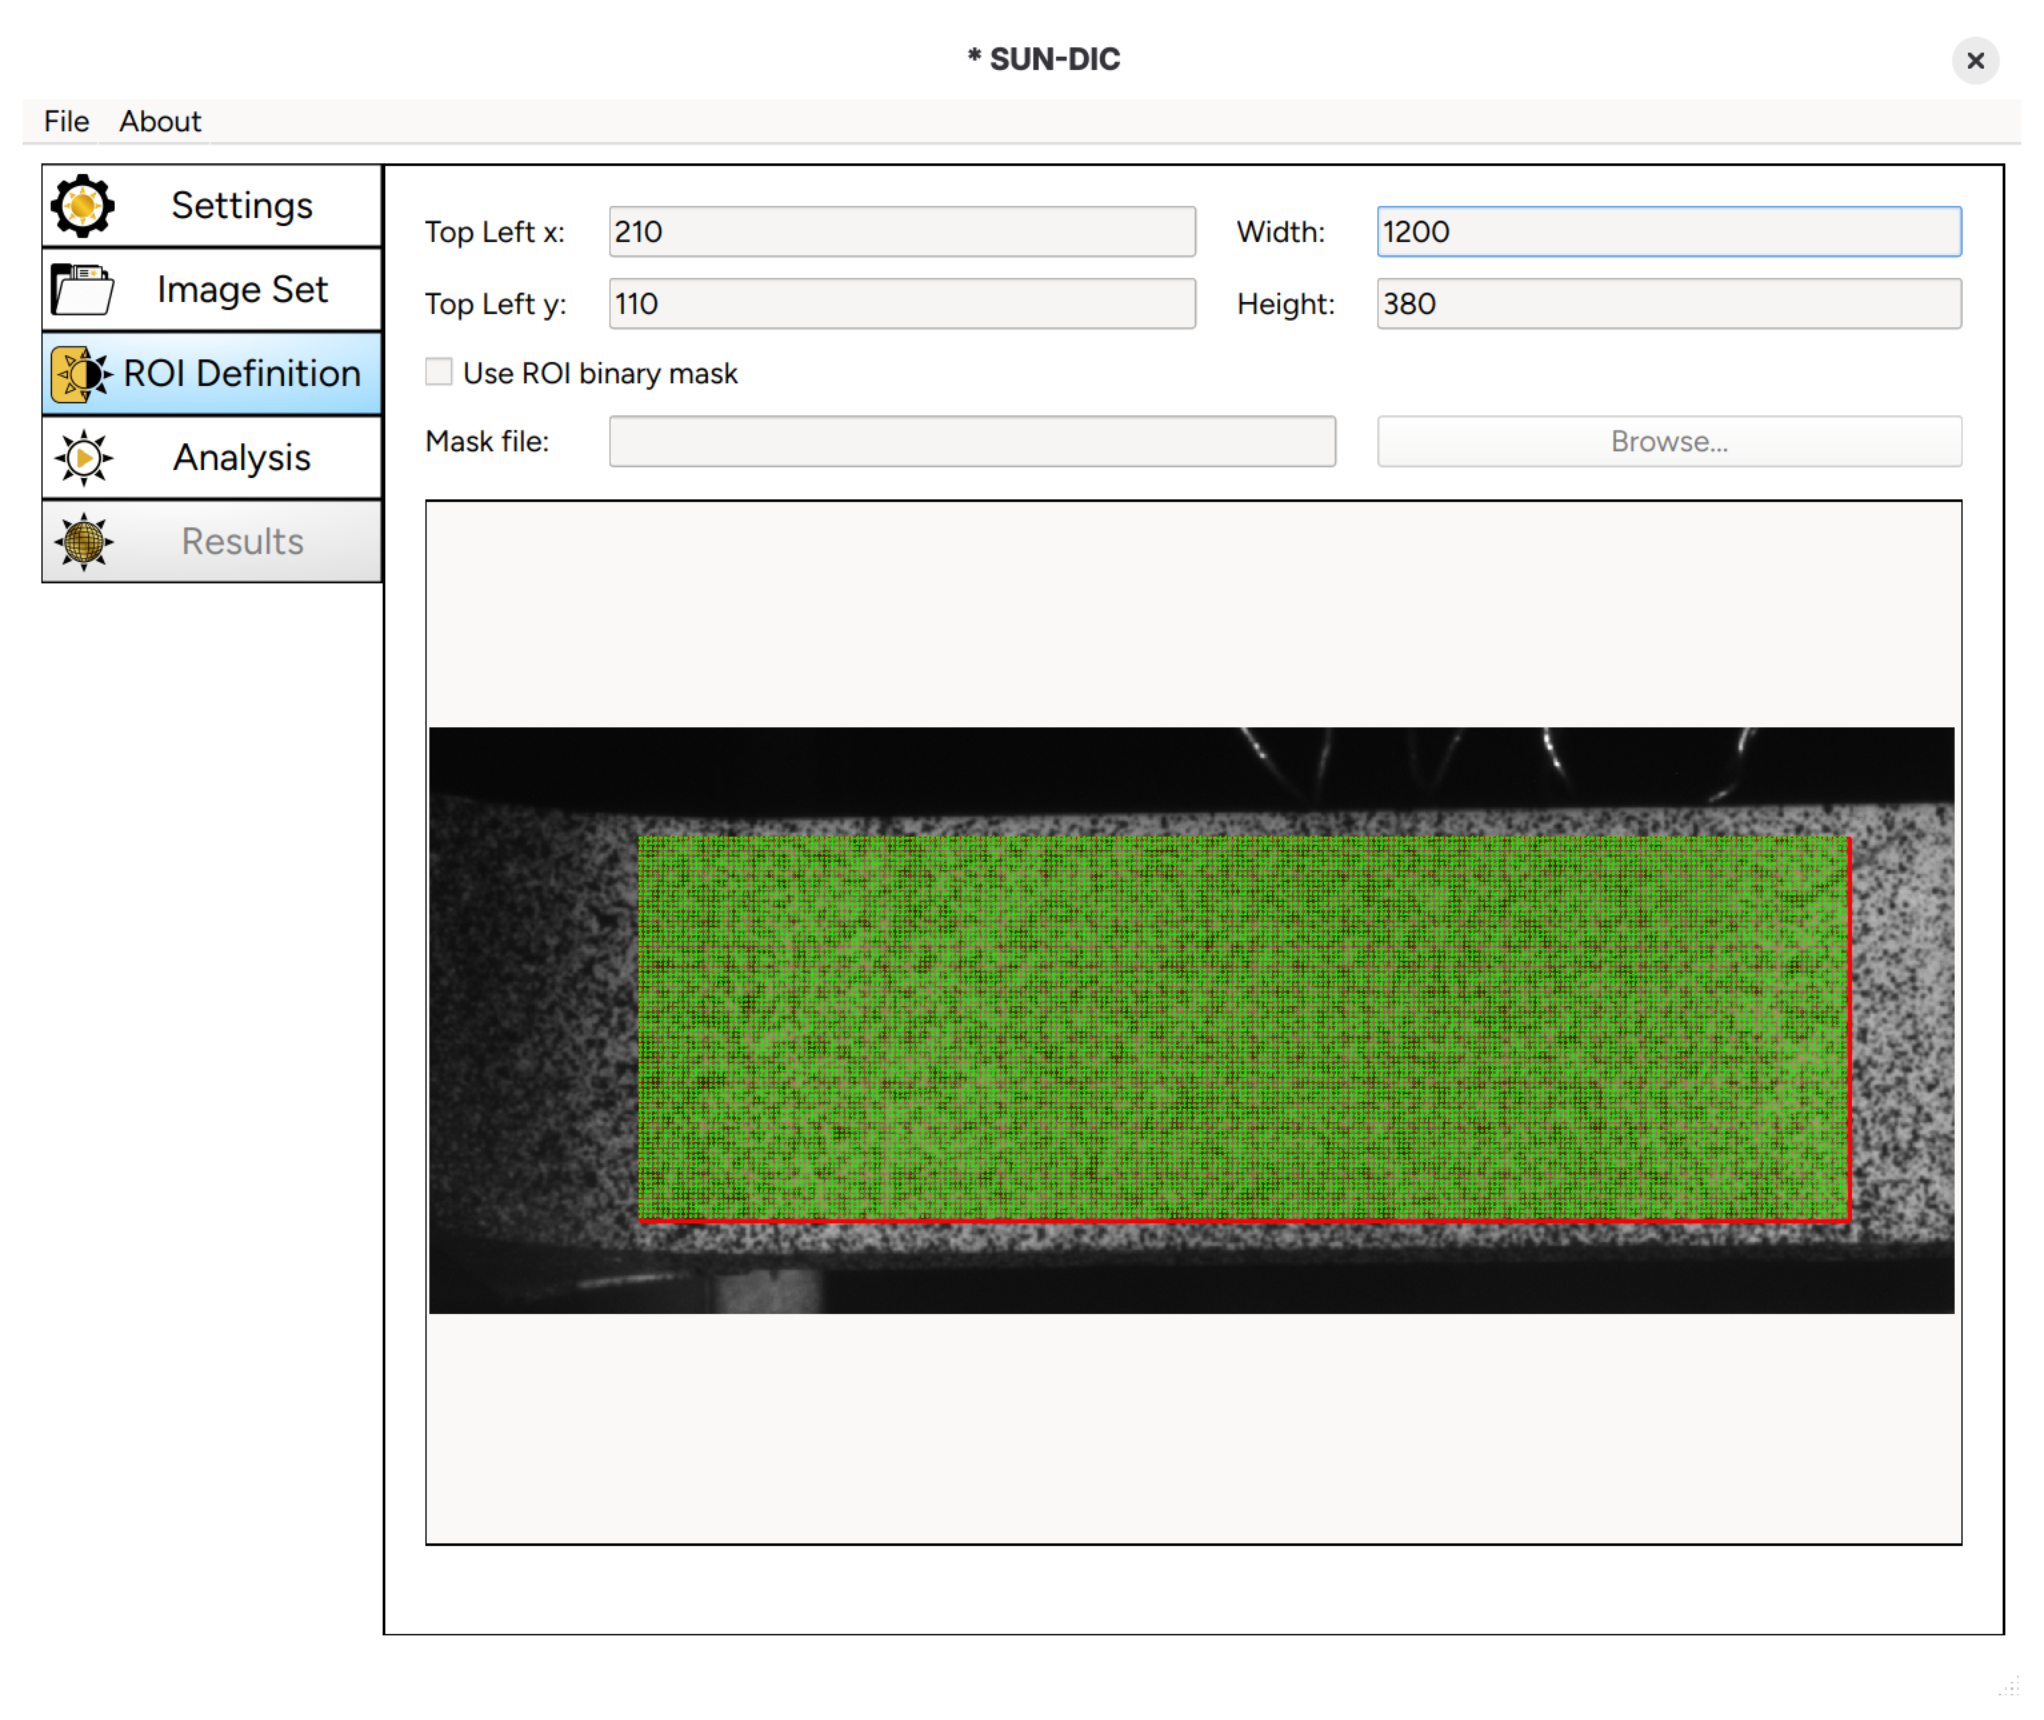
Follow the workflow shown on the left-hand side of the GUI
GUI entries include tooltips describing the available options.
Using the API
Use the
copy-examplescommand to copy a complete example to your current directoryOpen
test_sundic.ipynbfor a fully worked exampleIf needed, install the optional Jupyter dependencies:
pip install "SUN-DIC[jupyter]"
A typical API workflow involves:
- modifying the
settings.inifile - running the DIC analysis
- post-processing the results
Although the provided example uses a Jupyter notebook, the API can also be used in standard Python scripts.
Support and Feedback
If you encounter a bug, have a feature suggestion, or would like to provide feedback, please open an issue on the GitHub repository.
Citation
@article{sun-dic,
title = {SUN-DIC: A Python-based open-source software tool for Digital Image Correlation},
author = {Venter, Gerhard and Neaves, Melody},
year = {2025},
journal = {Advances in Engineering Software},
volume = {211},
pages = {104043},
doi = {https://doi.org/10.1016/j.advengsoft.2025.104043},
url = {https://www.sciencedirect.com/science/article/pii/S0965997825001814},
}
Presentations
- 2025-04-17 -- MOD Research Group Meeting - Overview of SUN-DIC
Acknowledgments
- SUN-DIC analysis code: based on work by Ed Brisley as part of his MEng degree at Stellenbosch University. His thesis is available through the Stellenbosch University Library.
- Interpolator: uses
fast_interpby David Stein, licensed under Apache 2.0. Repository: fast_interp - Smoothing algorithm: implements the 2D Savitzky-Golay algorithm from the SciPy Cookbook
- Graphical design: Dr. Melody Neaves
- Development: Post-graduate students from and visiting researchers to the MOD Research Group at Stellenbosch University
License
This project is licensed under the MIT License. See the LICENSE file for details.
Author
Developed by Gerhard Venter.