
KhronosGroup/openvx-samples
KhronosGroup/openvx-samples has 114 GitHub stars and 26 forks. GitHot measured 0 stars in 24 hours and 0 in 7 days. Last checked 2026-11-15 15:53 UTC. Last push 2026-10-06.
Crecimiento de estrellas medido
- in 24h
- 0
- in 7 days
- 0
- in 15 days
- Recopilando historial
- in 1 month
- Recopilando historial
Cambios netos en períodos que se solapan, no totales diarios. Los datos no disponibles se dejan en blanco. Las estrellas indican interés, no calidad.
Acerca de
OpenVX Samples to use with any conformant implementation of OpenVX
Herramientas de desarrolloREADME.md
Original

OpenVX Samples
Khronos OpenVX™ is an open, royalty-free standard for cross-platform acceleration of computer vision applications. OpenVX enables performance and power-optimized computer vision processing, especially important in embedded and real-time use cases such as face, body, and gesture tracking, smart video surveillance, advanced driver assistance systems (ADAS), object and scene reconstruction, augmented reality, visual inspection, robotics and more.
In this project, we provide OpenVX sample applications to use with any conformant implementation of OpenVX.
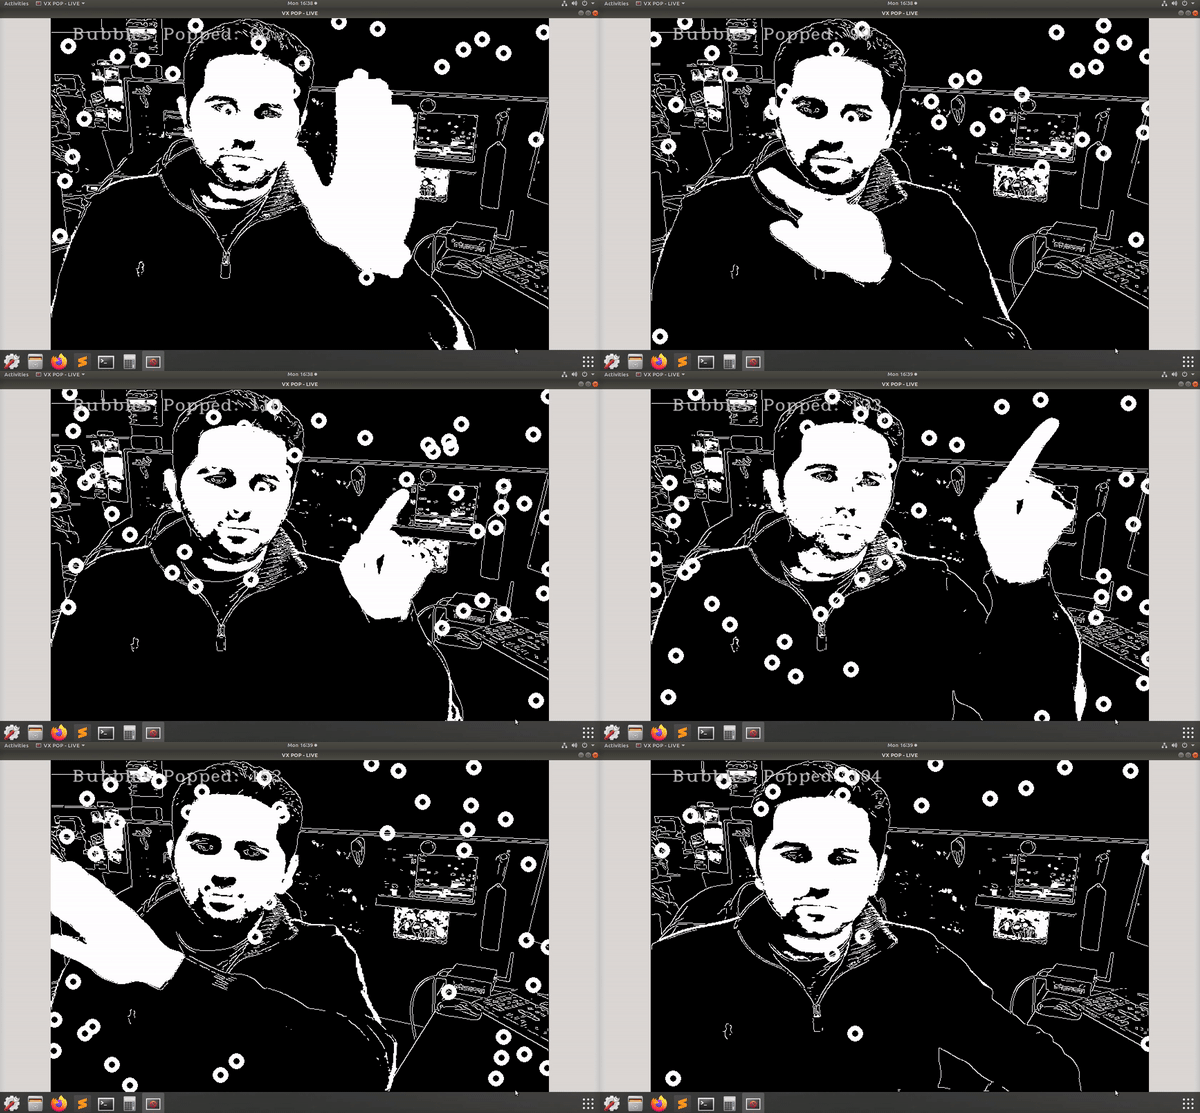
VX Bubble Pop Sample
In this sample we will create an OpenVX graph to run VX Bubble Pop on a live camera. This sample application uses OpenCV to decode input image, draw bubbles/donuts and display the output.
Prerequisites
Steps to run the Bubble Pop sample
- Step - 1: Build and install Conformant OpenVX Implementation. In this example we will use the OpenVX Sample Implementation available on GitHub
Build OpenVX on Linux

* Git Clone project with a recursive flag to get submodules

      git clone --recursive https://github.com/KhronosGroup/OpenVX-sample-impl.git

* Use Build.py script

      cd OpenVX-sample-impl/
      python Build.py --os=Linux --arch=64 --conf=Debug --conf_vision --enh_vision --conf_nn
- Step - 2: Export OpenVX Directory Path
export OPENVX_DIR=$(pwd)/install/Linux/x64/Debug
- Step - 3: Clone the OpenVX Samples project and build the bubble pop application
cd ~/ && mkdir OpenVXSample-pop
cd OpenVXSample-pop/
git clone https://github.com/kiritigowda/openvx-samples.git
- Step - 4: CMake and Build the pop application
mkdir pop-build && cd pop-build
cmake -DOPENVX_INCLUDES=$OPENVX_DIR/include -DOPENVX_LIBRARIES=$OPENVX_DIR/bin/libopenvx.so ../openvx-samples/bubble-pop/
make
Step - 5: Run VX Pop application
- Bubbles
./vxPop --bubble- Donuts
./vxPop --donut
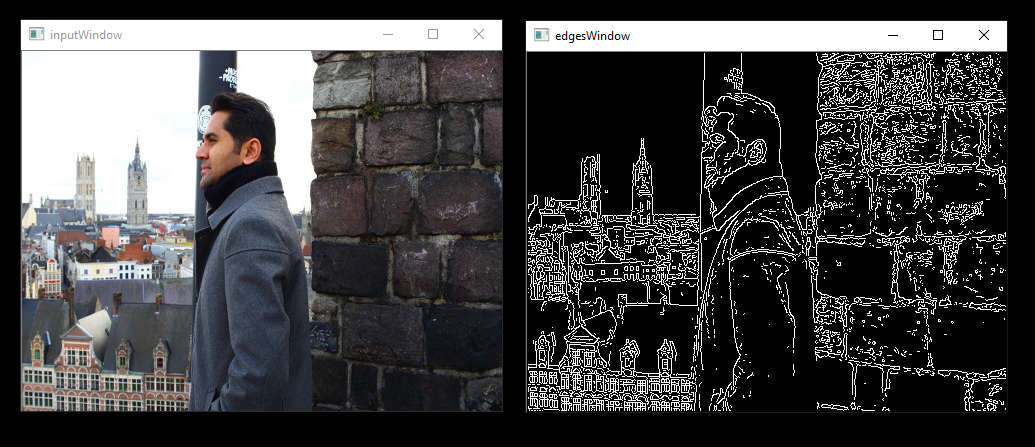
Canny Edge Detector Sample
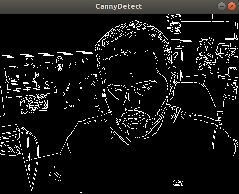
In this sample we will create an OpenVX graph to run canny edge detection on an image or a live camera. This sample application uses OpenCV to decode input image and display the output.
Prerequisites
Steps to run the canny sample
- Step - 1: Build and install Conformant OpenVX Implementation. In this example we will use the OpenVX Sample Implementation available on GitHub
Build OpenVX on Linux

* Git Clone project with a recursive flag to get submodules

      git clone --recursive https://github.com/KhronosGroup/OpenVX-sample-impl.git

* Use Build.py script

      cd OpenVX-sample-impl/
      python Build.py --os=Linux --arch=64 --conf=Debug --conf_vision --enh_vision --conf_nn
- Step - 2: Export OpenVX Directory Path
export OPENVX_DIR=$(pwd)/install/Linux/x64/Debug
- Step - 3: Clone the OpenVX Samples project and build the canny application
cd ~/ && mkdir OpenVXSample-canny
cd OpenVXSample-canny/
git clone https://github.com/kiritigowda/openvx-samples.git
- Step - 4: CMake and Build the canny application
mkdir canny-build && cd canny-build
cmake -DOPENVX_INCLUDES=$OPENVX_DIR/include -DOPENVX_LIBRARIES=$OPENVX_DIR/bin/libopenvx.so ../openvx-samples/canny-edge-detector/
make
Step - 5: Run Canny application
- Live
./cannyEdgeDetector --live- Image
./cannyEdgeDetector --image ../openvx-samples/images/face.png
Skin Tone Detector Sample
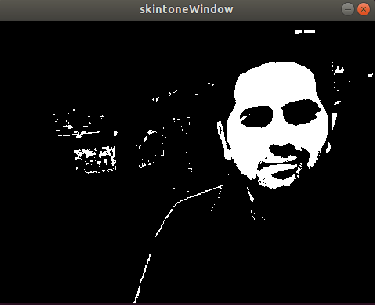
In this sample we will create an OpenVX graph to run skintone detection on an image or a live camera. This sample application uses OpenCV to decode input image and display the output.
Prerequisites
Steps to run the skin tone sample
- Step - 1: Build and install Conformant OpenVX Implementation. In this example we will use the OpenVX Sample Implementation available on GitHub
Build OpenVX on Linux

* Git Clone project with a recursive flag to get submodules

      git clone --recursive https://github.com/KhronosGroup/OpenVX-sample-impl.git

* Use Build.py script

      cd OpenVX-sample-impl/
      python Build.py --os=Linux --arch=64 --conf=Debug --conf_vision --enh_vision --conf_nn
- Step - 2: Export OpenVX Directory Path
export OPENVX_DIR=$(pwd)/install/Linux/x64/Debug
- Step - 3: Clone the OpenVX Samples project and build the Skin Tone application
cd ~/ && mkdir OpenVXSample-skintone
cd OpenVXSample-skintone/
git clone https://github.com/kiritigowda/openvx-samples.git
- Step - 4: CMake and Build the Skin Tone application
mkdir skintone-build && cd skintone-build
cmake -DOPENVX_INCLUDES=$OPENVX_DIR/include -DOPENVX_LIBRARIES=$OPENVX_DIR/bin/libopenvx.so ../openvx-samples/skin-tone-detector/
make
Step - 5: Run Skin Tone Detector application
- Live
./skinToneDetector --live- Image
./skinToneDetector --image ../openvx-samples/images/face.png
Contribution
The samples VX Bubble Pop, VX Canny Edge Detector, & VX Skin Tone Detector are contributed by AMD from their MIVisionX Toolkit. We welcome contributions to this project from all developers. Please open a pull request with details of your sample application to be accepted into this project.